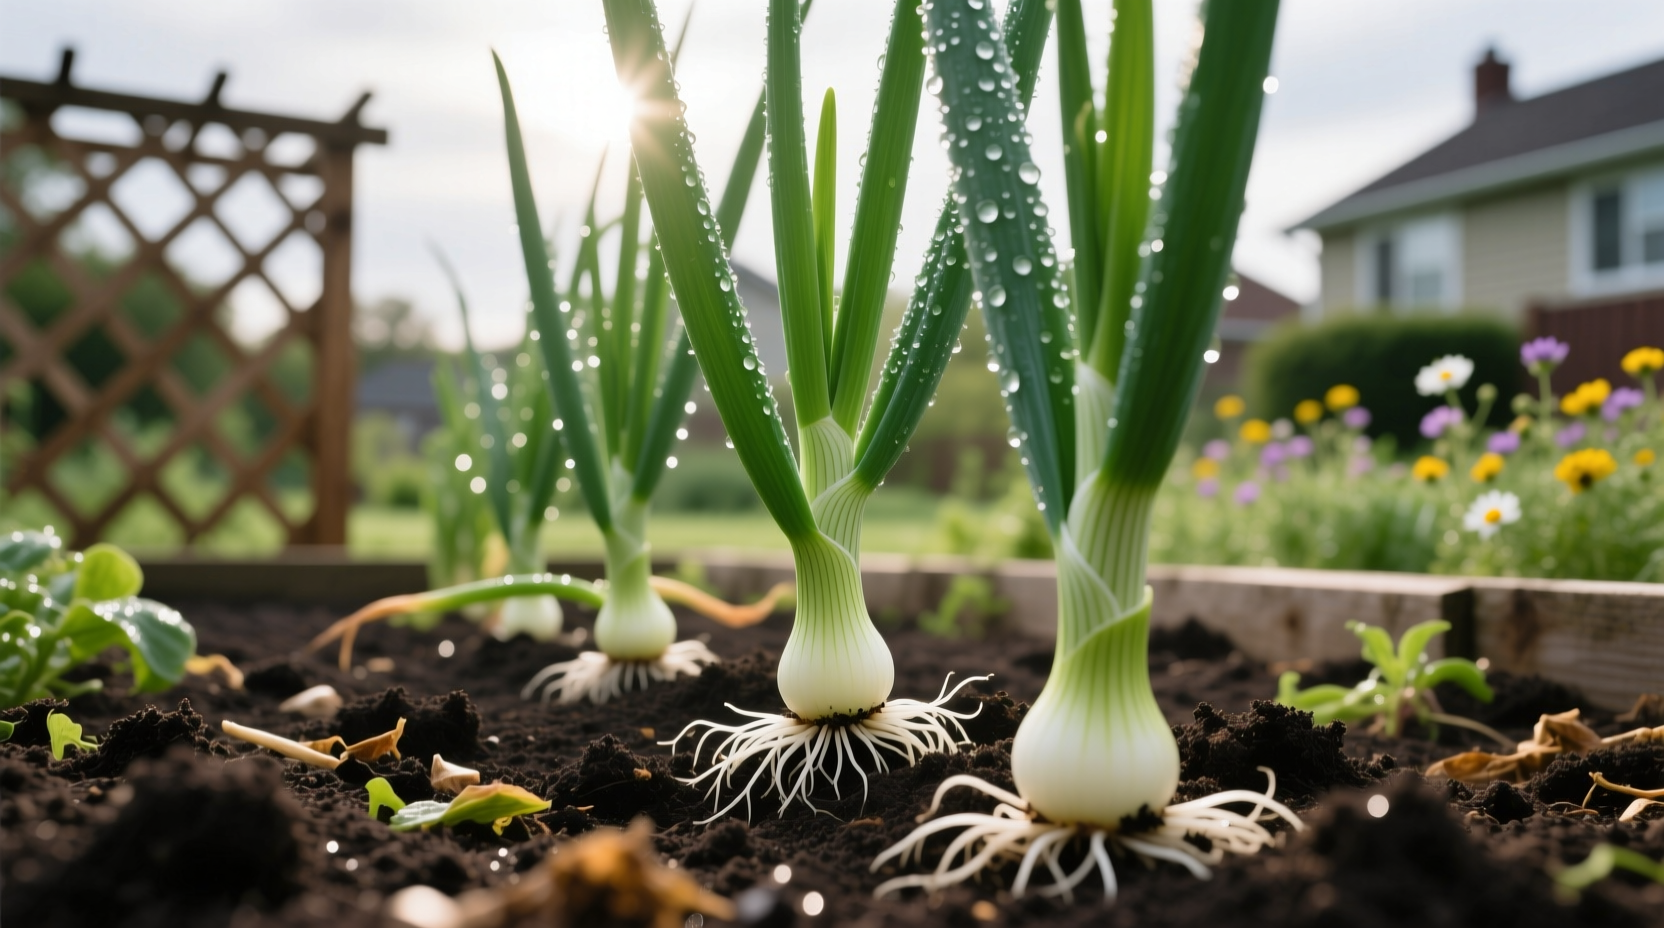
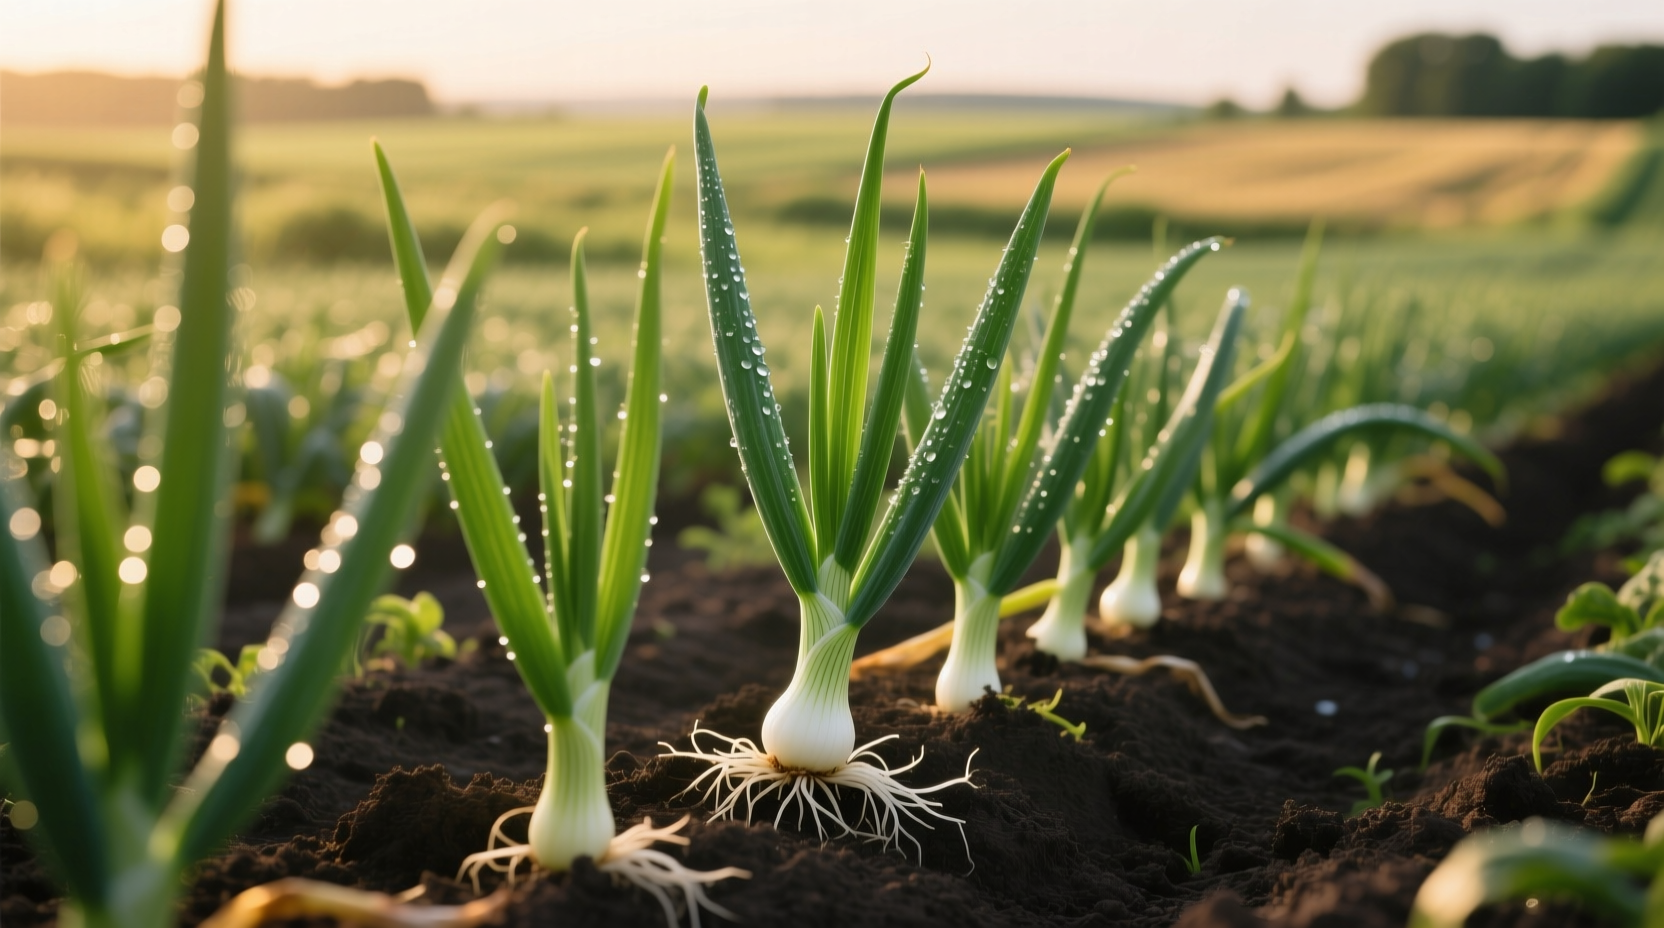
Discover exactly how to grow healthy onion plants from seed to harvest with this comprehensive guide. Whether you're a beginner gardener or looking to improve your yields, you'll learn proven techniques for selecting varieties, preparing soil, managing pests, and storing your harvest for maximum shelf life. We've distilled decades of horticultural research into actionable steps that work in backyard gardens across diverse climates.
Understanding Onion Varieties and Their Growing Requirements
Not all onion plants perform equally in every garden. Day-length sensitivity determines which varieties will form proper bulbs in your region. Short-day onions (10-12 hours of daylight) work best in southern zones, while long-day varieties (14-16 hours) thrive in northern regions. Day-neutral types offer flexibility across multiple zones.
| Variety Type | Best Zones | Maturation Period | Storage Potential |
|---|---|---|---|
| Short-Day (Texas Early White) | 2-7 | 90-110 days | 2-3 months |
| Day-Neutral (Candy) | 3-9 | 110-120 days | 4-5 months |
| Long-Day (Walla Walla) | 5-10 | 120-170 days | 6-8 months |
This comparison comes from the University of Minnesota Extension, which has conducted extensive trials on onion varieties across North American growing zones. Selecting the appropriate day-length variety for your location prevents failed bulb formation—a common frustration for new onion growers.
Optimal Planting Timeline for Successful Onion Growth
Timing your onion planting correctly makes the difference between small, underdeveloped bulbs and robust harvests. The onion growing cycle follows a precise biological timeline that responds to changing day length:
- Early Spring (4-6 weeks before last frost): Plant sets or transplants when soil temperature reaches 50°F (10°C)
- Late Spring: Active leaf growth phase—critical period for nitrogen application
- Early Summer: Bulb initiation triggered by specific day length
- Late Summer: Bulb enlargement phase requiring consistent moisture
- Early Fall: Natural leaf dieback signals harvest readiness
According to The Old Farmer's Almanac, planting too early in cold soil causes premature bolting, while late planting reduces bulb size. The publication's 200-year agricultural record shows optimal planting windows vary by 3-4 weeks between USDA zones 4 and 8.
Soil Preparation and Planting Techniques That Boost Yields
Onion plants require specific soil conditions to develop properly formed bulbs. Prepare your garden bed 2-3 weeks before planting:
- Test soil pH (ideal range: 6.0-6.8) using a home testing kit
- Incorporate 3-4 inches of compost into planting area
- Add balanced fertilizer (10-10-10) at 2 pounds per 100 square feet
- Create raised beds 4-6 inches high for improved drainage
When planting onion sets, position them with the pointed end up, burying just deep enough to cover the base (about 1 inch deep). Space sets 4-6 inches apart in rows 12-18 inches apart. For seed planting, sow ¼ inch deep and thin to final spacing when seedlings reach 4 inches tall.

Watering and Fertilization Practices for Maximum Bulb Development
Consistent moisture management separates successful onion growers from those with disappointing harvests. During the critical bulb formation stage (when tops reach 8-10 inches), onions require 1 inch of water weekly. Reduce watering as harvest approaches to prevent rot.
Avoid high-nitrogen fertilizers after mid-season, as this promotes excessive top growth at the expense of bulb development. Instead, apply potassium-rich amendments like wood ash when bulbs begin forming. The Oregon State University Extension recommends sidedressing with 0-10-10 fertilizer when plants are 6 inches tall to support bulb formation without encouraging disease.
Troubleshooting Common Onion Plant Problems
Even with proper care, onion plants face several challenges. Recognize these issues early for effective intervention:
Purple Blotch and Botrytis Leaf Blight
These fungal diseases appear as water-soaked lesions that turn purple or gray. Prevent by rotating crops annually and avoiding overhead watering. Treat with copper-based fungicides at first sign of infection.
Thrips Infestation
Microscopic insects cause silvery streaks on leaves and stunted growth. Control with insecticidal soap applications every 5-7 days during dry periods. The Penn State Entomology Department confirms thrips populations peak during hot, dry weather and can reduce yields by up to 40% if untreated.
Onion Maggots
These pests tunnel through bulbs, causing rot. Prevent with floating row covers at planting. If detected, remove and destroy affected plants immediately.
Harvesting and Curing Onions for Long-Term Storage
Proper harvesting technique determines your onions' storage potential. When approximately 50% of plants have naturally fallen over, stop watering and wait 7-10 days before harvesting. Gently loosen soil and pull bulbs, then cure in a warm, dry, well-ventilated area for 2-3 weeks.
During curing, enzymatic processes convert sugars to storage compounds. The Rutgers New Jersey Agricultural Experiment Station confirms properly cured onions develop protective outer layers that prevent moisture loss and decay. Store cured onions in mesh bags at 32-40°F (0-4°C) with 65-70% humidity for maximum shelf life.
Using Your Homegrown Onion Harvest
Freshly harvested onions have different culinary properties than store-bought varieties. New onions (harvested before full curing) have higher water content and milder flavor, perfect for salads and fresh salsas. Fully cured storage onions develop more pungent flavors ideal for cooking.
Preserve your harvest through:
- Freezing chopped onions for cooked dishes
- Pickling smaller or irregular bulbs
- Weaving braids of shallots or pearl onions
- Dehydrating for onion powder


 浙公网安备
33010002000092号
 浙B2-20120091-4