
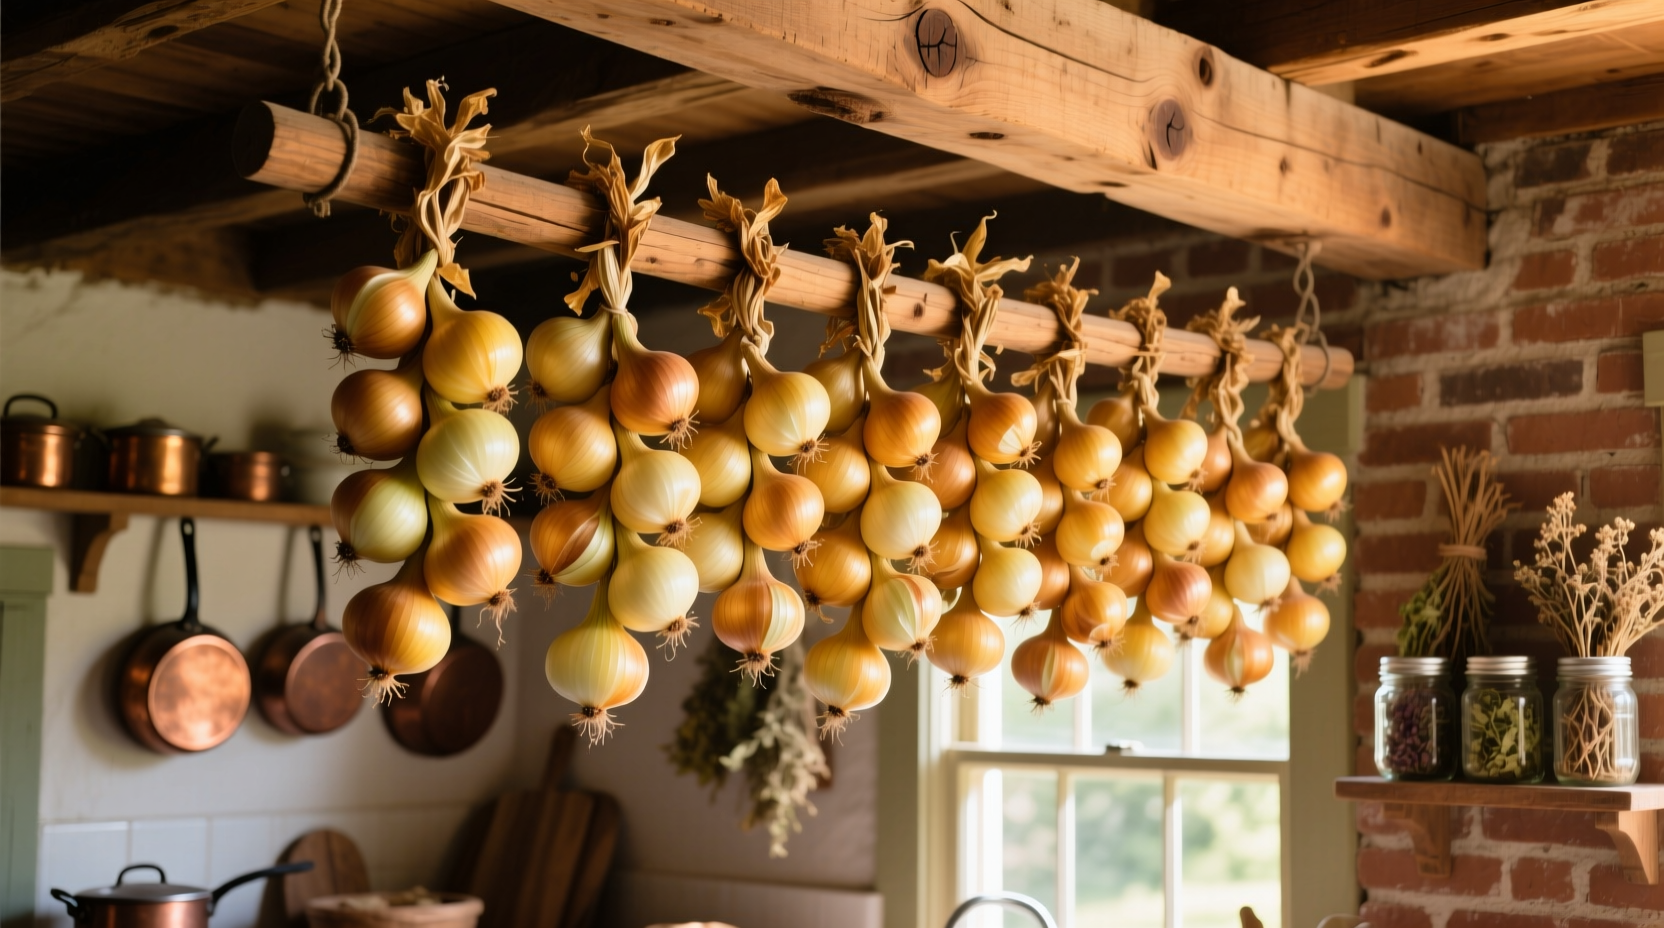
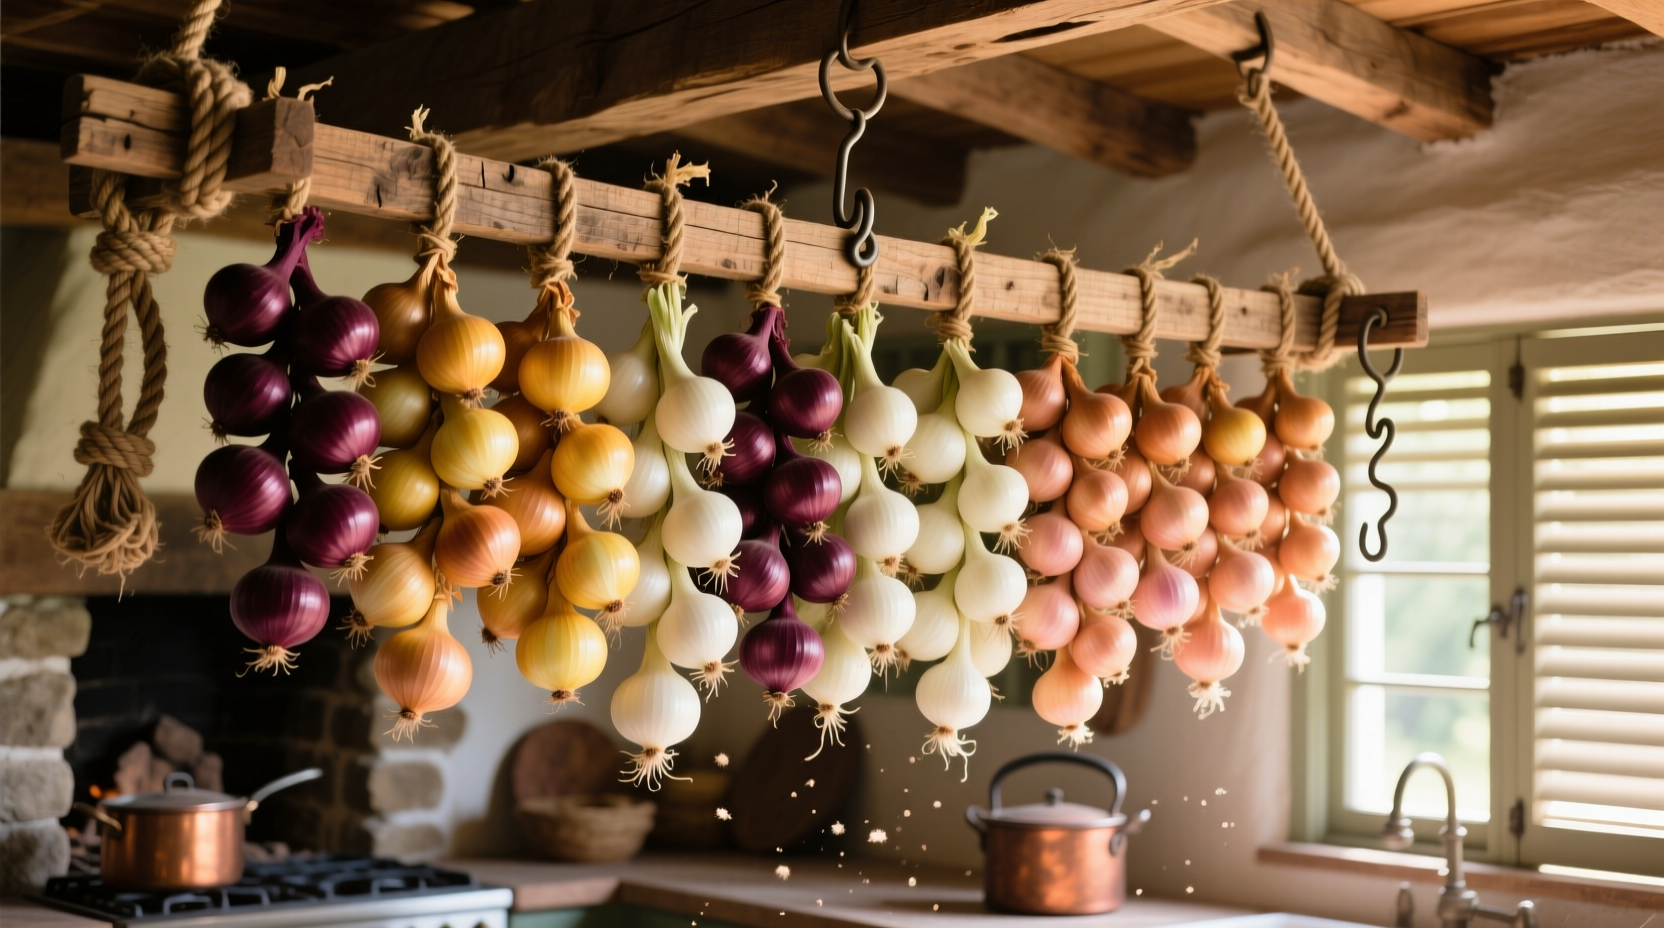
Properly dried onions stored in a well-ventilated drying rack can last 6-12 months while maintaining optimal flavor and texture. The ideal onion drying rack provides consistent airflow from all sides, is made of non-corrosive materials, and allows for easy monitoring of the drying process without disturbing the onions.
Preserving your onion harvest properly transforms seasonal abundance into year-round culinary value. Whether you're a home gardener with a bumper crop or a cooking enthusiast looking to maximize flavor, understanding how to select and use an onion drying rack properly makes all the difference between successful preservation and wasted effort. This guide reveals the science-backed methods professional chefs and experienced gardeners use to dry onions effectively.
Why Onion Drying Racks Outperform Alternative Methods
While some home preservers resort to makeshift solutions like cookie sheets or cardboard boxes, dedicated onion drying racks solve critical problems that affect preservation success. University agricultural extension studies show that proper airflow reduces drying time by 30-40% compared to flat surfaces, significantly lowering the risk of mold development during the critical curing phase.
The National Center for Home Food Preservation emphasizes that successful onion drying requires consistent air circulation around each bulb. "Onions must cure in a single layer with space between bulbs to allow air movement," states their guidelines. This fundamental principle explains why stacked arrangements or overcrowded surfaces consistently fail.
| Drying Method | Average Drying Time | Mold Risk | Storage Duration |
|---|---|---|---|
| Dedicated drying rack | 2-3 weeks | Low (5-10%) | 6-12 months |
| Newspaper-lined tray | 3-4 weeks | Moderate (25-30%) | 3-6 months |
| Cardboard box | 4+ weeks | High (40-50%) | 1-3 months |
This comparison, based on data from the University of California Cooperative Extension, demonstrates why investing time in proper drying infrastructure pays dividends in storage longevity and quality retention.
Selecting Your Ideal Onion Drying Rack
Not all drying racks serve onion preservation equally well. Consider these critical factors when choosing or building your drying solution:
Material Matters: Wood vs. Metal vs. Plastic
Wooden racks provide natural moisture absorption but require thorough cleaning between uses to prevent bacterial growth. Metal racks offer superior durability and easy cleaning but may react with onion juices, potentially affecting flavor. Plastic racks present a middle ground with easy maintenance but may not provide the same breathability as wood.
The Cornell University Gardeners' Resource highlights that "wooden slats allow for better air circulation than solid surfaces while absorbing excess moisture from the curing process." This explains why traditional drying racks often feature wooden construction.
Size and Capacity Considerations
Calculate your needs based on harvest size. A standard drying rack should accommodate approximately 1 pound of onions per square foot of drying surface. For most home gardeners with a modest harvest, a rack measuring 18x24 inches provides sufficient capacity while remaining manageable.
Professional growers often use tiered systems that maximize vertical space. The USDA Small-Scale Onion Production guide recommends "stackable drying racks that allow for expansion as harvest size increases" for serious home preservers.
The Science-Backed Drying Process
Successful onion drying follows a precise timeline that transforms freshly harvested bulbs into shelf-stable ingredients. Understanding this progression helps you recognize proper curing at each stage:
Days 1-3: Initial moisture release - outer skins dry while inner layers remain moist
Days 4-7: Neck shrinkage begins - critical phase where proper airflow prevents mold
Days 8-14: Complete drying - necks become completely dry and papery
Day 15+: Storage readiness - bulbs should feel light with completely dry outer skins
This drying timeline, verified by agricultural experts at Oregon State University, shows why patience proves essential. Rushing the process by increasing temperature often results in uneven drying that compromises storage potential.
Optimal Environment Conditions
Temperature and humidity significantly impact drying success. The ideal conditions maintain temperatures between 70-80°F (21-27°C) with relative humidity around 60-70%. Higher humidity extends drying time while excessive heat can cook rather than dry the onions.
"The curing environment must allow for constant air movement without direct sunlight," explains the National Onion Association's preservation guidelines. This explains why many successful home preservers use covered porches, garages, or well-ventilated indoor spaces rather than outdoor locations exposed to direct sun.
Step-by-Step Drying Procedure
Follow this professional method for optimal results:
- Harvest preparation: Cut onions when tops naturally fall over, typically when 50% of foliage has yellowed
- Cleaning: Gently brush off excess soil without washing (water introduces moisture that hinders drying)
- Arrangement: Place onions in single layer with space between bulbs (minimum 1 inch clearance)
- Positioning: Orient onions with necks facing the same direction to promote consistent airflow
- Monitoring: Check daily for mold or sprouting, removing any compromised bulbs immediately
- Completion test: Onions are fully dried when necks are completely dry and bulbs feel light for their size
Storage Solutions for Maximum Longevity
Proper storage extends the shelf life of dried onions significantly. The University of Minnesota Extension recommends storing cured onions in mesh bags or ventilated containers in a cool, dark location with temperatures between 32-45°F (0-7°C).
Avoid common storage mistakes that shorten shelf life:
- Storing near potatoes (emits moisture and gases that accelerate spoilage)
- Using airtight containers (traps residual moisture)
- Exposing to light (causes sprouting)
- Mixing different onion varieties (varies in storage requirements)
DIY Drying Rack Solutions
When commercial racks aren't available, these practical alternatives work effectively:
- Repurposed fruit crates: Stackable wooden crates provide excellent airflow and durability
- Window screen frames: Cut to size and mounted vertically for space-efficient drying
- DIY tiered system: Create with wooden slats and corner brackets for modular expansion
The key principle remains consistent: maximize airflow while protecting onions from direct sunlight and moisture exposure. A study by the Rodale Institute found that homemade drying solutions performed equally well as commercial racks when airflow principles were properly implemented.
Common Mistakes That Compromise Results
Even experienced preservers sometimes make these critical errors:
- Washing before drying: Introduces excess moisture that extends drying time and increases mold risk
- Overcrowding: Reduces airflow, creating microclimates where moisture accumulates
- Insufficient drying time: Onions that feel dry externally may retain internal moisture
- Storing before fully cured: Leads to premature spoilage even in ideal storage conditions
"The most common failure point occurs when preservers mistake surface dryness for complete curing," notes the Food Safety and Inspection Service guidelines. This explains why many home-dried onions spoil prematurely despite apparent success during the drying phase.
When Drying Isn't the Best Option
While drying racks work well for storage onions (yellow, red, and white varieties), they're less suitable for green onions or sweet varieties like Vidalias. These types have higher water content and don't cure well using traditional drying methods.
The USDA notes that "sweet onion varieties generally have poorer storage characteristics than pungent storage onions" due to their higher sugar and moisture content. For these varieties, refrigeration or freezing typically proves more effective than drying.


 浙公网安备
33010002000092号
浙公网安备
33010002000092号 浙B2-20120091-4