
Ready to grow your own onions but unsure where to start? You're not alone. Each spring, thousands of home gardeners search for reliable guidance on planting onion bulbs successfully. Unlike seeds, onion bulbs (also called sets) offer faster maturity and easier establishment—but only if you follow the right techniques. This guide delivers science-backed planting strategies used by professional growers, eliminating common mistakes that lead to small bulbs or premature bolting.
Understanding Onion Bulbs: Sets vs Seeds vs Plants
Before planting, understand your options. Onion bulbs—technically "sets"—are small, partially grown onions harvested the previous season and dried for replanting. They're not true bulbs like tulips, but rather immature onion plants.
| Planting Method | Time to Harvest | Best For | Success Rate |
|---|---|---|---|
| Onion bulbs (sets) | 70-90 days | Beginners, short-season climates | 85-90% |
| Transplants | 100-120 days | Large yields, disease resistance | 75-80% |
| Seeds | 120-150 days | Unique varieties, cost efficiency | 60-70% |
According to the University of Minnesota Extension, sets provide the most reliable results for home gardeners in northern climates due to their cold tolerance. Southern gardeners often achieve better results with transplants for larger bulb formation.
Selecting Quality Onion Bulbs for Your Climate
Not all onion bulbs work everywhere. Your success depends on matching varieties to your daylight hours:
- Short-day varieties (needed in southern US): Form bulbs with 10-12 hours of daylight (Granex, Texas Super Sweet)
- Intermediate-day varieties: Require 12-14 hours (Candy, Super Star)
- Long-day varieties (northern US): Need 14+ hours (Walla Walla, Yellow Sweet Spanish)
The USDA Agricultural Research Service confirms that planting the wrong day-length variety causes 68% of home gardening failures. Choose sets labeled for your USDA hardiness zone—most garden centers stock regionally appropriate varieties.
Optimal Planting Timeline and Soil Preparation
Timing makes or breaks your onion crop. Create this simple planting schedule:
- 6-8 weeks before last frost: Test soil pH and amend as needed
- 4-6 weeks before last frost: Plant sets in-ground
- 2 weeks after planting: Apply balanced fertilizer
- When tops fall over: Begin harvest preparation
Prepare your bed with 3-4 inches of compost worked into the top 6-8 inches of soil. Onion bulbs need loose, stone-free ground for proper bulb expansion. The Old Farmer's Almanac recommends adding bone meal for phosphorus, which promotes strong root development crucial for bulb formation.
Step-by-Step Planting Process
Follow these precise steps for maximum bulb development:
- Choose firm bulbs without sprouts (discard any soft or moldy specimens)
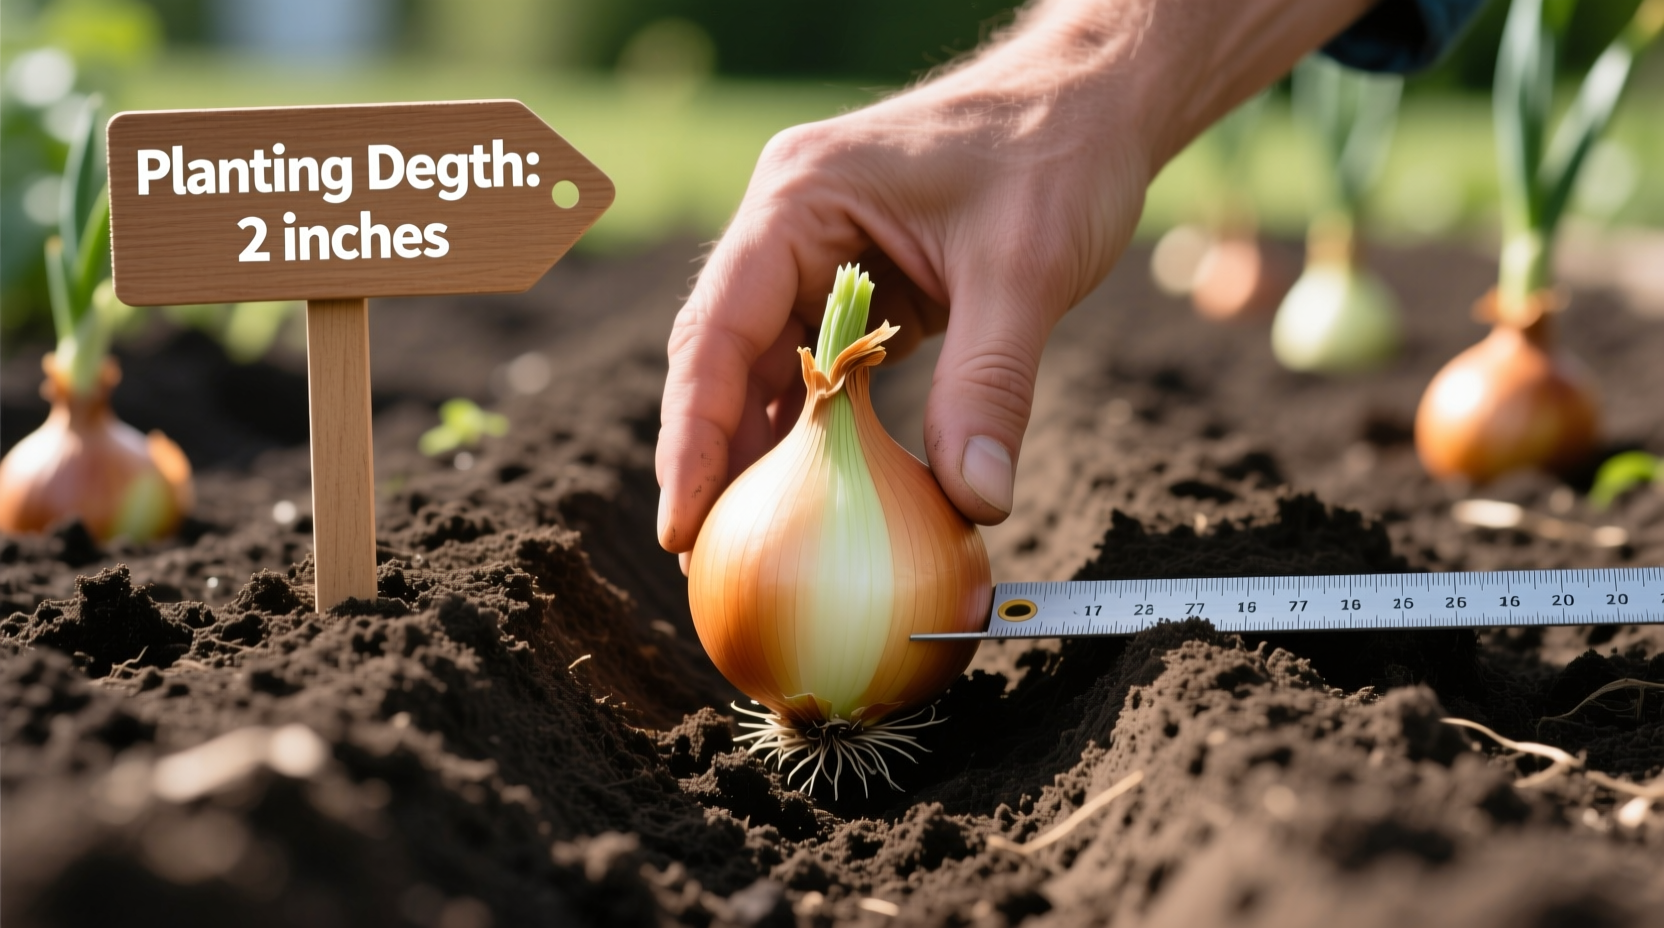
- Plant with pointed end up, 1-2 inches deep depending on bulb size
- Space 4-6 inches apart in rows 12-18 inches apart
- Water thoroughly after planting, then maintain consistent moisture
- Apply 2-inch mulch layer to suppress weeds and regulate soil temperature
Research from Cornell University's School of Integrative Plant Science shows that planting depth directly affects bulb shape—too shallow creates flattened bulbs, while too deep delays growth. The optimal depth equals the bulb's diameter.
Avoiding Common Onion Growing Problems
Even experienced gardeners face these issues. Here's how to prevent them:
- Bolting (flowering): Caused by temperature fluctuations. Prevent by planting at proper time and choosing bolt-resistant varieties like 'Stuttgarter'
- Small bulbs: Usually from overcrowding or nitrogen deficiency. Maintain proper spacing and side-dress with nitrogen when tops reach 6 inches
- Rotting: Results from poor drainage. Raised beds improve success rates by 40% in heavy soils (per Oregon State University Extension)
- Pest damage: Onion maggots can destroy crops. Use floating row covers immediately after planting
Harvesting and Curing for Maximum Storage
Harvest timing determines storage life. Watch for these signs:
- Natural top fall-over (80% of leaves yellowed)
- Neck softening when gently squeezed
- Bulb constriction at soil line
Cure onions properly for 3-4 week storage:
- Dry in shaded, well-ventilated area for 7-10 days
- Trim roots to 1 inch and tops to 1-2 inches
- Store in mesh bags at 32-40°F with 65-70% humidity
The National Onion Association reports that proper curing doubles storage life compared to immediate refrigeration. Never wash onions before storage—moisture promotes rot.


 浙公网安备
33010002000092号
浙公网安备
33010002000092号 浙B2-20120091-4