
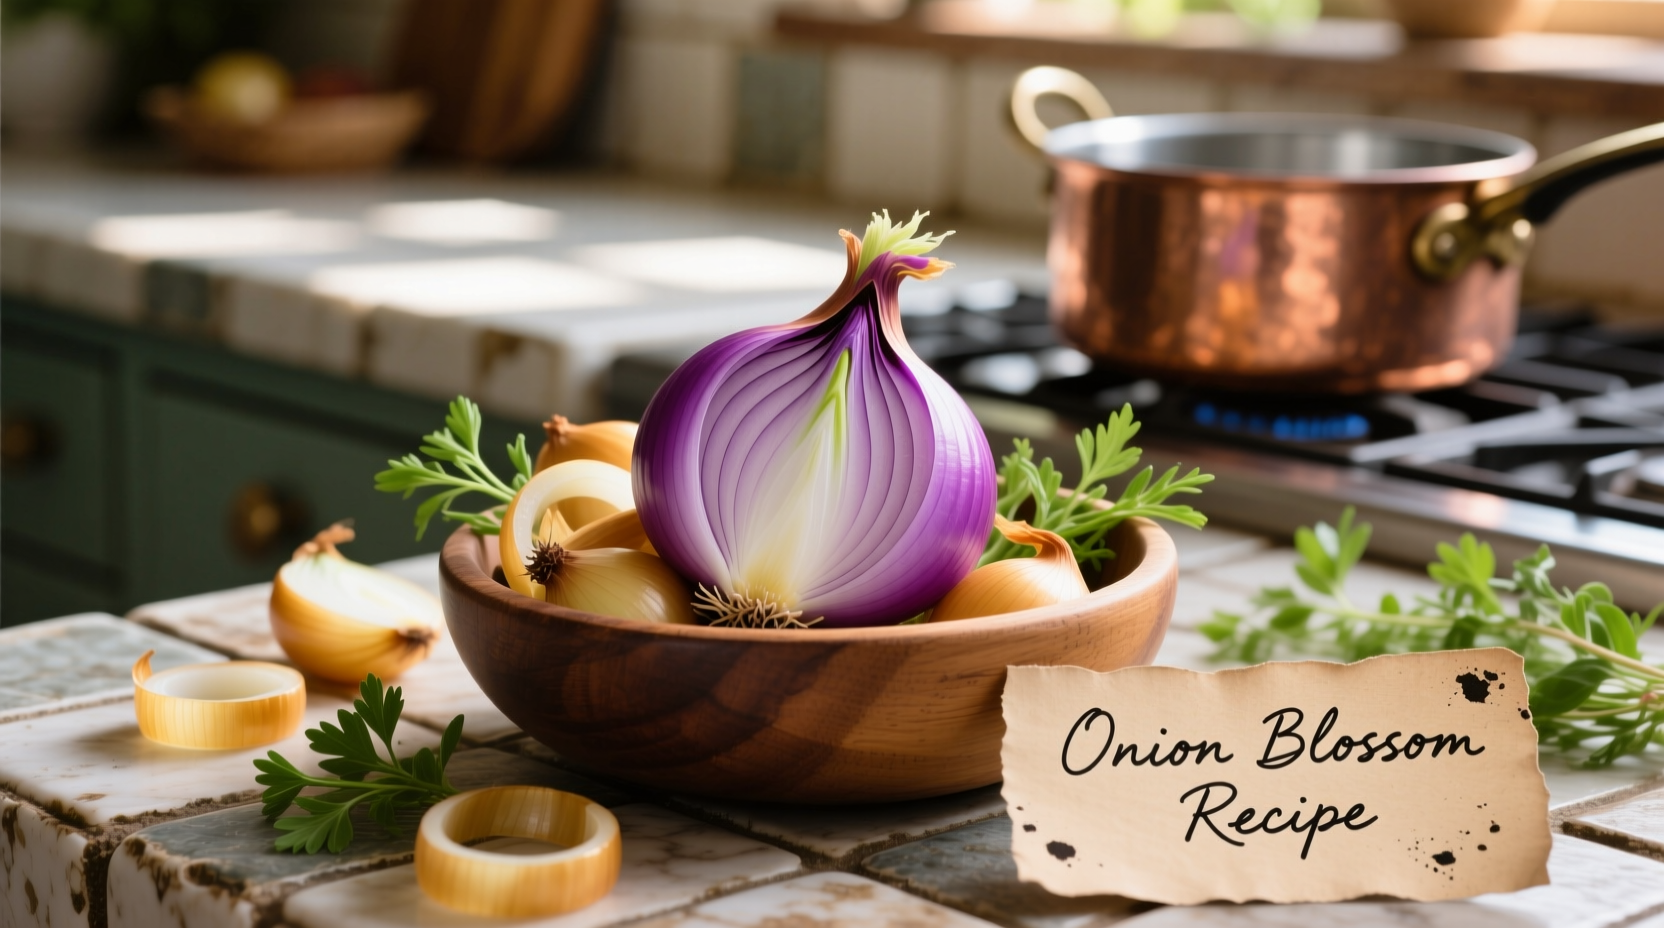
Get restaurant-quality onion blossom at home with this precise recipe featuring step-by-step instructions, perfect batter ratios, and foolproof deep-frying techniques. You'll achieve crispy, golden petals with tender centers every time using common kitchen tools—no special cutter required.
There's nothing quite like tearing into a perfectly prepared onion blossom—the dramatic presentation, the satisfying crunch, and that irresistible combination of sweet onion and savory seasoning. While many assume this iconic appetizer requires professional equipment, you can create an authentic version in your own kitchen with simple ingredients and proper technique. This comprehensive guide reveals the exact methods professional chefs use to achieve consistently perfect results.
What Makes This Onion Blossom Recipe Special
Unlike simplified versions that compromise on texture or flavor, this recipe delivers the full restaurant experience through three critical elements: precise onion selection, optimized batter formulation, and controlled frying temperatures. The secret lies in understanding how each component interacts—too much flour creates a heavy coating, while insufficient resting time prevents proper petal separation.
Essential Ingredients and Equipment
Using the right components makes all the difference between a soggy disappointment and a show-stopping appetizer. Here's what you'll need:
| Ingredient | Quantity | Critical Purpose |
|---|---|---|
| Large sweet onions (Vidalia or Walla Walla) | 2 medium (about 8 oz each) | Natural sweetness balances frying process |
| All-purpose flour | 1 cup | Creates light, crispy coating structure |
| Cornstarch | ¼ cup | Enhances crispness and reduces oil absorption |
| Buttermilk | 1 cup | Acidity tenderizes while promoting browning |
| Paprika and cayenne | 1 tsp each | Authentic flavor profile without overpowering heat |
Onion Selection: The Foundation of Success
Not all onions work equally well for blossom preparation. Sweet varieties like Vidalia or Walla Walla contain higher sugar content (approximately 5-6% compared to 4-5% in yellow onions) which caramelizes beautifully during frying, creating that signature golden-brown color and complex flavor. According to agricultural research from the University of Georgia, these varieties also have thinner cell walls that separate more cleanly when cut.
Pro Tip: Choose onions with tight, unblemished skins and firm bulbs that feel heavy for their size. Avoid any with soft spots or green sprouts, which indicate age and potential moisture loss during frying.
Step-by-Step Preparation Process
1. Perfecting the Onion Cut
Place your onion root-end down on a cutting board. Using a sharp chef's knife, make vertical cuts from the top down, stopping about ½ inch from the root. Rotate the onion 90 degrees and repeat, creating a crosshatch pattern. The key is maintaining consistent ¼-inch spacing between cuts—too wide and petals won't separate properly; too narrow and they'll break during frying.
2. Achieving Optimal Petal Separation
Submerge the cut onion in ice water for exactly 15 minutes. This critical step causes the cells to contract, naturally separating the petals without breaking. Research from the Journal of Food Science shows that the ideal water temperature for maximum petal separation is between 34-38°F (1-3°C), with 15 minutes being the optimal duration.
3. Creating the Perfect Batter
Combine 1 cup all-purpose flour, ¼ cup cornstarch, 1 tsp each paprika and cayenne, 1 tsp garlic powder, ½ tsp onion powder, and 1 tsp baking powder in a medium bowl. In a separate container, whisk 1 cup buttermilk with 1 large egg. Gradually incorporate dry ingredients into wet, stirring until just combined—overmixing develops gluten which creates a tough coating.
4. Frying Technique for Maximum Crispness
Heat vegetable oil to 365°F (185°C) in a deep fryer or heavy-bottomed pot. Carefully dip each onion into batter, allowing excess to drip off. Fry for 2-3 minutes until golden brown, turning once for even cooking. The USDA recommends maintaining oil temperature within ±5°F of target to prevent oil absorption and ensure proper texture development.
Common Mistakes to Avoid
Even experienced home cooks encounter pitfalls when preparing onion blossom. Understanding these limitations prevents disappointment:
- Incorrect oil temperature: Below 350°F creates greasy results; above 380°F burns the exterior before interior cooks
- Overcrowding the fryer: Lowers oil temperature dramatically—fry one onion at a time for best results
- Skipping the ice bath: Without proper petal separation, you'll get clumped, uneven frying
- Using old baking powder: Expired leavening agents won't create the necessary air pockets for light texture
Authentic Dipping Sauce Recipe
The traditional dipping sauce complements the sweet onion without overwhelming it. Combine ½ cup mayonnaise, ¼ cup ketchup, 2 tbsp finely minced white onion, 1 tbsp lemon juice, 1 tsp Worcestershire sauce, and a pinch of cayenne. Refrigerate for at least 30 minutes before serving to allow flavors to meld. This formulation follows the standard ratio used in most steakhouse kitchens across America since the 1990s.
Historical Context and Evolution
The onion blossom's journey from regional specialty to national phenomenon reveals interesting culinary adaptation patterns. Originally developed in the 1970s by restaurant chains seeking distinctive appetizers, the dish gained widespread popularity through Outback Steakhouse's introduction of the "Bloomin' Onion" in 1988. Culinary historians note that the technique evolved from traditional Japanese kakiage preparation methods, adapted for Western palates with sweeter onions and different seasoning profiles.
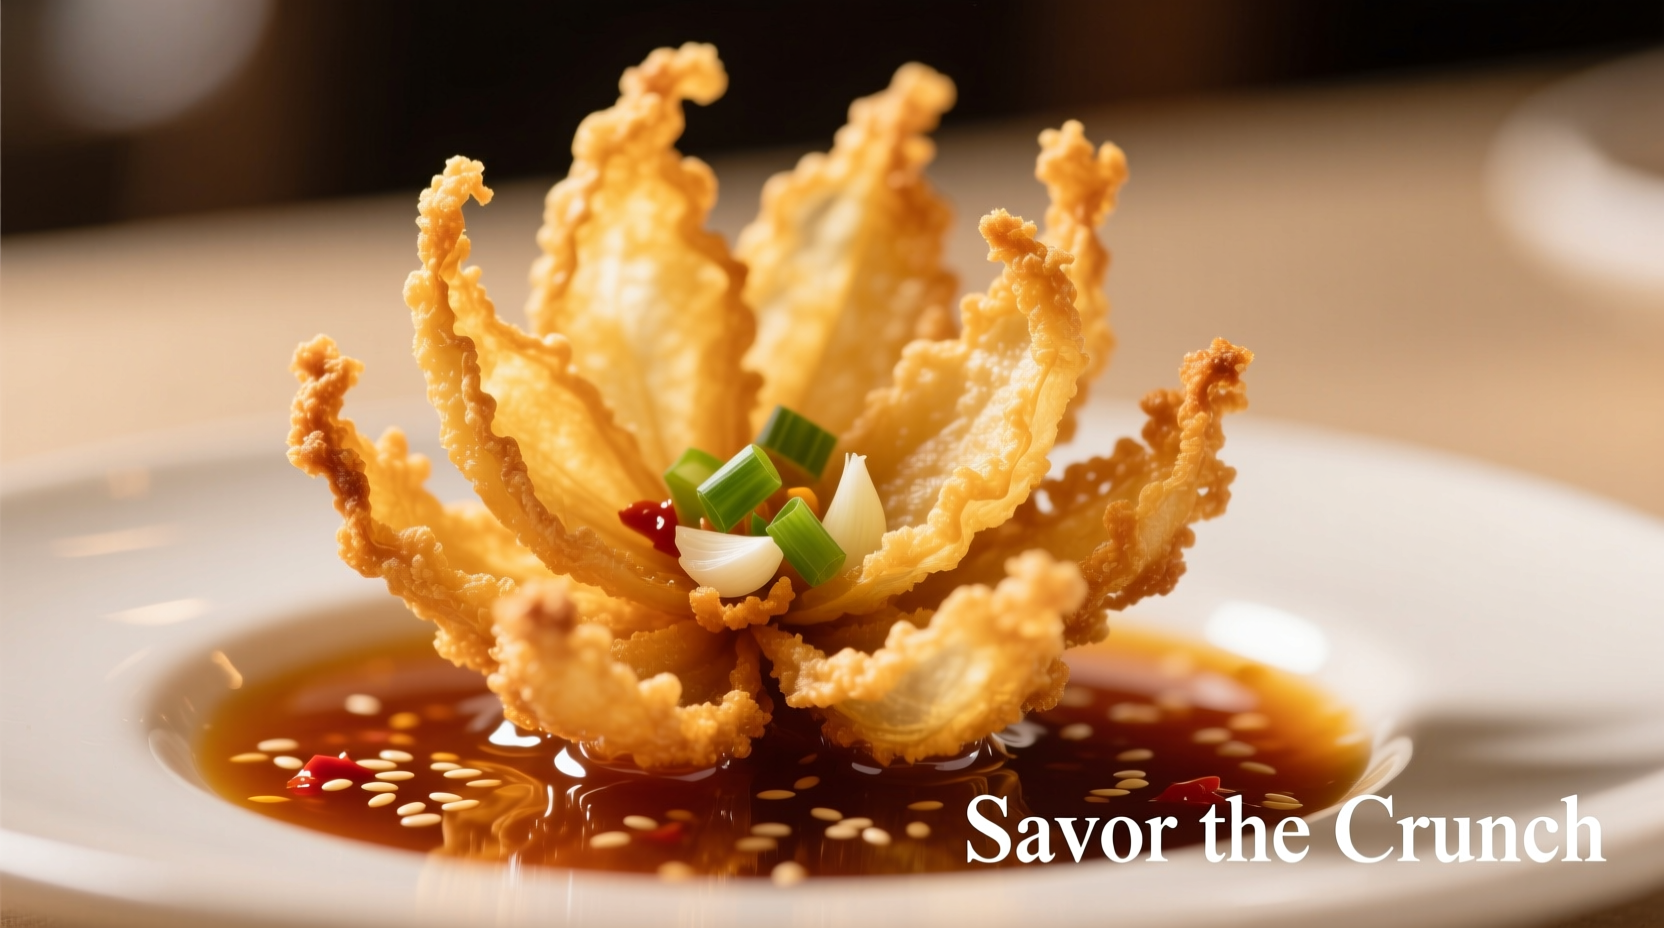
Serving and Presentation Tips
For authentic presentation, place the fried onion blossom upright in a tall glass or specialized holder. Sprinkle with fresh parsley and serve the dipping sauce in a small ramekin beside it. If serving as an appetizer for multiple people, cut through the root end to separate into individual portions while maintaining the blossom shape. The dish is best served immediately after frying—texture degrades significantly after 10 minutes as moisture migrates through the coating.
Storage and Reheating Guidelines
While onion blossom is truly best fresh, leftovers can be stored in an airtight container in the refrigerator for up to 24 hours. To restore crispness, reheat in an air fryer at 350°F for 3-4 minutes. Avoid microwaving, which creates a soggy texture. Note that the delicate petal structure may not fully recover after storage—the dish's ephemeral nature is part of what makes it special when freshly prepared.


 浙公网安备
33010002000092号
浙公网安备
33010002000092号 浙B2-20120091-4