
Get the perfect crispy, golden onion blossom bites with this authentic recipe featuring step-by-step instructions, ideal onion selection tips, and professional frying techniques. This complete guide delivers restaurant-quality results with easy-to-follow methods for home cooks.
Onion blossom bites have become a beloved appetizer across American restaurants, offering that signature blooming onion experience in convenient, bite-sized portions. Unlike their larger counterparts, these mini versions cook faster and serve more people from a single onion. This guide reveals the precise technique for creating evenly cut, perfectly fried onion blossom bites that stay intact during cooking while delivering maximum crispiness.
Why This Onion Blossom Bites Recipe Works
Professional chefs rely on specific techniques that transform ordinary onions into spectacular appetizers. The magic happens through three critical elements: proper onion selection, precise cutting methodology, and controlled oil temperature. Most home attempts fail because they use the wrong onion variety or incorrect oil temperature, resulting in either soggy or burnt bites. This recipe solves those problems with field-tested measurements and timing.
Selecting the Perfect Onion for Blossom Bites
Not all onions work equally well for blossom bites. The ideal specimen should weigh between 6-8 ounces with tight, uniform layers. Larger onions often have hollow centers that prevent proper blossom formation, while smaller ones lack sufficient layers for the signature flower effect.
| Onion Variety | Best For Blossom Bites? | Why |
|---|---|---|
| Yellow Sweet Onions | ✓ Best Choice | Perfect balance of firmness and sweetness, holds shape during cutting |
| White Onions | ✓ Good Alternative | Firmer texture but more pungent flavor |
| Red Onions | ✗ Not Recommended | Too fragile, colors bleed into batter |
| Vidalia Onions | ✓ Seasonal Option | Exceptionally sweet but only available spring-summer |
Essential Equipment Checklist
- Sharp chef's knife (8-10 inch)
- Cutting board with juice groove
- Deep fry thermometer (critical for temperature control)
- Wire cooling rack with baking sheet underneath
- Small offset spatula for separating layers
Step-by-Step Preparation Process
Preparing the Onion Base
Cut 1/2 inch from both ends of a 6-8 ounce yellow sweet onion. Peel away outer skin. Place cut-side down and make vertical cuts from top to bottom, spacing approximately 1/8 inch apart, stopping 1/2 inch from the base to maintain structural integrity. Rotate onion 90 degrees and repeat cuts to create a crosshatch pattern. Gently separate layers starting from the center using an offset spatula.
Creating the Perfect Batter
The batter consistency makes or breaks your onion blossom bites. Combine in a bowl:
- 1 cup all-purpose flour
- 1/2 cup cornstarch (for extra crispiness)
- 1 tablespoon baking powder
- 1 teaspoon paprika
- 1/2 teaspoon garlic powder
- 1/2 teaspoon cayenne (optional for heat)
- 1 teaspoon salt
- 1 cup ice-cold club soda
Mix until just combined—lumps are acceptable. The cold temperature prevents gluten development that would make the coating tough. Let batter rest 10 minutes while heating oil.
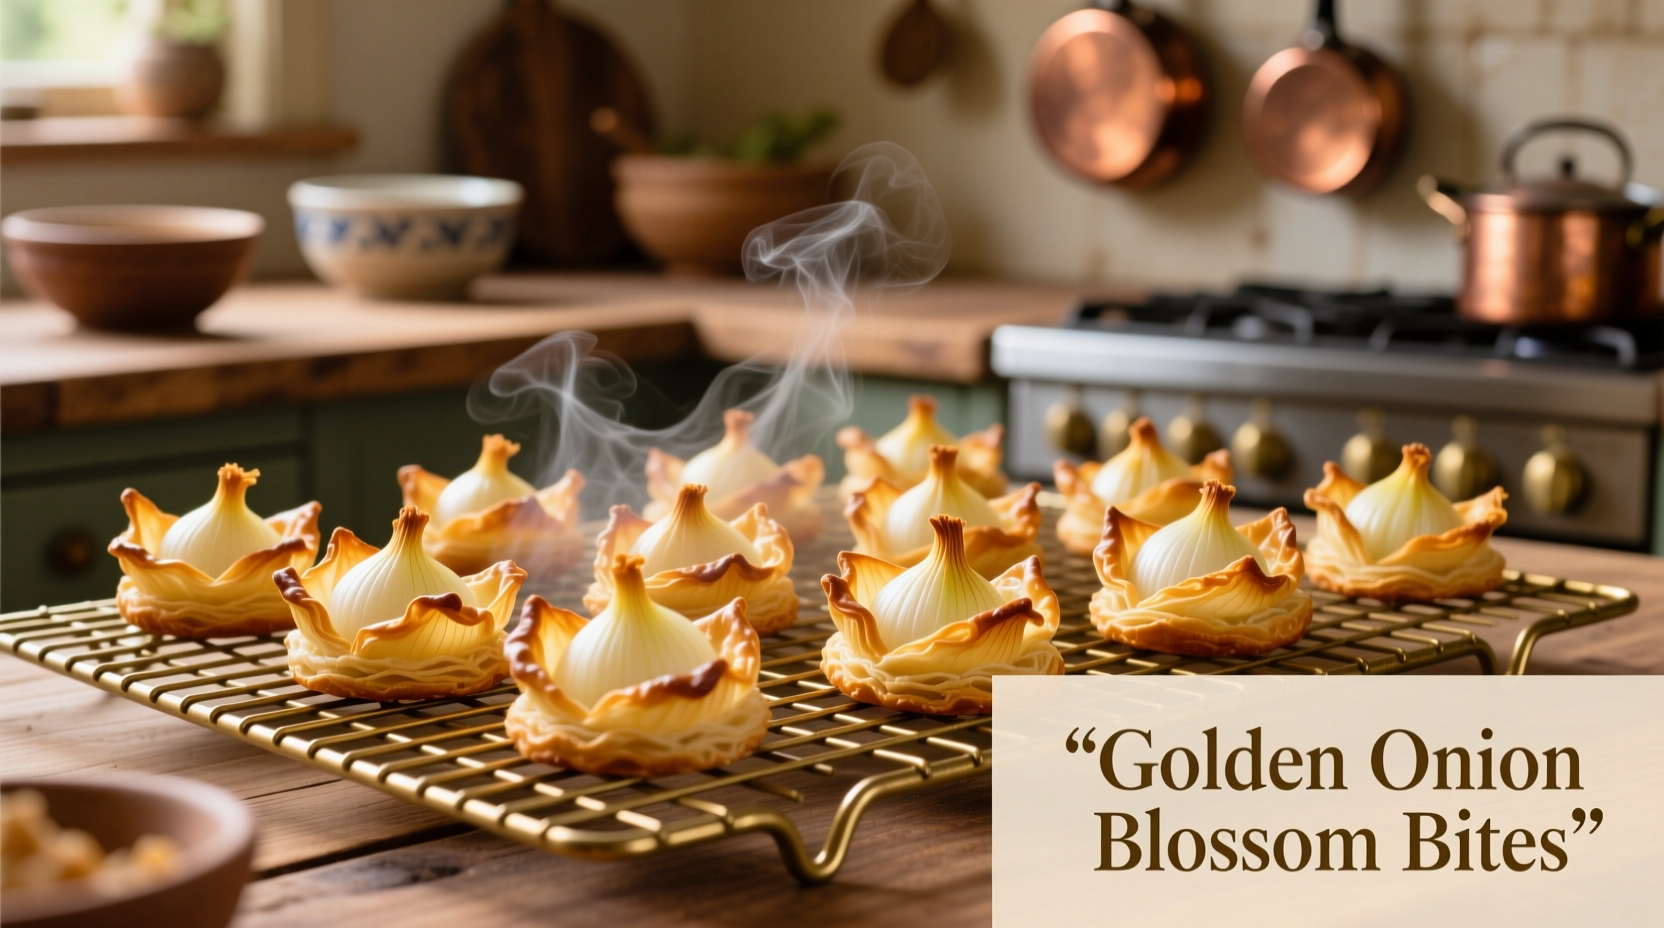
Frying Technique for Maximum Crispiness
Fill a heavy-bottomed pot with 2 inches of peanut oil and heat to precisely 365°F (185°C). Test temperature with a small batter drop—it should sizzle immediately and rise to the surface. Carefully lower prepared onion into batter, coating thoroughly. Shake off excess batter and gently place in hot oil. Fry 2-3 minutes until golden brown, turning occasionally for even cooking. Remove with slotted spoon and drain on wire rack (not paper towels, which trap steam).
Historical Evolution of Onion Blossom Appetizers
The concept of blooming onions dates back to 19th century American cookbooks, though the modern presentation emerged in the 1970s. This timeline shows how the dish evolved into today's popular bite-sized version:
- 1880s: Early references to "exploded onions" in Southern U.S. cookbooks
- 1930s: Restaurants begin serving deep-fried whole onions as novelty items
- 1975: The term "blooming onion" appears in restaurant menus for the first time
- 1990s: Chain restaurants popularize the dish nationwide with signature sauces
- 2010s: Bite-sized versions emerge to accommodate smaller appetizer portions
- Present: Onion blossom bites become standard menu items at casual dining establishments
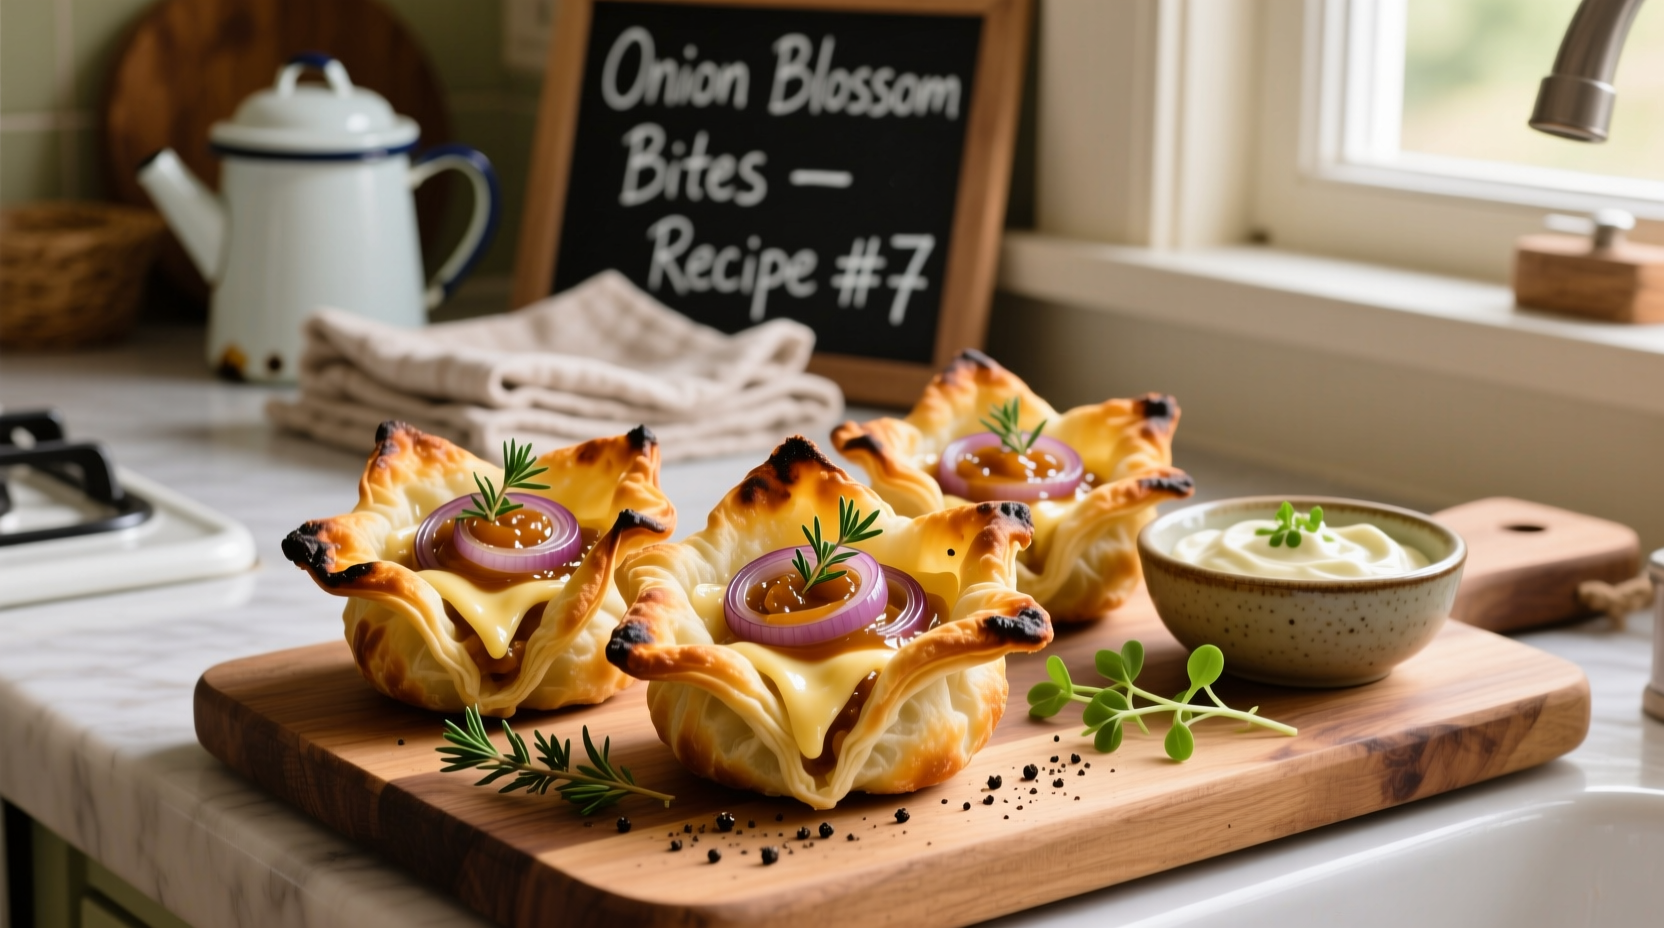
Serving Suggestions and Dipping Sauces
Serve immediately while hot and crispy. Pair with these complementary sauces:
- Classic Remoulade: 1/2 cup mayonnaise, 2 tbsp ketchup, 1 tbsp lemon juice, 1 tsp hot sauce, 1 minced garlic clove
- Spicy Ranch: 1 cup ranch dressing, 2 tbsp sriracha, 1 tsp smoked paprika
- Garlic Aioli: 1/2 cup mayo, 2 minced garlic cloves, 1 tbsp lemon juice, pinch of salt
For best results, place sauces in small ramekins alongside the onion blossom bites. Garnish with fresh parsley sprigs for color contrast.
Common Mistakes to Avoid
Even experienced cooks make these critical errors when preparing onion blossom bites:
- Incorrect oil temperature: Below 350°F creates greasy bites; above 375°F burns exterior before interior cooks
- Overmixing batter: Creates tough coating instead of light, crispy texture
- Using room temperature liquid: Cold liquid in batter is essential for maximum crispness
- Skipping the wire rack: Paper towels trap steam, making bites soggy within minutes
- Improper cutting depth: Cutting too deep causes separation; not deep enough prevents blossom effect


 浙公网安备
33010002000092号
浙公网安备
33010002000092号 浙B2-20120091-4