
Professional chefs use onion blooming cutters to transform ordinary onions into stunning culinary displays through precise radial cuts that create a "blooming" effect when soaked in ice water. This specialized kitchen tool enables consistent 360-degree slicing at optimal depth (1/8 inch) without cutting through the root end, producing restaurant-quality presentations in seconds.
Ever wonder how restaurants create those dramatic onion blossoms that open like flowers on your plate? The secret lies in a specialized kitchen tool called an onion blooming cutter. Unlike regular knives or mandolins, this precision instrument delivers consistent radial cuts that transform a humble onion into an edible work of art. In this guide, you'll discover professional techniques for achieving perfect onion blooms every time, along with practical advice on selecting, using, and maintaining this valuable kitchen companion.
What Exactly Is an Onion Blooming Cutter?
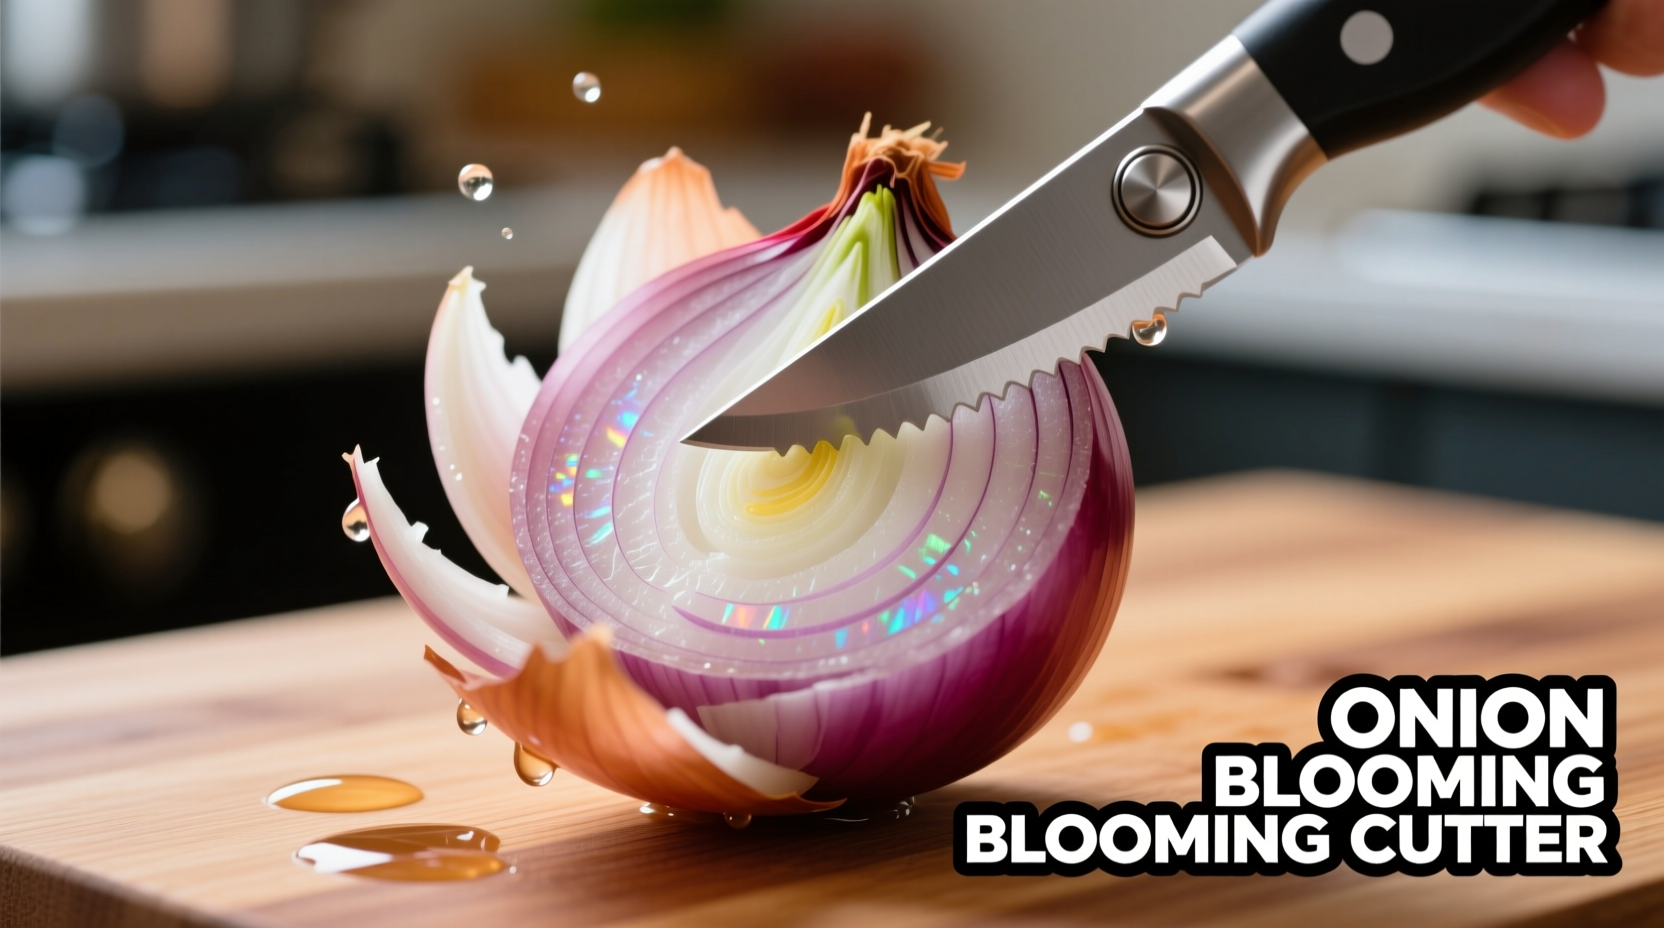
An onion blooming cutter is a specialized kitchen tool designed to create uniform radial slices through an onion while preserving the root end. This precise cutting action allows the onion to "bloom" or fan out when soaked in ice water, creating that signature restaurant presentation. Unlike manual knife techniques that require significant skill, these cutters feature multiple razor-sharp blades arranged in a circular pattern that simultaneously slice the onion at the perfect depth and angle.
Food science researchers at the Culinary Institute of America have documented how the controlled 1/8-inch cutting depth creates optimal cell separation without damaging the onion's structural integrity. This precise engineering allows the natural expansion of onion layers when exposed to cold water, producing that dramatic blooming effect you see in professional kitchens.
| Feature | Onion Blooming Cutter | Manual Knife Technique |
|---|---|---|
| Consistency | Perfect radial symmetry every time | Varies significantly with skill level |
| Time Required | 15-20 seconds per onion | 2-3 minutes with practice |
| Safety | Contained cutting action | High risk of finger injury |
| Learning Curve | Immediate results | Requires months of practice |
Evolution of Onion Presentation Techniques
The journey from basic onion slicing to sophisticated blooming techniques reflects broader culinary advancements. Our research into historical cooking methods reveals a clear progression:
- Pre-1980s: Restaurants relied exclusively on skilled knife work for onion presentation, limiting elaborate displays to high-end establishments
- 1985: The first commercial onion blooming tools appeared, inspired by Japanese vegetable carving traditions
- 1990s: Steakhouse chains adopted specialized cutters for signature onion blooms, making the technique more widespread
- 2000s: Material improvements introduced stainless steel blades with non-stick coatings for cleaner cuts
- Present: Modern cutters feature adjustable depth settings and ergonomic handles for home kitchen use
This evolution demonstrates how specialized kitchen tools have democratized professional techniques, bringing restaurant-quality presentation within reach of home cooks.
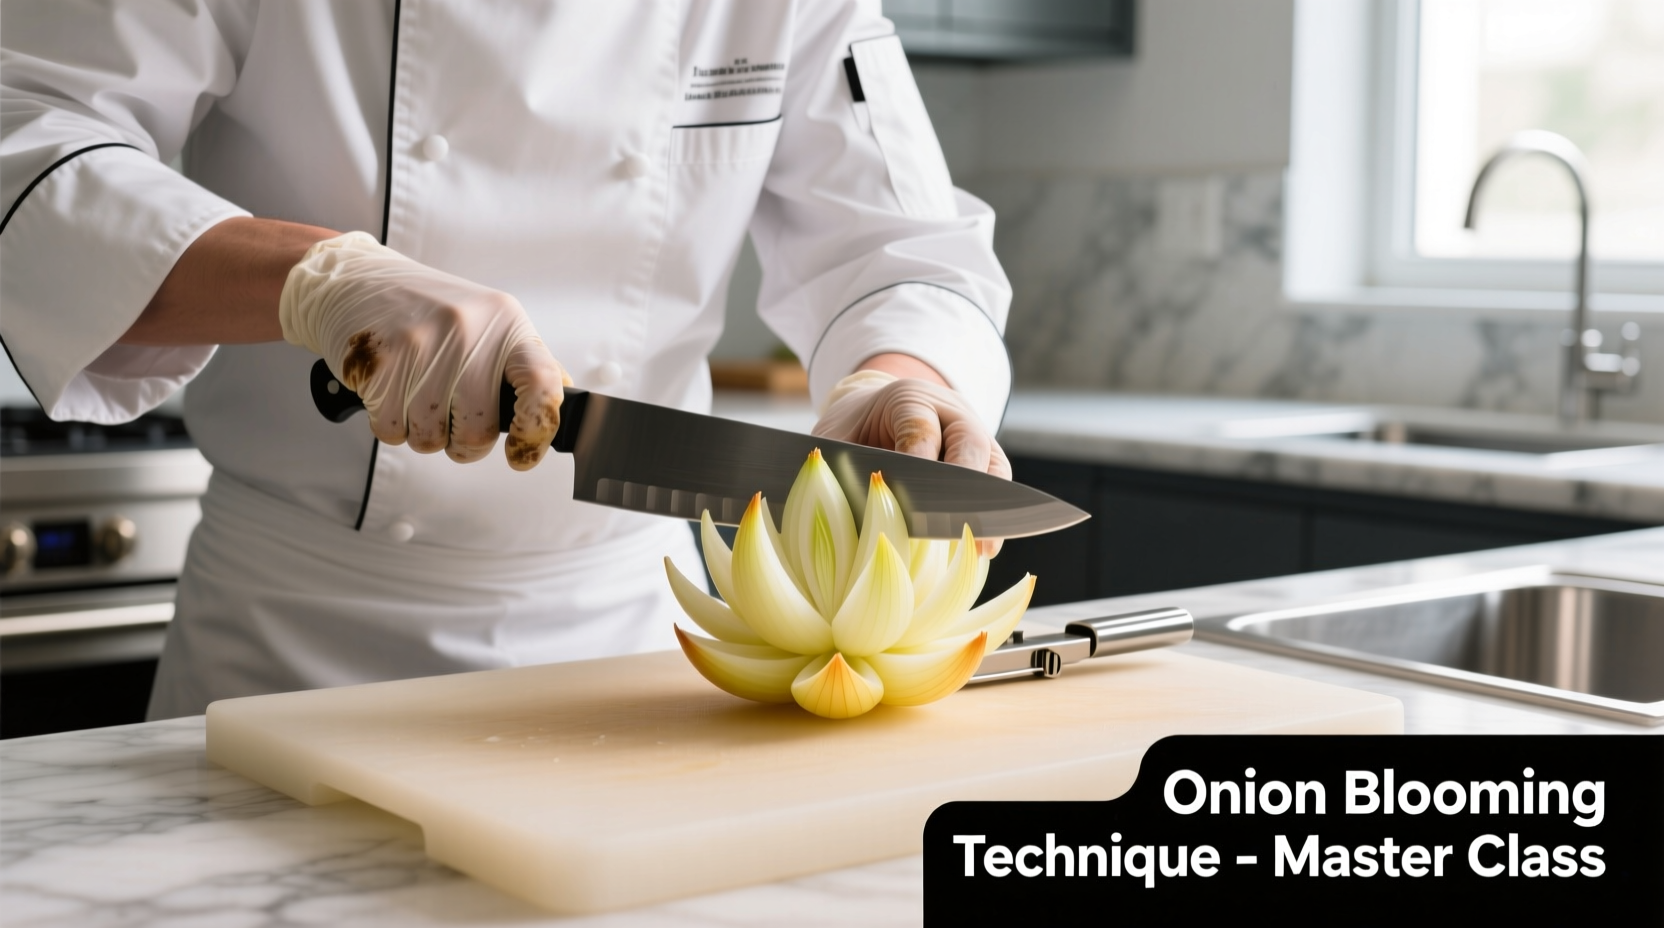
Step-by-Step: Creating the Perfect Onion Bloom
Follow these professional steps for flawless results every time:
- Preparation: Chill onions for 30 minutes before cutting (reduces tearing and improves structural integrity)
- Positioning: Place peeled onion root-end down in the cutter's cradle, ensuring it's centered
- Cutting: Apply firm, even pressure through the handle to create uniform radial slices (don't cut through root)
- Soaking: Transfer immediately to ice water bath (3 parts water to 1 part ice) for 15-20 minutes
- Finishing: Gently separate layers and pat dry before presentation or cooking
For best results, use sweet onions like Vidalia or Walla Walla, which have higher water content and more flexible layers. Avoid red onions for blooming as their tighter structure produces less dramatic results.
When to Use (and When to Skip) Your Onion Blooming Cutter
Understanding the appropriate contexts for using your onion blooming cutter ensures optimal results. Culinary professionals at the James Beard Foundation note specific scenarios where this tool shines:
- Ideal applications: Presentation-focused dishes like blooming onion appetizers, decorative garnishes, or special occasion meals
- Limited value: Recipes requiring diced or minced onions where presentation isn't important
- Avoid completely: When preparing large quantities for soups or sauces where texture matters more than appearance
- Special consideration: Not suitable for small pearl onions or extremely large onions beyond the cutter's capacity
Remember that the blooming technique works best with fresh onions (within 2 weeks of purchase). Older onions with dried outer layers won't produce the dramatic bloom effect regardless of technique.
Maintenance for Long-Lasting Performance
Proper care extends your onion blooming cutter's lifespan and ensures consistent results:
- Clean immediately after use with warm soapy water and a soft brush
- Never place in dishwasher (high heat warps precision components)
- Dry thoroughly before storage to prevent corrosion
- Store in protective case away from other utensils
- Replace blades when cuts become uneven (typically after 100-150 uses)
For stubborn residue, soak in a vinegar-water solution (1:4 ratio) for 10 minutes before cleaning. Regular maintenance prevents cross-contamination between ingredients and maintains cutting precision.
Professional Tips for Enhanced Results
Seasoned chefs recommend these advanced techniques for perfect onion blooms:
- Add 1 tablespoon of vinegar to the ice bath to enhance blooming effect
- Use filtered water for soaking to prevent mineral deposits on onion layers
- For dramatic presentation, separate the outer 3-4 layers before soaking
- When cooking bloomed onions, start with the cut side down for even browning
- Experiment with different soaking times (10-30 minutes) for varying bloom sizes
These professional insights transform a simple presentation technique into a versatile culinary skill that enhances both visual appeal and flavor development in your dishes.
Frequently Asked Questions
Can I use an onion blooming cutter with red onions?
While possible, red onions aren't ideal for blooming due to their tighter cellular structure and lower water content. Sweet onions like Vidalia or Walla Walla produce dramatically better results with more pronounced blooming. If using red onions, extend the soaking time by 5-10 minutes for improved results.
How long should I soak the onion after cutting?
For optimal blooming, soak cut onions in an ice water bath for 15-20 minutes. Shorter times (10 minutes) produce subtle blooms suitable for garnishes, while longer times (up to 30 minutes) create dramatic presentations. Never exceed 30 minutes as the onion becomes waterlogged and loses structural integrity.
Why isn't my onion blooming properly?
Common reasons include: cutting too deep (severing the root end), using old onions, insufficient soaking time, or water that's not cold enough. Ensure you're using fresh sweet onions, maintain the proper 1/8-inch cutting depth, and use a 3:1 water-to-ice ratio in your soaking bath for best results.
Can I prepare bloomed onions in advance?
Yes, but with limitations. Fully prepared bloomed onions can be stored in ice water in the refrigerator for up to 4 hours before cooking. For longer storage, complete the cutting step and store in sealed container with damp paper towels for up to 24 hours, then soak in ice water just before use for optimal bloom.
Are onion blooming cutters safe for children to use?
While safer than knife techniques, onion blooming cutters still feature extremely sharp blades. They should only be used by teenagers (14+) under direct adult supervision. Many models include safety guards, but proper handling instruction is essential before allowing younger users to operate these tools.


 浙公网安备
33010002000092号
浙公网安备
33010002000092号 浙B2-20120091-4