
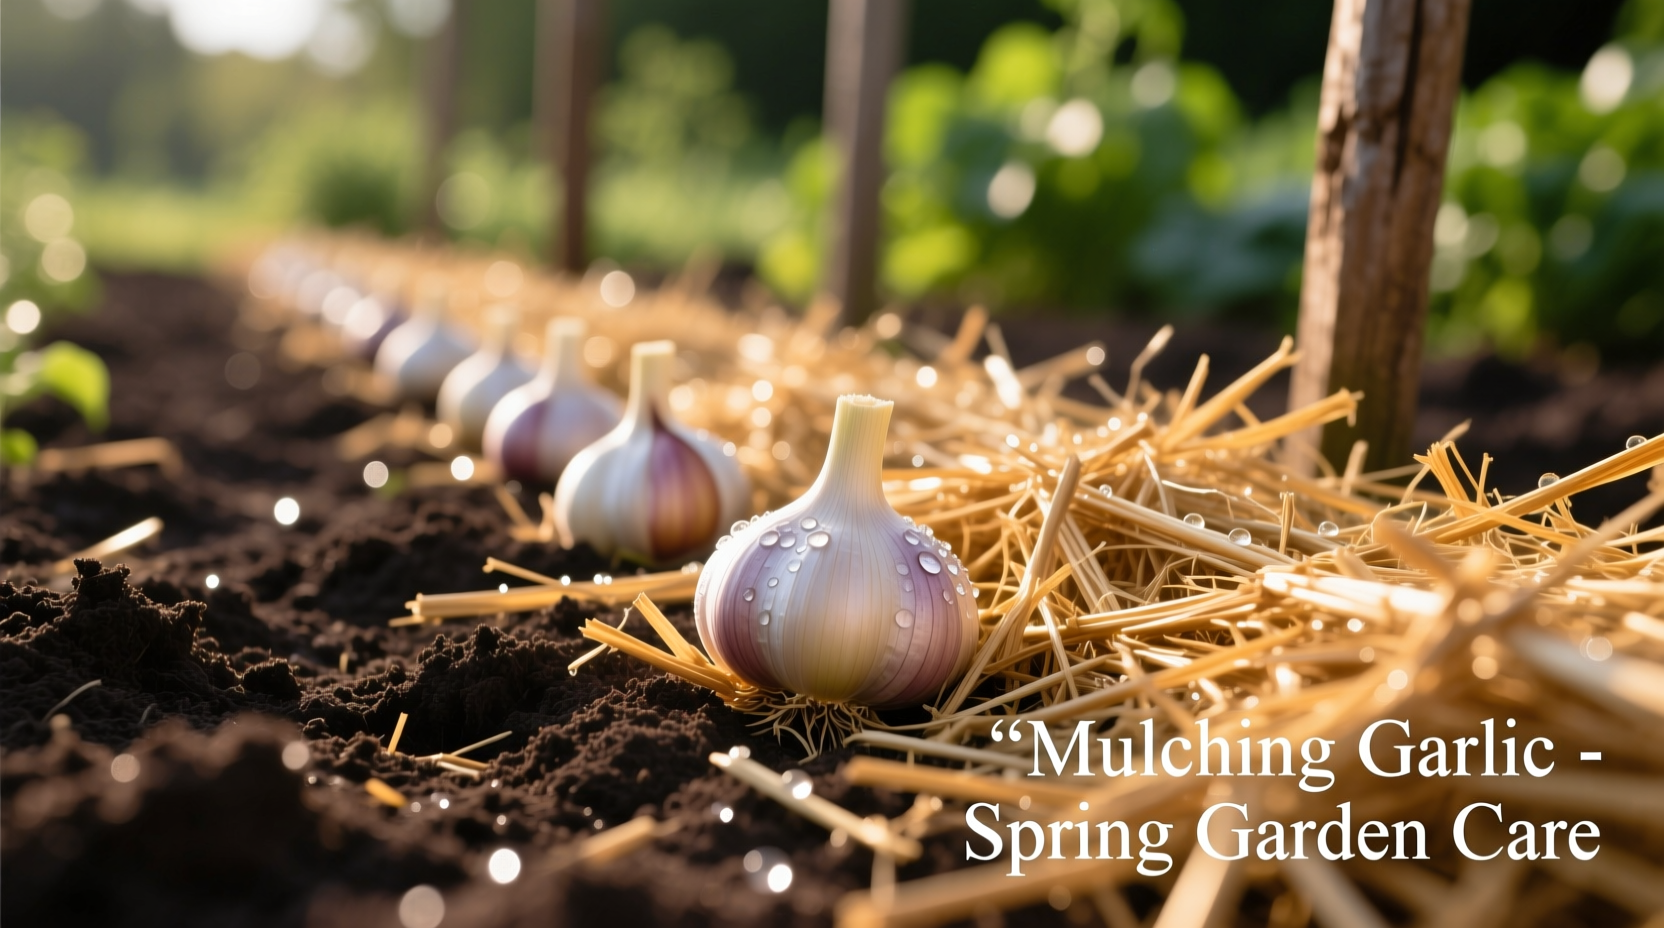
Apply 3-4 inches of organic mulch like straw or shredded leaves to garlic beds after planting in fall, ensuring coverage before first hard frost. This maintains consistent soil temperature, prevents heaving, conserves moisture, and suppresses weeds—boosting bulb size by up to 25% according to University of Vermont Extension research.
Why Proper Mulching Transforms Your Garlic Harvest
Garlic growers consistently report larger, more uniform bulbs when using strategic mulching techniques. Unlike other vegetables, garlic requires specific mulching approaches due to its unique growth cycle spanning two seasons. Getting this step right separates disappointing harvests from bountiful yields that last through winter storage.
When Timing Makes All the Difference
Mulching too early invites rodents; too late risks frost damage. The critical window opens after soil cools to 50°F (10°C) but before temperatures drop below 20°F (-7°C). In most USDA zones 3-7, this means late October to mid-November. Monitor your soil thermometer—garlic needs that sweet spot when cloves have established roots but aren't actively growing.
| USDA Zone | Optimal Mulching Window | Recommended Mulch Depth |
|---|---|---|
| 3-4 | Oct 15 - Nov 1 | 4-6 inches |
| 5-6 | Oct 25 - Nov 15 | 3-4 inches |
| 7-8 | Nov 1 - Dec 1 | 2-3 inches |
Choosing Your Mulch Material: Science-Backed Options
Not all mulches perform equally for garlic. Research from Cornell University's College of Agriculture reveals straw outperforms alternatives by maintaining optimal soil temperature fluctuations within 5°F—critical for preventing premature sprouting. Here's how common options compare:
- Straw (not hay): Provides ideal insulation while allowing air circulation. Free from weed seeds when sourced properly. Cornell studies show 22% larger bulbs compared to bare soil.
- Shredded leaves: Excellent nitrogen balance but must be finely shredded to prevent matting. Best combined with straw in 1:1 ratio.
- Wood chips: Avoid for garlic—ties up soil nitrogen during decomposition, stunting bulb development according to Oregon State University trials.
Step-by-Step Application Process
Follow this professional grower method for maximum effectiveness:
- Prepare beds after planting cloves 2-3 inches deep with 6-inch spacing
- Water thoroughly to settle soil around cloves
- Wait 7-10 days for initial root establishment
- Apply 3-4 inches of straw, ensuring complete coverage
- Gently water mulch to settle without displacement
- Replenish in late winter if compressed by snow
Avoid These 3 Costly Mulching Mistakes
Even experienced gardeners make these errors that compromise garlic development:
- Mulching before soil cools: Creates warm environment attracting mice and voles. Wait until after first light frost.
- Using whole leaves: Mats into impenetrable layer causing water runoff. Always shred leaves before application.
- Removing too early in spring: Premature removal exposes young shoots to temperature swings. Maintain mulch until consistent 50°F+ soil temps.
Spring Management: The Critical Transition
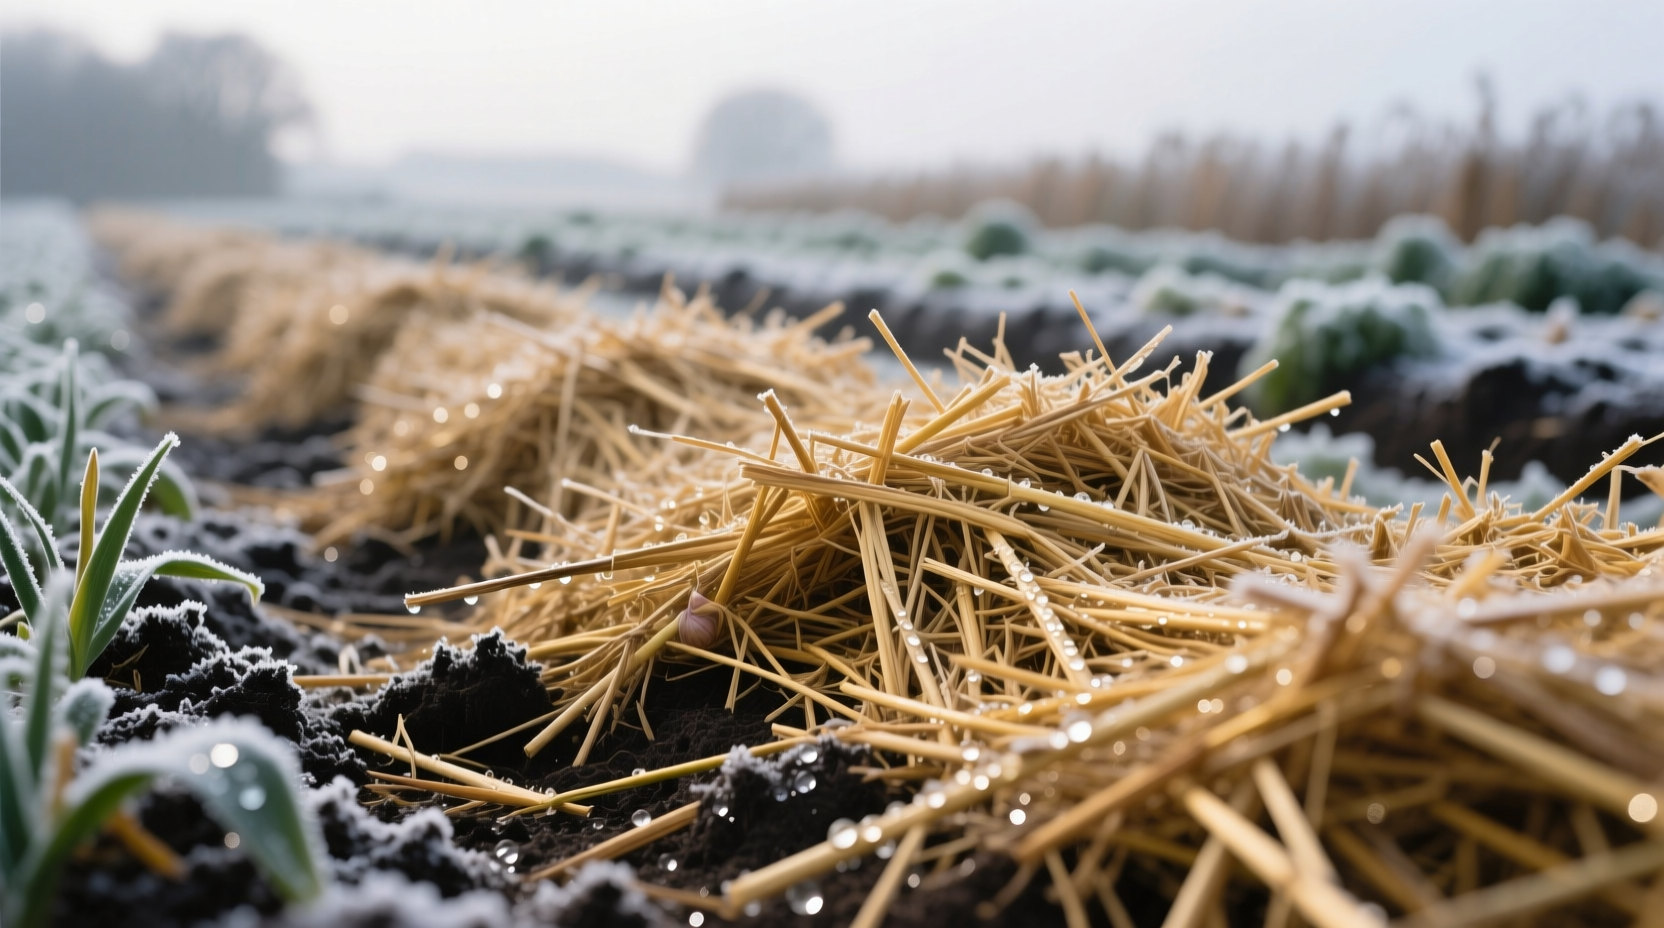
As temperatures rise, proper mulch management becomes crucial. University of Minnesota Extension recommends gradually pulling mulch away from emerging shoots in April rather than removing it entirely. This maintains soil moisture while allowing shoots to access sunlight. Complete removal should happen when shoots reach 6-8 inches tall—typically mid-May in northern climates.
Regional Adaptations for Success
Your climate dramatically affects mulching strategy:
- Cold climates (Zones 3-5): Apply thicker mulch (4-6") and consider double-layering with row cover before extreme cold.
- Moderate climates (Zones 6-7): Standard 3-4" application suffices. Watch for excessive moisture retention.
- Warm climates (Zones 8+): Mulch primarily for weed suppression after cloves sprout in late winter.
Measuring Your Mulching Success
Track these indicators to evaluate your technique:
- Soil temperature fluctuations remain under 10°F daily
- Winter weed emergence reduced by 70% or more
- Spring soil moisture levels stay consistently above 20%
- Final bulb size increases by 15-25% compared to unmulched test plot


 浙公网安备
33010002000092号
浙公网安备
33010002000092号 浙B2-20120091-4