
Grow Your Own Spice Garden: The Mini Chili Pepper Plant Guide
If you thought your kitchen was spicy enough, wait until you grow your own mini chili pepper plant on the windowsill. Not only do they add color and flair to your indoor garden, but they also pack a punch that could make a ghost pepper blush. Whether you're a culinary connoisseur or just someone who likes things with a little kick, this guide is here to turn your thumb green and your peppers red.
Table of Contents
- Why Go Mini? The Benefits of Tiny Peppers
- Best Mini Chili Varieties for Home Gardeners
- Top 10 Tips to Care for Your Mini Chili Pepper Plant
- Troubleshooting Common Issues
- Harvesting Like a Pro: When and How to Pick Your Peppers
- Spice Up Your Life: Creative Uses for Your Mini Chili Harvest
- Mini vs. Regular Chili Plants: A Quick Comparison
Why Go Mini? The Benefits of Tiny Peppers
Who needs acres of land when you can grow a fire-breathing dragon in a pot? Mini chili pepper plants are perfect for apartment dwellers, urban jungle warriors, and anyone who loves spice but doesn’t want to commit to full-blown farm life. Here’s why going mini makes sense:
- They take up less space (hello, countertop garden!).
- Easier to control pests and diseases indoors.
- Quick growth cycle—some varieties mature in under 60 days!
- Adorable as heck and great conversation starters.
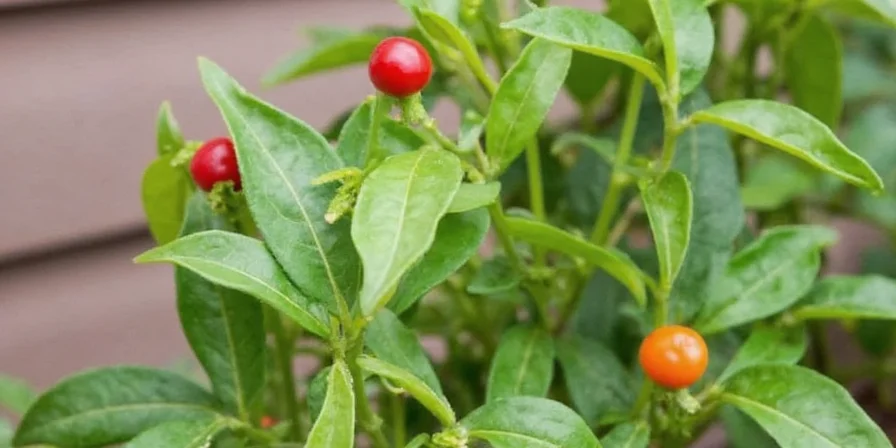
Best Mini Chili Varieties for Home Gardeners
Not all mini chilies are created equal. Some bring the heat, others bring the flavor, and a few just look cool on your desk. Here are our top picks:
- Fish – A tiny Thai pepper that punches way above its weight.
- Serrano Peppers – Compact, spicy, and easy to grow.
- Cubanelle – Lightly spicy with a citrusy note. Perfect for subtlety lovers.
- Hatch Green Minis – Smoky flavor with medium heat.
- Poblano Minis – Great for stuffing or roasting.
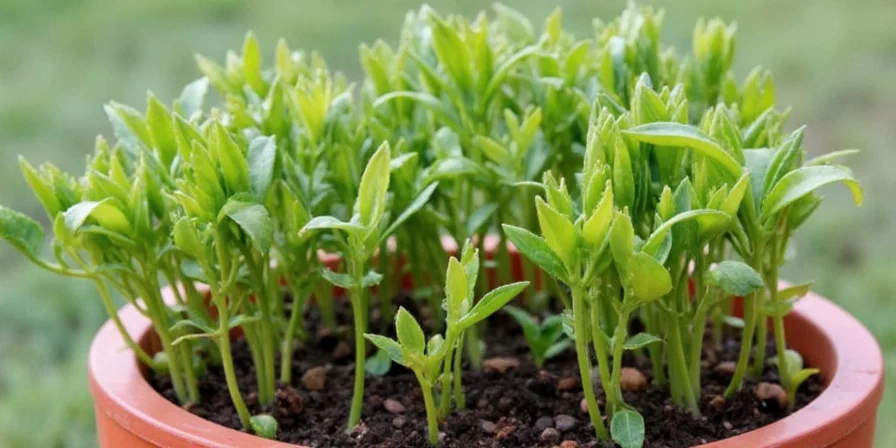
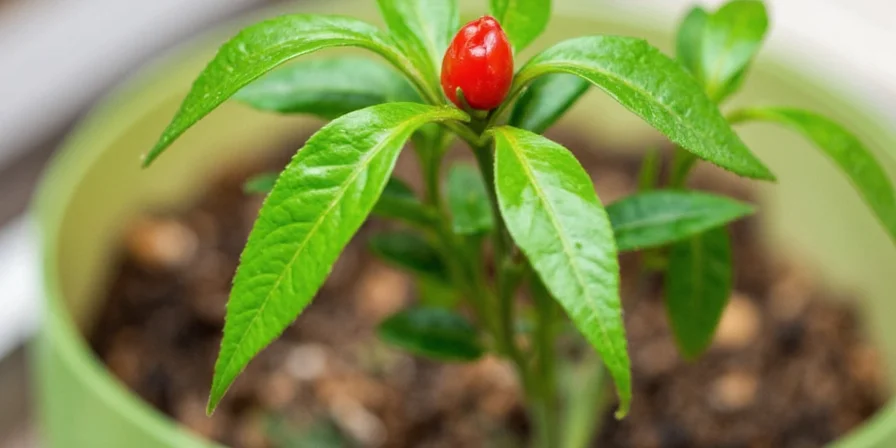
Top 10 Tips to Care for Your Mini Chili Pepper Plant
- Sunshine, sunshine, sunshine – These plants love light! At least 6–8 hours a day.
- Warm it up – Ideal temperature range is 70–90°F (21–32°C).
- Baby them with water – Keep the soil consistently moist but not soggy.
- Fertilize like you mean it – Use a balanced fertilizer every 2–3 weeks.
- Choose the right pot – Drainage holes are your friend. No swamp gardens!
- Prune like a pro – Pinch off early buds to encourage bushier growth.
- Mind the pH – Aim for 6.0–6.8 for optimal nutrient uptake.
- Beware the bugs – Aphids and spider mites love peppers too. Check regularly.
- Support those stems – As plants get bushier, stakes or cages help prevent breakage.
- Rotate for even growth – Turn pots weekly so all sides get sun exposure.
Troubleshooting Common Issues
Even the most dedicated gardener runs into problems. Here’s how to fix common mini chili pepper plant issues:
- Yellow leaves – Overwatering or lack of nutrients. Adjust watering and fertilize more often.
- No flowers or fruit – Too much nitrogen or not enough sun. Switch fertilizers and move to a sunnier spot.
- Dropping flower buds – Likely due to low humidity or temperature swings.
- White powdery spots – Could be powdery mildew. Remove affected leaves and improve airflow.
- Leaves chewed up – Insects! Treat with neem oil or insecticidal soap.
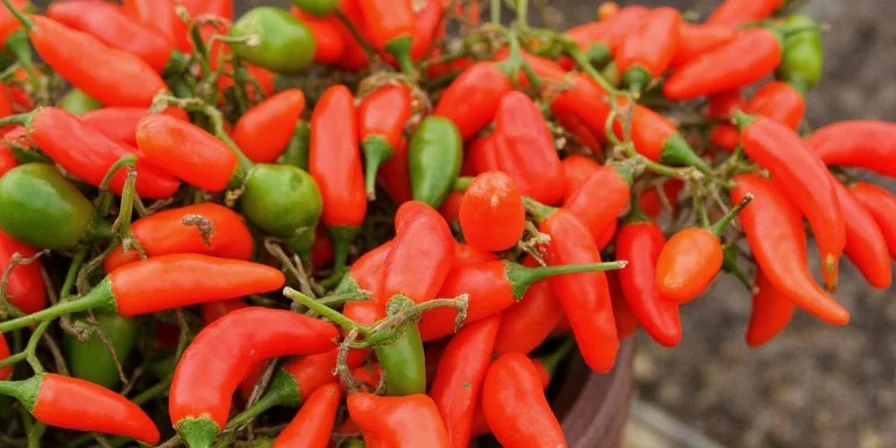
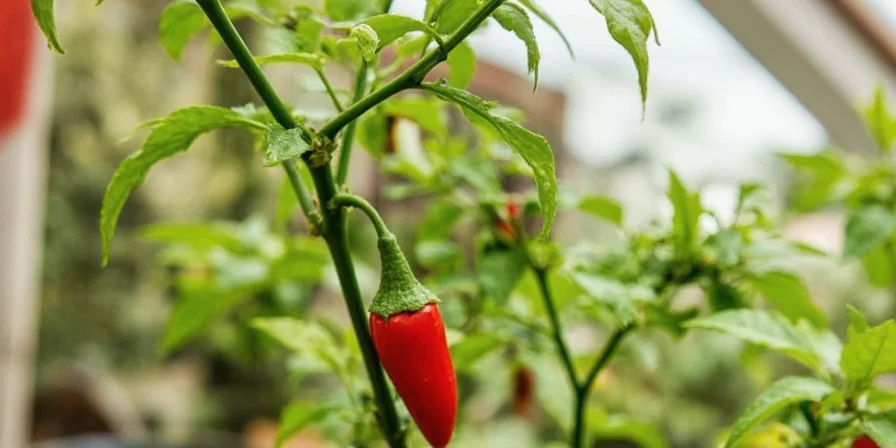
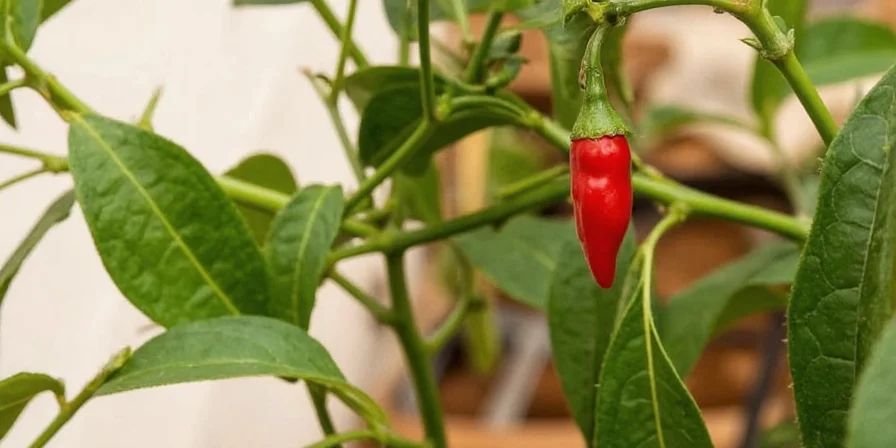
Harvesting Like a Pro: When and How to Pick Your Peppers
You’ve waited patiently, watered religiously, sung songs to your pepper baby… Now it’s time to reap the fiery rewards. But when exactly should you harvest?
- Peppers change color as they ripen—from green to red, orange, or even purple.
- Color = flavor. Green peppers are milder; red/orange/yellow ones are sweeter and spicier.
- Use sharp scissors or shears to cut the stem—don’t yank!
- You can harvest anytime, but leaving them longer intensifies the flavor and heat.

Spice Up Your Life: Creative Uses for Your Mini Chili Harvest
Congratulations—you’re now the proud owner of homegrown spice. Here’s what to do with all those deliciously hot peppers:
- Make your own homemade hot sauce.
- Infuse oils for cooking or DIY beauty products.
- Freeze whole peppers for later use in soups and stews.
- Dry them for a rustic kitchen decoration that doubles as future seasoning.
- Add finely chopped chilies to guacamole, pasta sauces, or cocktails like Bloody Marys.
- Turn them into pickled jalapeños or chili honey.
- Dehydrate and grind into custom chili powder.
Mini vs. Regular Chili Plants: A Quick Comparison
| Feature | Mini Chili Plants | Regular Chili Plants |
|---|---|---|
| Size | Compact, ideal for pots | Larger, need more space |
| Heat Level | Varies, some extremely hot | Varies by variety |
| Growth Time | Fast (50–80 days) | Medium (60–120+ days) |
| Ideal Location | Indoor/outdoor containers | Outdoor beds or large pots |
| Yield | Moderate to high per plant | High overall yield |
| Maintenance | Easier to manage | More hands-on care needed |
Conclusion
There you have it—a complete crash course in cultivating your very own mini chili pepper plant. Whether you're looking to spice up your meals, impress your friends with your green thumb skills, or simply enjoy the satisfaction of growing something edible, these pint-sized powerhouses deliver big results in a small package.
Remember: mini doesn't mean mild. Handle with care, grow with passion, and let your inner chef go wild with the flavors. And if things don’t go perfectly at first? Don’t worry—we all started somewhere between burnt seeds and accidental chili explosions in the blender.
Happy planting, spice warriors. May your peppers be plentiful and your lips slightly numb.


 浙公网安备
33010002000092号
浙公网安备
33010002000092号 浙B2-20120091-4