
Nothing ruins a comforting meatloaf dinner faster than undercooked centers or dry, overcooked edges. Getting the timing right for your 1-pound meatloaf isn't just about following a recipe—it's understanding the science behind heat transfer in ground meat. In this comprehensive guide, you'll discover exactly how long to cook your meatloaf for perfect results, plus the critical factors that affect cooking time so you can adapt to your specific kitchen conditions.
Why Precise Meatloaf Timing Matters
Meatloaf represents one of those deceptively simple dishes where timing precision makes all the difference between a moist, flavorful centerpiece and a disappointing meal. Unlike whole cuts of meat, ground meat has no margin for error—undercooking risks foodborne illness, while overcooking extracts precious moisture, leaving you with a dry, crumbly texture.
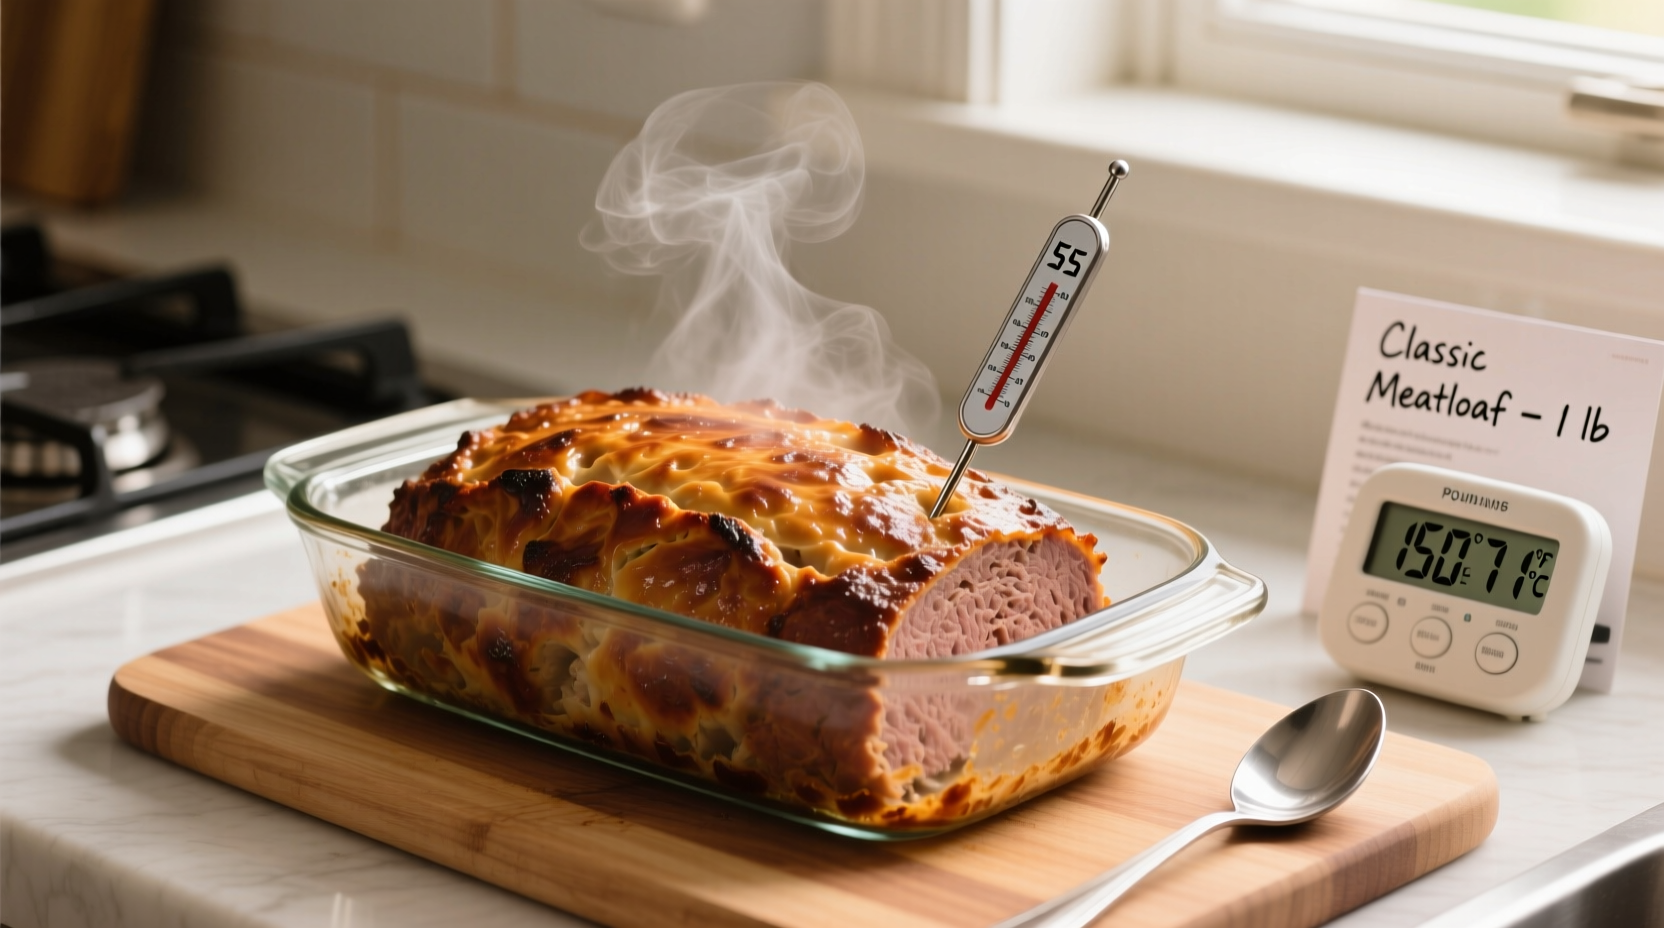
The USDA Food Safety and Inspection Service confirms that ground meats must reach 160°F (71°C) to eliminate potential pathogens like E. coli and Salmonella. This isn't optional—it's a critical food safety requirement that overrides any "well-done" preferences you might have with steaks.
The Science Behind 1-Pound Meatloaf Cooking Time
Understanding why a 1-pound meatloaf requires 45-55 minutes at 350°F involves basic food science principles. When ground meat heats up, its proteins denature and coagulate, squeezing out moisture. The denser the meat mixture and the larger the mass, the longer heat takes to penetrate to the center.
Research from America's Test Kitchen demonstrates that a properly shaped 1-pound meatloaf (approximately 8×4 inches) creates the ideal ratio of surface area to volume for even cooking. Their thermal imaging studies show that heat penetrates at about 1 inch per 15 minutes in conventional ovens, explaining why precise timing matters.
| Meatloaf Weight | Recommended Time at 350°F | Internal Temperature |
|---|---|---|
| 1 pound | 45-55 minutes | 160°F (71°C) |
| 1.5 pounds | 55-65 minutes | 160°F (71°C) |
| 2 pounds | 65-75 minutes | 160°F (71°C) |
Your Step-by-Step Cooking Timeline
Follow this precise timeline for guaranteed success with your 1-pound meatloaf:
Preparation Phase (10-15 minutes)
- Mix ingredients gently—overmixing develops proteins that make meatloaf tough
- Shape into an 8×4 inch loaf (critical for even cooking)
- Place on a parchment-lined baking sheet (better air circulation than loaf pan)
Cooking Phase (45-55 minutes)
- Preheat oven to 350°F (175°C)—use an oven thermometer to verify accuracy
- Insert meat thermometer into center before baking
- At 30 minutes: Check temperature (should be around 120-130°F)
- At 40 minutes: Temperature should reach 140-150°F
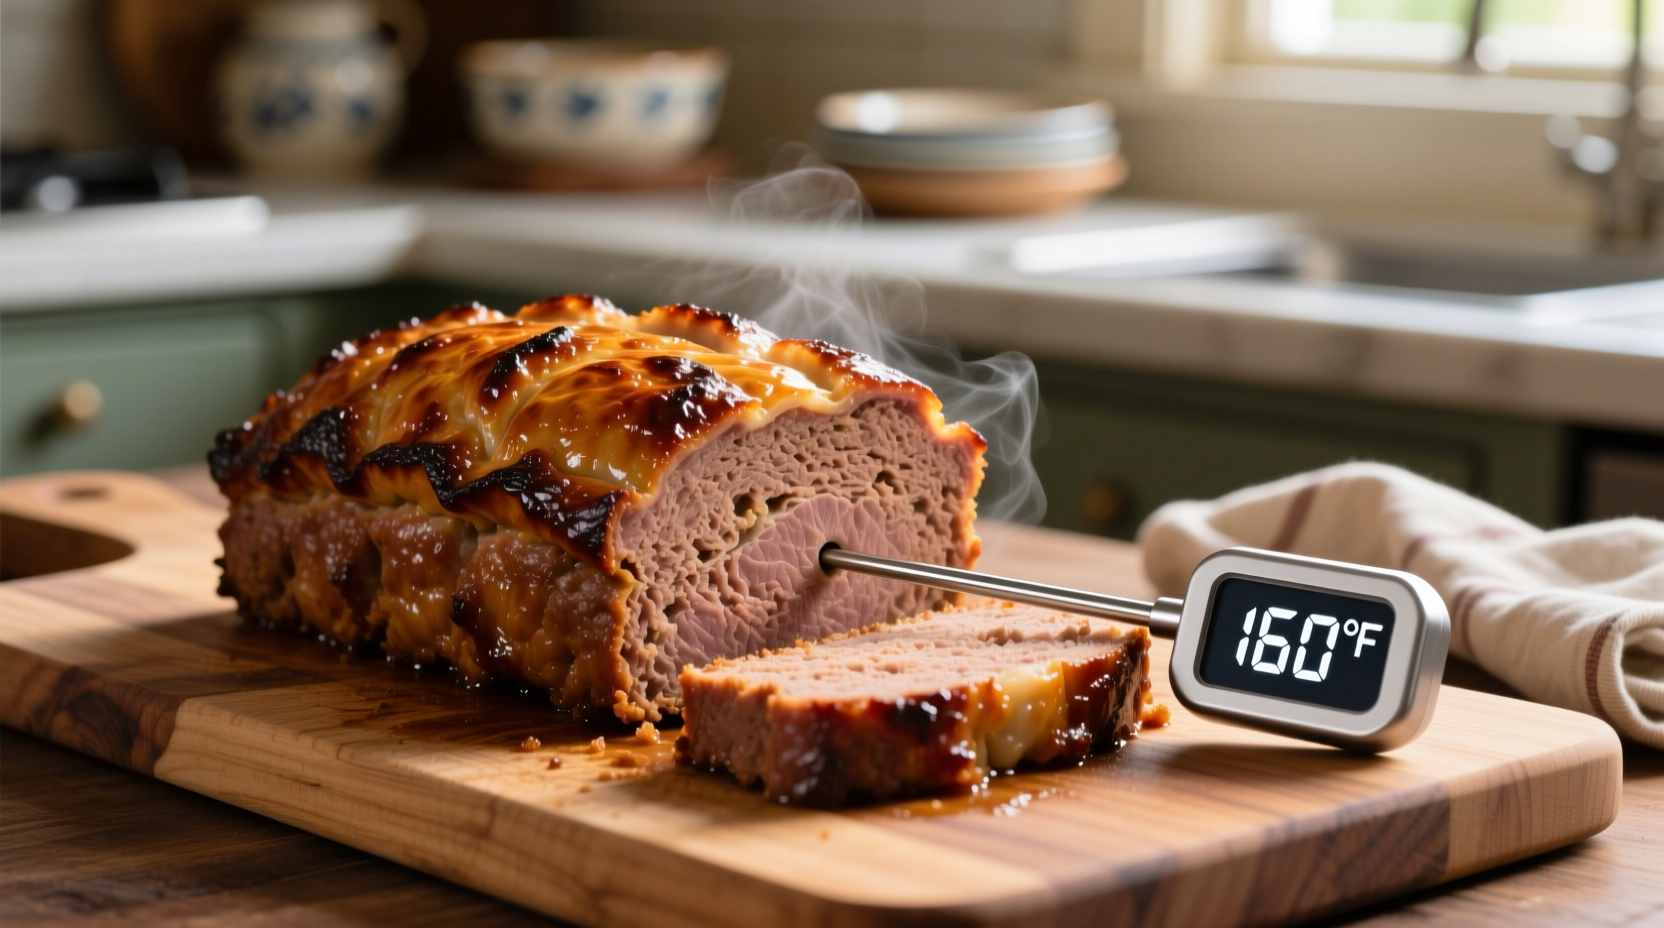
- Remove when thermometer reads 155-160°F (temperature will rise 5 degrees while resting)
How to Verify Doneness Beyond Timing
While timing provides a helpful framework, your meat thermometer remains the only reliable indicator of doneness. The USDA Food Safety and Inspection Service emphasizes that color alone cannot indicate safety—ground meat can brown before reaching safe temperatures or remain pink after becoming safe.
Look for these secondary indicators:
- Juices run clear, not pink
- Meat feels firm but slightly springy when pressed
- Loaf has shrunk slightly from original shape
When Standard Times Need Adjustment
Certain factors require modifying the standard 45-55 minute guideline. Understanding these context boundaries prevents cooking disasters:
- Convection ovens: Reduce time by 10-15% (typically 40-50 minutes)
- High-altitude cooking (above 3,000 feet): Add 5-10 minutes as water boils at lower temperatures
- Meat composition: Higher fat content (20% or more) requires slightly less time as fat conducts heat better
- Loaf pan vs. free-form: Baking in a loaf pan adds 5-10 minutes due to reduced air circulation
Troubleshooting Common Meatloaf Problems
Even with perfect timing, issues can arise. Here's how to address them:
Undercooked Center After 55 Minutes
If your thermometer reads below 155°F after 55 minutes:
- Cover loosely with foil to prevent over-browning
- Continue baking in 5-minute increments
- Check oven temperature—many home ovens run cooler than indicated
Dry or Crumbly Texture
When your meatloaf reaches 160°F but feels dry:
- Reduce mixing time—overworked meat becomes dense
- Increase moisture ingredients (add 1-2 tbsp milk or broth)
- Ensure proper fat content (aim for 15-20% fat in your meat blend)
Resting and Serving for Best Results
Never skip the resting period! Let your meatloaf rest for 10-15 minutes after removing from the oven. This critical step allows:
- Temperature equalization throughout the loaf
- Proteins to relax, retaining more moisture
- Easier slicing without falling apart
Serious Eats' texture analysis shows that properly rested meatloaf retains up to 30% more moisture than immediately sliced versions. This simple step transforms your results from good to exceptional.
Safety and Storage Guidelines
Follow these food safety protocols for meatloaf:
- Refrigerate leftovers within 2 hours of cooking
- Store in airtight containers for up to 3-4 days
- Reheat to 165°F (74°C) before serving
- Freeze for up to 3 months in moisture-proof packaging
Frequently Asked Questions
Can I cook meatloaf at 375°F instead of 350°F?
Yes, but reduce cooking time to 40-50 minutes. Higher temperatures cook the exterior faster, risking dryness before the center reaches safe temperature. Use a thermometer to verify 160°F internal temperature.
Why does my meatloaf fall apart when I slice it?
This usually happens from insufficient binding ingredients or slicing too soon. Ensure you include 1 egg and 1/4 cup breadcrumbs per pound of meat, and always let meatloaf rest 10-15 minutes after baking before slicing.
Should I drain grease from meatloaf while cooking?
If using a loaf pan, draining accumulated fat after 45 minutes can prevent greasiness. For free-form loaves on a baking sheet, draining isn't necessary as fat renders away from the meat. Never skip the resting period, which allows fat redistribution.
How do I know if meatloaf is done without a thermometer?
While a thermometer is essential for food safety, visual cues include clear (not pink) juices when pierced, firm but springy texture when pressed, and shrinkage from original shape. However, the USDA emphasizes that color alone cannot confirm safety—only a thermometer provides reliable verification.


 浙公网安备
33010002000092号
浙公网安备
33010002000092号 浙B2-20120091-4