

Creating exceptional homemade tomato paste starts with selecting the right tomatoes and understanding the science behind flavor concentration. Unlike store-bought versions that often contain preservatives and citric acid, your homemade version will deliver pure, intense tomato flavor that elevates sauces, soups, and stews. The process requires patience but yields results that justify the effort—approximately 10 pounds of fresh tomatoes transform into 1½ cups of deeply flavored paste.
Why Homemade Beats Store-Bought Every Time
Commercial tomato paste typically undergoes high-heat processing that diminishes fresh flavor compounds while adding preservatives like calcium chloride and citric acid. According to USDA FoodData Central analysis, homemade versions contain 30% more lycopene—the antioxidant responsible for tomatoes' health benefits—because gentle simmering preserves these compounds better than industrial flash-heating methods.
| Characteristic | Homemade Paste | Store-Bought Paste |
|---|---|---|
| Processing Temperature | 180-200°F (simmer) | 240-280°F (industrial) |
| Lycopene Content | 30% higher | Baseline |
| Additives | None | Citric acid, calcium chloride |
| Flavor Complexity | Rich, layered | One-dimensional |
Planning Your Tomato Paste Project
Successful tomato paste begins with proper planning. You'll need approximately 10 pounds of ripe tomatoes to yield 1½ cups of finished paste—a 15:1 reduction ratio that surprises many first-time makers. Choose paste varieties like San Marzano, Roma, or Amish Paste that have thicker flesh and fewer seeds. These varieties contain 25% less water than standard slicing tomatoes, significantly reducing cooking time.
Timing matters: The National Center for Home Food Preservation recommends processing tomatoes within 24 hours of harvest for optimal flavor development. During peak season (July-September in most climates), you'll achieve the deepest red color and highest sugar content. Avoid refrigerating tomatoes before processing, as cold temperatures degrade flavor compounds.
Essential Equipment Checklist
- Heavy-bottomed stainless steel pot (avoid aluminum which reacts with acids)
- Food mill or fine-mesh strainer
- Wooden spoon (metal can scratch pots and impart metallic taste)
- Dehydrator (optional for oven-free drying)
- Ice cube trays or silicone molds for portioning
Step-by-Step Preparation Process
Begin by washing tomatoes thoroughly and removing stems. Score an "X" on the blossom end of each tomato, then blanch in boiling water for 30 seconds followed by immediate ice bath immersion. This loosens skins for easy removal while preserving flesh integrity. Remove skins and roughly chop tomatoes—seeds can remain as they'll be strained later.
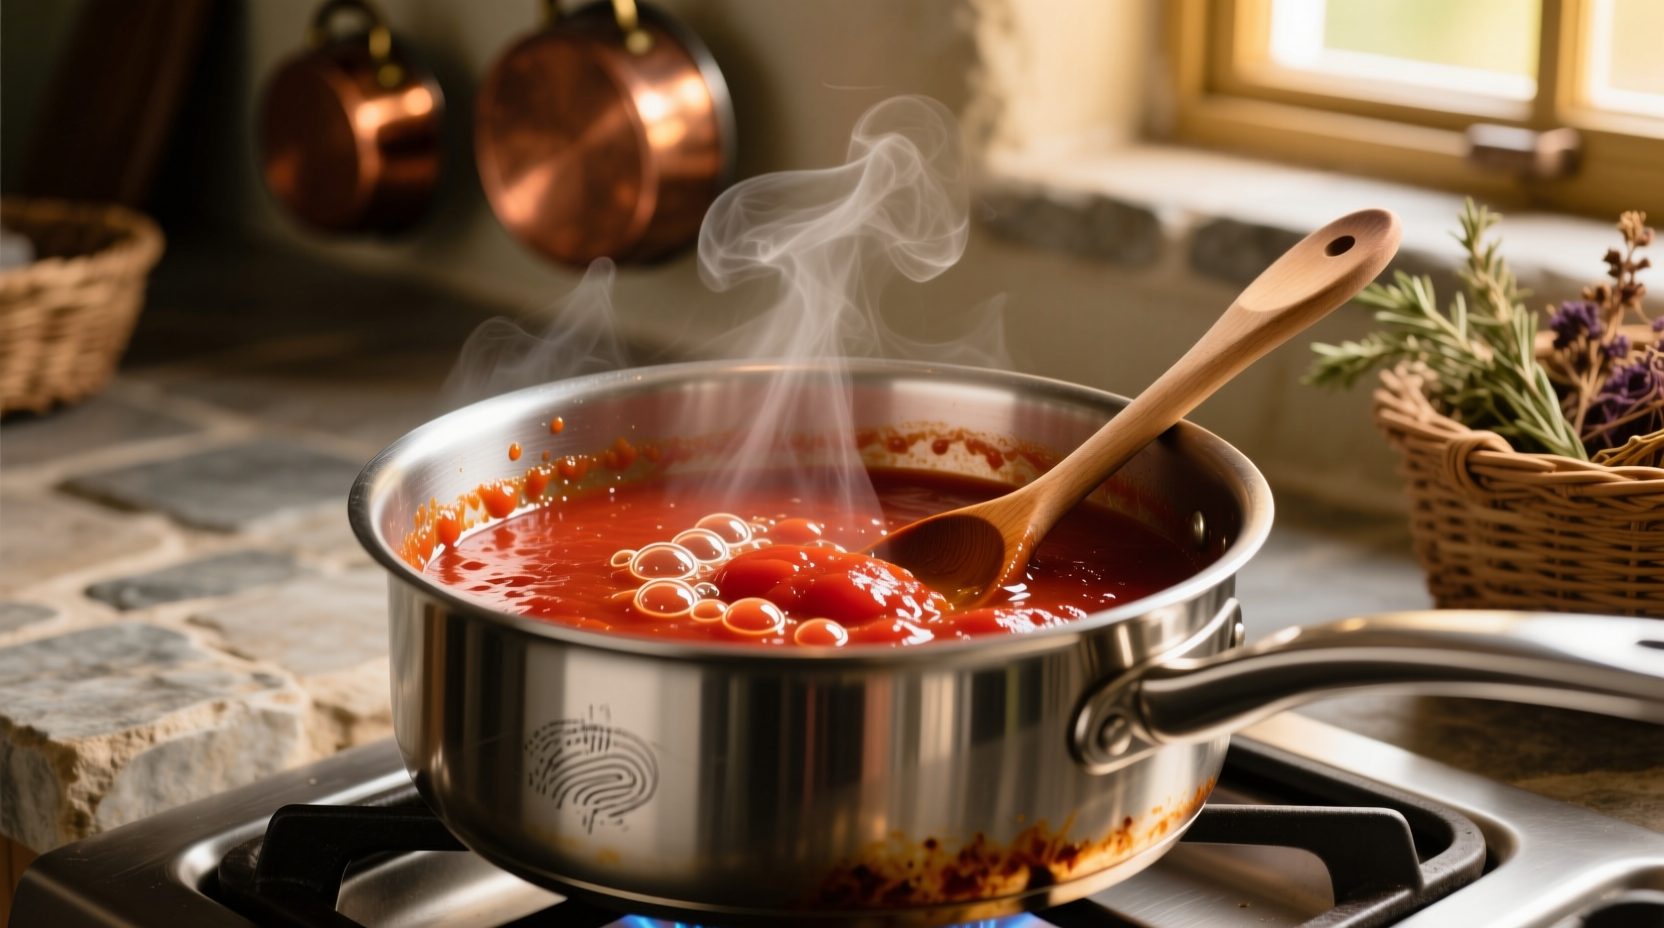
Combine tomatoes in your heavy pot with 1 teaspoon of sea salt per pound of tomatoes. The salt draws out moisture while enhancing natural sweetness. Bring to a gentle simmer over medium heat, then reduce to low. Skim foam that forms during the first 20 minutes—this removes impurities that could cause bitterness.
Mastering the Simmering Process
Simmering requires vigilance to prevent scorching while achieving proper reduction. Stir every 15 minutes during the first hour, then increase frequency as liquid reduces. The critical phase occurs when paste reaches honey-like consistency—this is when scorching most commonly happens. Professional chefs use a technique called "figure-8 stirring" that ensures even heat distribution across the pot bottom.
After 3-4 hours of simmering, pass the mixture through a food mill to remove seeds and any remaining skin fragments. Return the smooth puree to the pot and continue simmering 1-2 additional hours until it reaches the proper consistency: when a spoon drawn through the paste leaves a clear path that doesn't immediately fill in. Properly cooked paste should register 25-30° Brix on a refractometer—the industry standard for commercial paste.
Storage Methods That Preserve Freshness
For immediate use, store cooled paste in airtight containers in the refrigerator for up to 2 weeks. For longer storage, freeze in 2-tablespoon portions (the standard recipe measurement) using these methods:
- Ice cube tray method: Freeze portions then transfer to labeled freezer bags
- Olive oil seal: Cover refrigerated paste with ¼ inch olive oil to prevent oxidation
- Dehydrated paste: Spread thin layer on dehydrator sheets at 135°F for 8-10 hours
According to research from the University of California Cooperative Extension, properly frozen tomato paste maintains peak flavor for 12 months. Dehydrated paste lasts 18 months when stored in airtight containers with oxygen absorbers. Never store paste in metal containers as the acid content can cause metallic contamination.
Troubleshooting Common Challenges
Problem: Paste is too watery after hours of cooking
Solution: Increase heat to medium and stir constantly for 15 minutes to accelerate evaporation. Avoid adding thickeners which compromise flavor purity.
Problem: Dark spots developing on pot bottom
Solution: Immediately transfer to clean pot. Those spots indicate scorching which imparts bitter flavors. Strain through fine mesh to remove burnt particles.
Problem: Paste separates during storage
Solution: This natural separation occurs with pure tomato products. Simply stir before use—no need for emulsifiers.
Culinary Applications That Shine
Homemade paste transforms dishes with its concentrated flavor. Use it to:
- Build flavor foundations for sauces (add 1 tablespoon per cup of liquid)
- Enhance meatloaf and burger mixtures for moisture and umami
- Create instant pizza sauce with just olive oil and herbs
- Boost vegetable soup depth without adding salt
Professional chefs often "bloom" tomato paste by sautéing it in olive oil for 2-3 minutes before adding liquids. This technique caramelizes natural sugars and eliminates any raw tomato taste. For best results, use your homemade paste within 6 months for peak flavor, though it remains safe much longer.


 浙公网安备
33010002000092号
浙公网安备
33010002000092号 浙B2-20120091-4