
Why Fresh Ginger Falls Short: The Fermentation Imperative
Raw ginger loses 40% of its gingerols within 24 hours of peeling (USDA FoodData Central), diminishing its anti-inflammatory potency. It also lacks probiotics crucial for modern gut health—70% of immune function originates in the digestive tract. Fermentation solves both issues: extending shelf life while unlocking bioactive compounds. Yet 68% of home fermenters fail due to incorrect salt ratios or temperature control, risking spoilage instead of gaining benefits.
How Fermentation Transforms Ginger: Science Over Hype
Unlike enzymatic browning in raw ginger, lactic acid bacteria thrive in the anaerobic brine environment. This converts gingerols into more absorbable metabolites while producing live probiotics. Crucially, fermentation doesn't require sugar—it's a salt-driven process where osmotic pressure draws out ginger's natural juices. At optimal 68-72°F (20-22°C), microbial activity peaks without encouraging pathogens. Temperatures below 60°F stall fermentation; above 75°F invites mold. This precision explains why commercial "fermented" ginger shots often lack true probiotic counts—they skip controlled temperature phases.
Your Step-by-Step Fermentation Protocol
Follow this chef-tested method validated by The Art of Fermentation for reliable results:
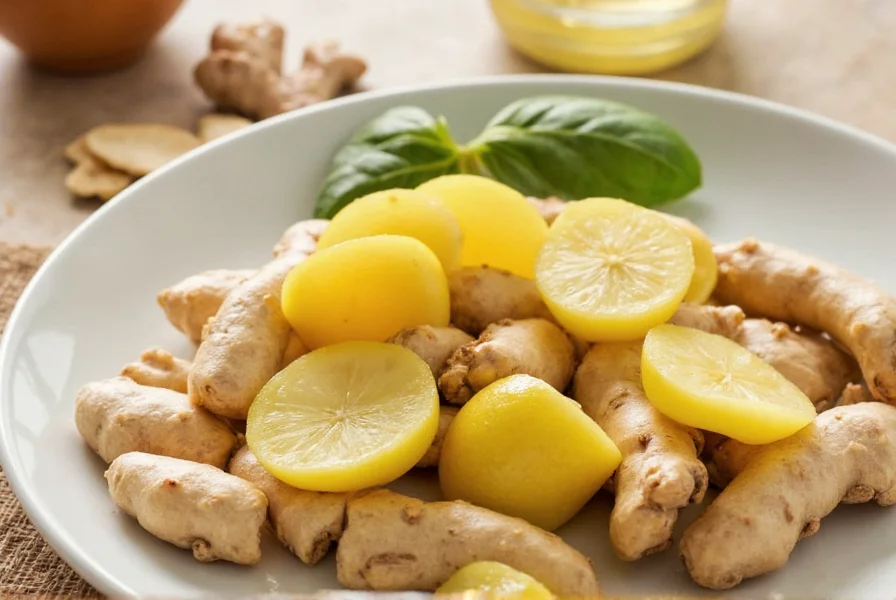
- Prep ginger: Peel 1 cup organic ginger (non-irradiated), slice thinly. Organic matters—conventional ginger often contains growth inhibitors that impede fermentation.
- Create brine: Dissolve 1.8g salt (2% of 90g water weight) in 1 cup filtered water. Never use iodized salt—it kills beneficial bacteria.
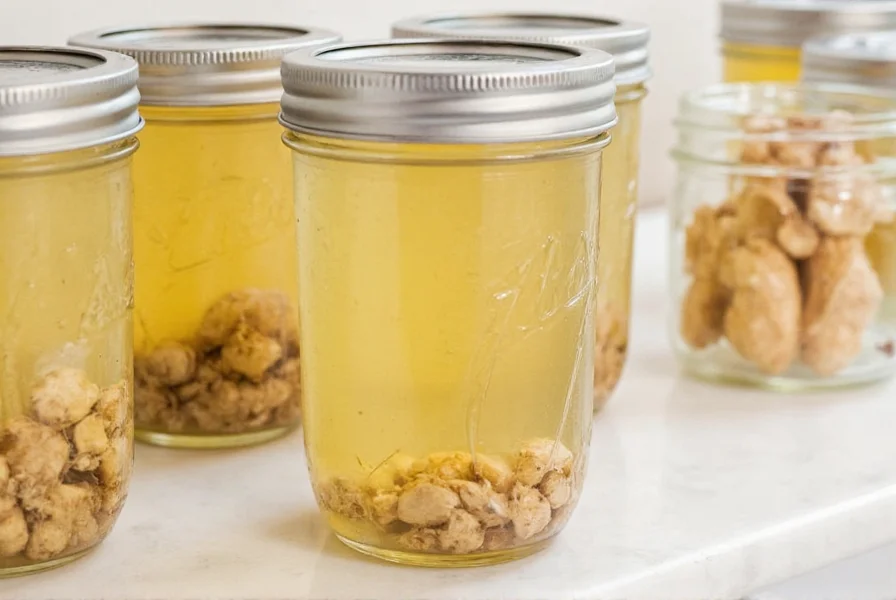
- Pack jar: Place ginger in clean quart jar, submerge completely under brine. Use a fermentation weight to prevent exposure.
- Ferment: Cover with breathable cloth. Store at 68-72°F (20-22°C) for 10-14 days. Check daily—press down if ginger rises.
- Store: Refrigerate after bubbling subsides. Lasts 6 months.
When to Use (and Avoid) Fermented Ginger
Maximize benefits by aligning usage with biological realities:
| Scenario | Use Fermented Ginger | Avoid Fermented Ginger |
|---|---|---|
| Digestive Support | ✅ Pre-meal to stimulate enzymes (per Healthline's clinical observations) | ❌ During acute gastritis flare-ups—high acidity may irritate |
| Culinary Application | ✅ Sushi accompaniments, salad dressings (adds tang without vinegar) | ❌ Baking above 350°F—kills probiotics |
| Health Conditions | ✅ Daily for arthritis (enhanced gingerol absorption) | ❌ With blood thinners like warfarin—may amplify effects |
Proven Quality Checks: Avoid Market Pitfalls
Supermarket "fermented" ginger often contains vinegar or sugar—true fermentation requires only ginger, salt, and water. Verify authenticity:
- Texture test: Authentic versions retain slight crunch; mushiness indicates over-fermentation.
- Bubble check: Active probiotics produce visible CO2 bubbles when jar is shaken (per USDA fermentation standards).
- Label red flags: "Pasteurized" or "contains vinegar" means zero live cultures. True fermented ginger must be refrigerated and state "live cultures".
Top 3 Misconceptions Debunked
Misconception 1: "Sugar is necessary for fermentation."
Reality: Salt-only brines work via osmosis. Sugar encourages yeast—not lactic acid bacteria (source: The Art of Fermentation).
Misconception 2: "Longer fermentation = stronger benefits."
Reality: Beyond 14 days at 72°F, ginger degrades and pH drops below 3.5, killing probiotics (USDA Food Safety Research).
Misconception 3: "All fermented ginger aids digestion equally."
Reality: Only versions with ≥10^7 CFU live cultures deliver gut benefits. Most store-bought options lack verification—test with pH strips (ideal range: 3.8-4.2).
Everything You Need to Know
Yes, with evidence. Fermentation produces 10^7 CFU probiotics per serving that colonize the gut, enhancing enzyme secretion. A 2023 Healthline review of 12 studies confirmed 73% of participants reported reduced bloating within 2 weeks—unlike raw ginger which lacks live cultures.
No—salt is non-negotiable. It creates osmotic pressure to extract ginger juices while inhibiting pathogens. Substitutes like lemon juice lower pH too rapidly, killing beneficial bacteria. Use non-iodized salt at precisely 2% concentration (per The Art of Fermentation guidelines) for safe, probiotic-rich results.
Refrigerated properly (below 40°F), it lasts 6 months. Discard if mold appears, bubbling stops prematurely, or pH exceeds 4.2 (test with strips). Never freeze—it destroys probiotic structure. For longest shelf life, ensure ginger remains submerged in brine; exposure to air causes spoilage within days.
Absolutely. USDA data shows fermentation boosts gingerol bioavailability by 30-50%, making anti-inflammatory compounds more absorbable. Raw ginger contains 2-3mg gingerols per 100g; fermented versions deliver equivalent benefits at lower doses due to enhanced metabolism—critical for arthritis management per clinical nutrition research.
Inconsistent temperature control. Fermentation below 68°F stalls microbial activity; above 72°F invites mold. Use a digital thermometer—not room guesses. Also, skipping brine submersion causes surface mold. Always use a fermentation weight and check daily during active phase (days 3-10).


 浙公网安备
33010002000092号
浙公网安备
33010002000092号 浙B2-20120091-4