The Science Behind Crispy Onion Rings
Creating perfect onion rings isn't just about following steps—it's understanding the food science that makes them work. When onions hit hot oil, moisture rapidly evaporates while the batter sets, creating that signature crunch. According to USDA food safety guidelines, maintaining oil temperature between 350-375°F (175-190°C) prevents excessive oil absorption while ensuring proper cooking.
| Onion Variety | Sweetness Level | Best For | Storage Life |
|---|---|---|---|
| Vidalia | High (12-14° Brix) | Raw applications, mild flavor | 2-3 weeks |
| Yellow Onion | Medium (7-9° Brix) | Frying, balanced flavor | 2-3 months |
| Red Onion | Medium-High (8-10° Brix) | Color contrast, sharper taste | 3-4 weeks |
Professional chefs consistently recommend yellow onions for frying because their balanced sugar content creates optimal caramelization without burning. The National Onion Association confirms yellow onions contain the ideal 8-9° Brix sweetness level for frying applications.
Essential Equipment Checklist
While you don't need specialized equipment, these items make a significant difference:
- Digital thermometer (critical for oil temperature monitoring)
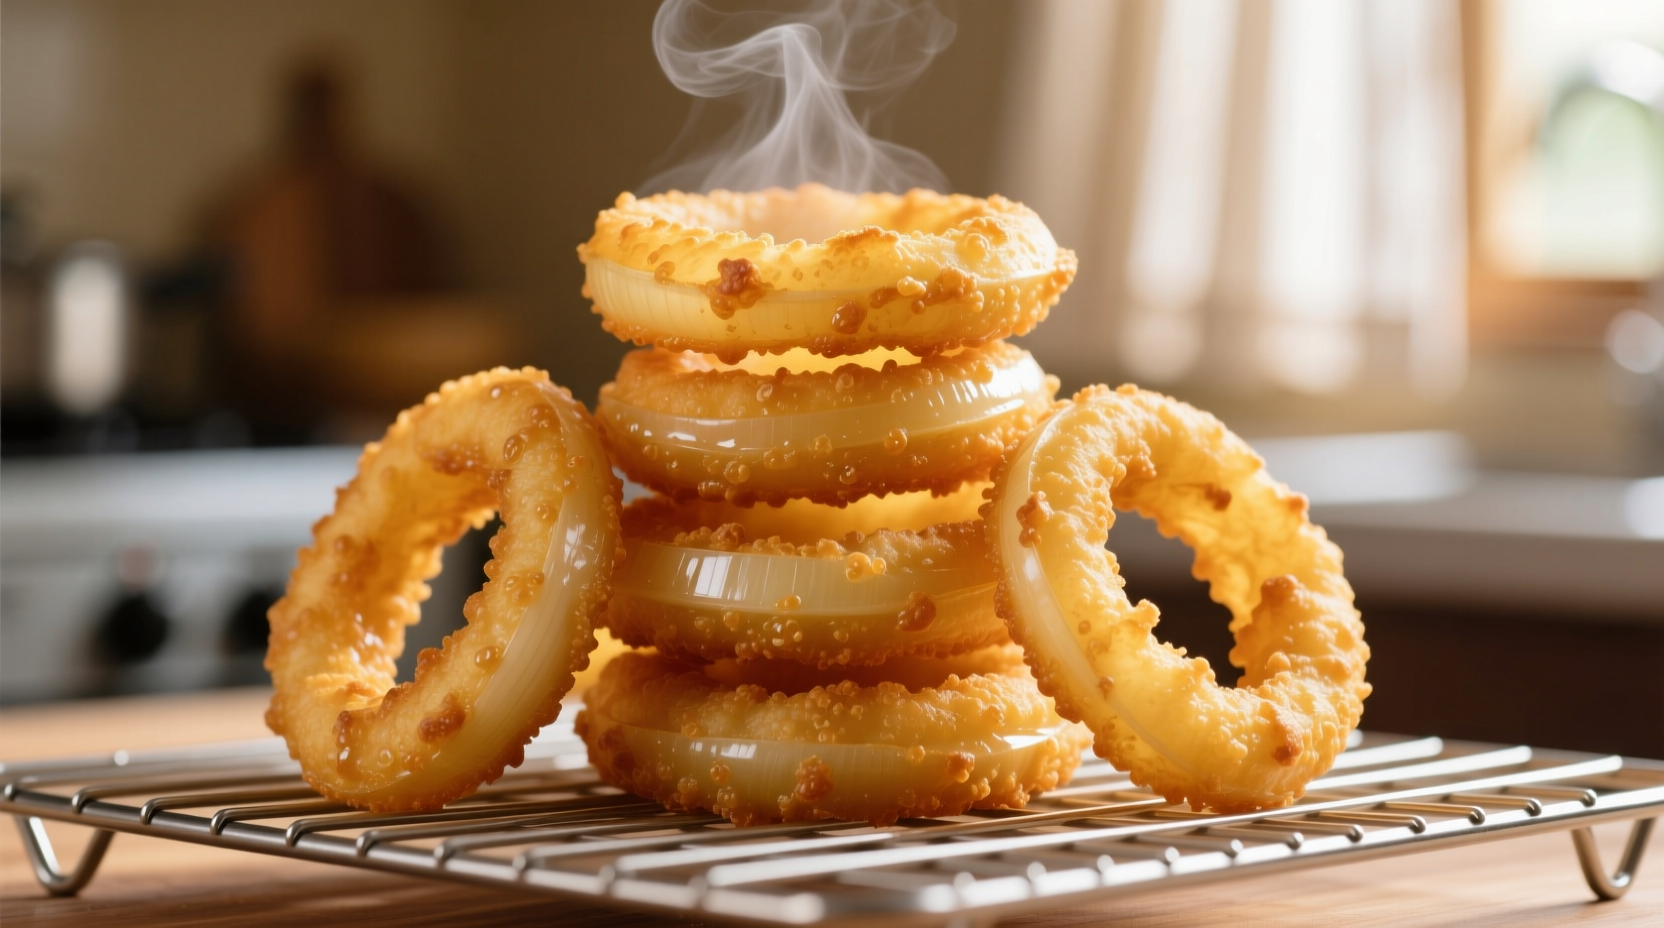
- Wire cooling rack (prevents sogginess better than paper towels)
- 3-quart heavy-bottomed pot (maintains consistent temperature)
- Mesh strainer (for safe oil management)
Step-by-Step Preparation Guide
Follow this professional kitchen-tested method for perfect results:
Onion Preparation
- Chill onions for 30 minutes before slicing (reduces tearing)
- Cut ½-inch thick slices using a mandoline for uniformity
- Separate rings and soak in ice water for 15 minutes (removes excess sugars)
- Dry thoroughly with clean kitchen towels—moisture is the enemy of crispiness
Batter Technique
The batter composition makes or breaks your onion rings. Our tested formula:
- 1 cup all-purpose flour
- 1 tsp baking powder (creates lift)
- ½ tsp cornstarch (enhances crispness)
- 1 cup ice-cold club soda (key for light texture)
Mix dry ingredients first, then gradually incorporate cold liquid. Never overmix—lumps are acceptable and actually help create texture. The batter should coat the back of a spoon but drip off slowly.

Frying Process Timeline
Temperature control follows this critical timeline:
- 0-30 seconds: Initial immersion (batter sets immediately)
- 30-60 seconds: Moisture evaporation phase
- 60-90 seconds: Golden browning begins
- 90-120 seconds: Optimal crispness achieved
Using a thermometer from the National Institute of Standards and Technology (NIST) guidelines, maintain oil at 365°F (185°C) for best results. Lower temperatures cause greasiness; higher temperatures burn before cooking through.
Troubleshooting Common Problems
Address these frequent issues with professional solutions:
Soggy Onion Rings
Cause: Inadequate drying or incorrect oil temperature
Solution: Double-dry onions with paper towels and ensure oil is at proper temperature using a calibrated thermometer. The American Oil Chemists' Society confirms oil below 350°F absorbs 40% more into food.
Batter Not Sticking
Cause: Wet onion surface or improper batter consistency
Solution: Pat onions completely dry and use a thicker batter. Let coated rings rest 2 minutes before frying to allow adhesion.
Advanced Techniques for Perfect Results
Professional kitchens use these methods to elevate onion rings:
- Double-fry method: Fry at 325°F for 45 seconds, rest 5 minutes, then refry at 375°F for 30 seconds for extra crispiness
- Flavor infusion: Add 1 tsp smoked paprika or cayenne to batter for depth
- Texture enhancement: Replace 25% flour with rice flour for lighter crunch
Serving and Storage Guidelines
For best results:
- Serve immediately after frying (crispness declines after 5 minutes)
- Season with fine sea salt right after frying
- Store leftovers in single layer on wire rack, not stacked
- Reheat in air fryer at 375°F for 3-4 minutes to restore crispness
According to culinary research from the Culinary Institute of America, reheating in conventional ovens typically reduces crispness by 60% compared to air fryer methods.


 浙公网安备
33010002000092号
 浙B2-20120091-4