
For decades, home cooks across America have sought the perfect bowl of chili, and few recipes have achieved the cult status of Lindy's chili. This isn't a commercial product or restaurant chain, but rather a cherished family recipe that has spread through communities, cooking blogs, and social media. The recipe's enduring popularity stems from its perfect balance of heat, richness, and complexity that transforms simple pantry ingredients into something extraordinary.
The Story Behind Lindy's Chili
The origins of Lindy's chili trace back to Midwest home kitchens in the mid-20th century. While the exact creator remains somewhat mysterious—like many beloved family recipes—"Lindy" likely refers to a home cook whose version became the gold standard among friends and family. What began as a simple weeknight dinner evolved into a recipe so consistently praised that it earned the maker's first name as its identifier.
Unlike regional chili variations that might exclude beans or feature unusual ingredients, Lindy's chili represents the classic American approach that most home cooks recognize and love. It's the kind of recipe that appears in church cookbooks, gets scribbled on index cards, and is "just a little better" at your grandmother's house.
Authentic Lindy's Chili Recipe
While variations exist, the following represents the most commonly shared version of the authentic Lindy's chili recipe that has stood the test of time:
| Ingredients | Quantity |
|---|---|
| Ground beef (80/20) | 2 pounds |
| Yellow onion, diced | 1 large |
| Celery, finely chopped | 2 stalks |
| Garlic, minced | 4 cloves |
| Crushed tomatoes | 28 ounces |
| Tomato sauce | 8 ounces |
| Red kidney beans, drained | 2 cans (15 oz each) |
| Beef broth | 2 cups |
| Chili powder | 3 tablespoons |
| Ground cumin | 2 tablespoons |
| Paprika | 1 tablespoon |
| Unsweetened cocoa powder | 1 teaspoon |
| Dried oregano | 1 teaspoon |
| Bay leaves | 2 |
| Salt and black pepper | To taste |
Step-by-Step Preparation
- Brown the ground beef in a large pot or Dutch oven over medium-high heat, breaking it into small pieces as it cooks. Drain excess fat but retain about 2 tablespoons for flavor.
- Add diced onion and celery to the pot with the beef. Cook until vegetables are softened, about 5-7 minutes.
- Stir in minced garlic and cook for 1 minute until fragrant.
- Add all spices (chili powder, cumin, paprika, cocoa powder, oregano) and stir to coat the meat and vegetables, cooking for 1-2 minutes to toast the spices.
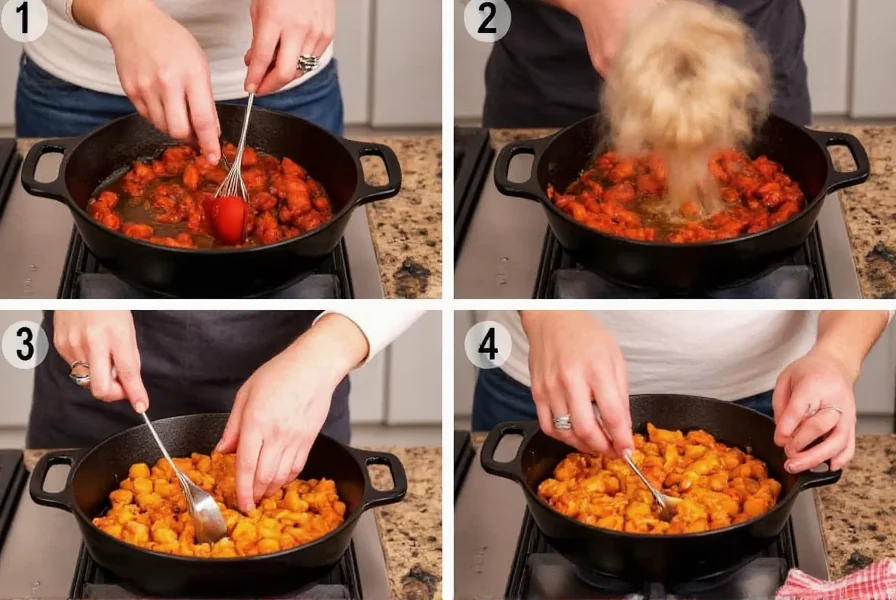
- Pour in crushed tomatoes, tomato sauce, kidney beans, and beef broth. Add bay leaves.
- Bring to a simmer, then reduce heat to low. Cover and let simmer gently for at least 90 minutes, preferably 2-3 hours, stirring occasionally.
- Remove bay leaves before serving. Adjust salt and pepper to taste.
Perfecting Your Lindy's Chili: Expert Techniques
The difference between good chili and exceptional Lindy's chili lies in technique. Many home cooks rush the process, but true depth of flavor requires patience and attention to detail.
The Maillard reaction matters: When browning your beef, resist the urge to stir too frequently. Allow proper searing to develop complex flavors through the Maillard reaction. This chemical process creates hundreds of new flavor compounds that form the foundation of great chili.
Spice blooming is essential: Adding spices directly to the meat-fat mixture and cooking them for 1-2 minutes before adding liquids "blooms" the spices, releasing their essential oils and creating a more integrated flavor profile. This simple step makes a dramatic difference in the final product.
Low and slow wins the race: While 30 minutes might seem sufficient, authentic Lindy's chili requires at least 90 minutes of gentle simmering. During this time, flavors meld, connective tissues break down, and the cocoa powder (a signature element) works its magic to deepen and round out the overall flavor without making the chili taste chocolatey.
Variations and Adaptations
While purists might argue that any change to the classic Lindy's chili recipe is sacrilege, practical home cooks have developed thoughtful adaptations that maintain the spirit of the original while accommodating different preferences and dietary needs.
Meat Variations
- Turkey or chicken chili: Substitute ground turkey or chicken for a leaner version. Add 1 tablespoon of smoked paprika to compensate for the milder flavor.
- Vegetarian Lindy's chili: Omit meat entirely and use 2 additional cans of beans (pinto or black beans work well) plus 8 ounces of chopped mushrooms for umami depth.
- Beef and pork combination: Replace 1 pound of beef with coarsely ground pork for added richness.
Heat Level Adjustments
The beauty of Lindy's chili is its customizable heat level. The base recipe provides moderate warmth that appeals to most palates, but you can easily adjust:
- Mild version: Reduce chili powder to 2 tablespoons and add 1 teaspoon of sweet paprika.
- Medium heat: Keep the standard recipe but add 1 diced jalapeño (seeds removed) when cooking the onions.
- Spicy version: Add 1-2 diced serrano peppers and 1/4 teaspoon of cayenne pepper along with the other spices.
Serving Suggestions and Traditional Pairings
Lindy's chili shines when served with complementary sides that enhance its rich flavors without overwhelming them. Traditional pairings include:
- Cornbread: The slightly sweet, crumbly texture provides perfect contrast to the hearty chili. A cast-iron skillet cornbread with honey butter is ideal.
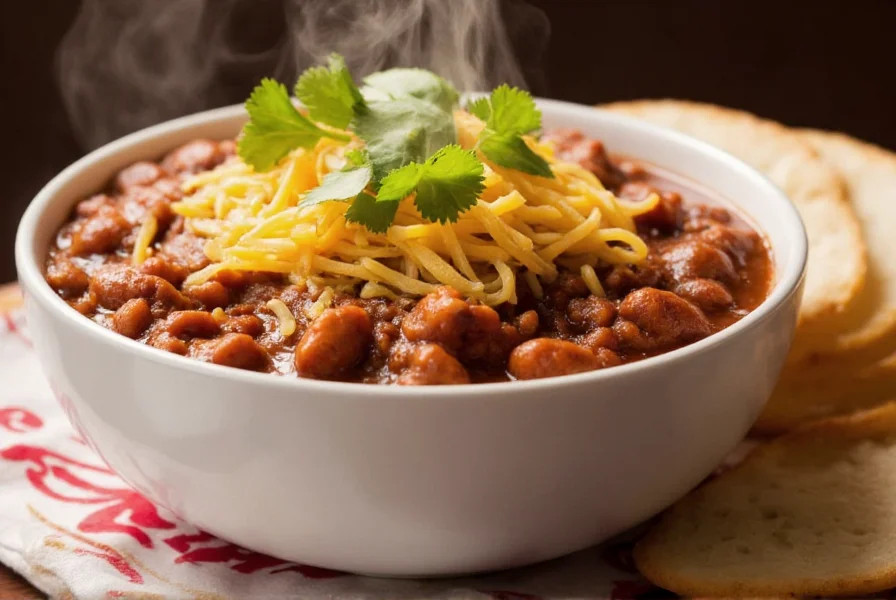
- Saltine crackers: A classic accompaniment that adds textural contrast and helps moderate each spoonful.
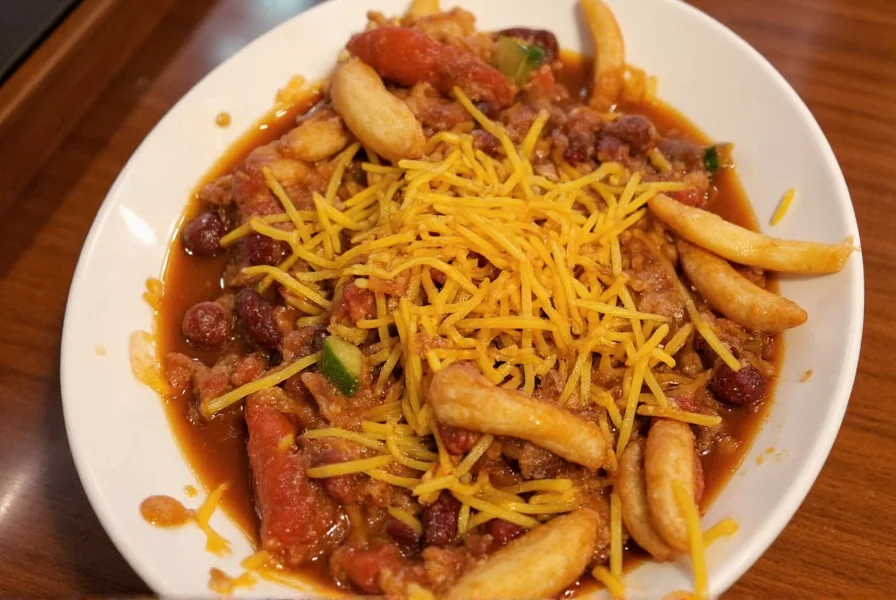
- Shredded cheddar cheese: Adds creamy richness that balances the chili's acidity.
- Fresh cilantro: Provides a bright, herbal note that cuts through the richness.
- Sour cream or Greek yogurt: Offers cooling contrast to the spices.
For a complete meal, serve Lindy's chili with a simple green salad featuring a light vinaigrette to refresh the palate between bites.
Storage and Reheating for Maximum Flavor
One of Lindy's chili's best qualities is how its flavor improves with time. Proper storage and reheating techniques ensure you get the most from leftovers:
- Refrigeration: Store in an airtight container for up to 5 days. The flavors continue to meld, often making day 2 or 3 the best.
- Freezing: Freeze in portion-sized containers for up to 3 months. Thaw overnight in the refrigerator before reheating.
- Reheating: Gently warm on the stove over medium-low heat, stirring occasionally. Add a splash of beef broth or water if the chili has thickened too much during storage.
Many chili enthusiasts swear that Lindy's chili tastes even better after freezing and thawing, as the freezing process allows flavors to further integrate during the thawing phase.
Common Mistakes to Avoid When Making Lindy's Chili
Even experienced cooks can fall into pitfalls when preparing this beloved recipe. Avoid these common errors to ensure chili perfection:
- Rushing the simmer time: Authentic Lindy's chili requires at least 90 minutes of gentle simmering. Cutting this short results in flavors that haven't properly melded.
- Overlooking the cocoa powder: This ingredient is non-negotiable in the authentic recipe—it adds depth without sweetness. Don't substitute chocolate or omit it entirely.
- Adding beans too early: Canned beans added at the beginning can become mushy. Add them halfway through cooking for ideal texture.
- Using low-quality spices: Old or stale spices won't deliver the complex flavor profile. Use fresh spices from a reputable source.
- Skipping the vegetable sauté: Properly cooking the onions and celery until translucent builds foundational flavor.
Frequently Asked Questions
What makes Lindy's chili different from other chili recipes?
Lindy's chili stands out for its specific spice balance, particularly the inclusion of unsweetened cocoa powder which adds depth without sweetness. It also features a precise ratio of ingredients that creates a harmonious blend of meat, beans, and tomatoes without any single element dominating the others.
Can I make Lindy's chili in a slow cooker?
Yes, you can adapt Lindy's chili for a slow cooker. Brown the meat and sauté vegetables as directed, then transfer everything to your slow cooker. Cook on low for 6-8 hours. The slow cooking process actually enhances the flavor development, though you'll want to add the beans during the last 2 hours to maintain their texture.
Why does the authentic Lindy's chili recipe include cocoa powder?
The unsweetened cocoa powder in Lindy's chili isn't for chocolate flavor—it's a traditional secret ingredient that adds depth, richness, and complexity to the overall flavor profile. It helps balance the acidity of the tomatoes and enhances the other spices without making the chili taste like chocolate. This technique has been used in Southwestern cooking for generations.
How can I thicken Lindy's chili if it's too thin?
If your Lindy's chili is too thin, avoid adding flour directly which can create lumps. Instead, remove 1 cup of chili, blend until smooth, then return it to the pot. Alternatively, let it simmer uncovered for 15-20 minutes to reduce and concentrate flavors. Mashed kidney beans can also be stirred in to thicken without altering flavor significantly.
Is Lindy's chili supposed to have beans?
Yes, authentic Lindy's chili includes kidney beans. This distinguishes it from Texas-style chili which typically omits beans. The beans provide texture contrast and help balance the richness of the meat and spices, creating the complete profile that has made this recipe so beloved across generations of home cooks.


 浙公网安备
33010002000092号
浙公网安备
33010002000092号 浙B2-20120091-4