
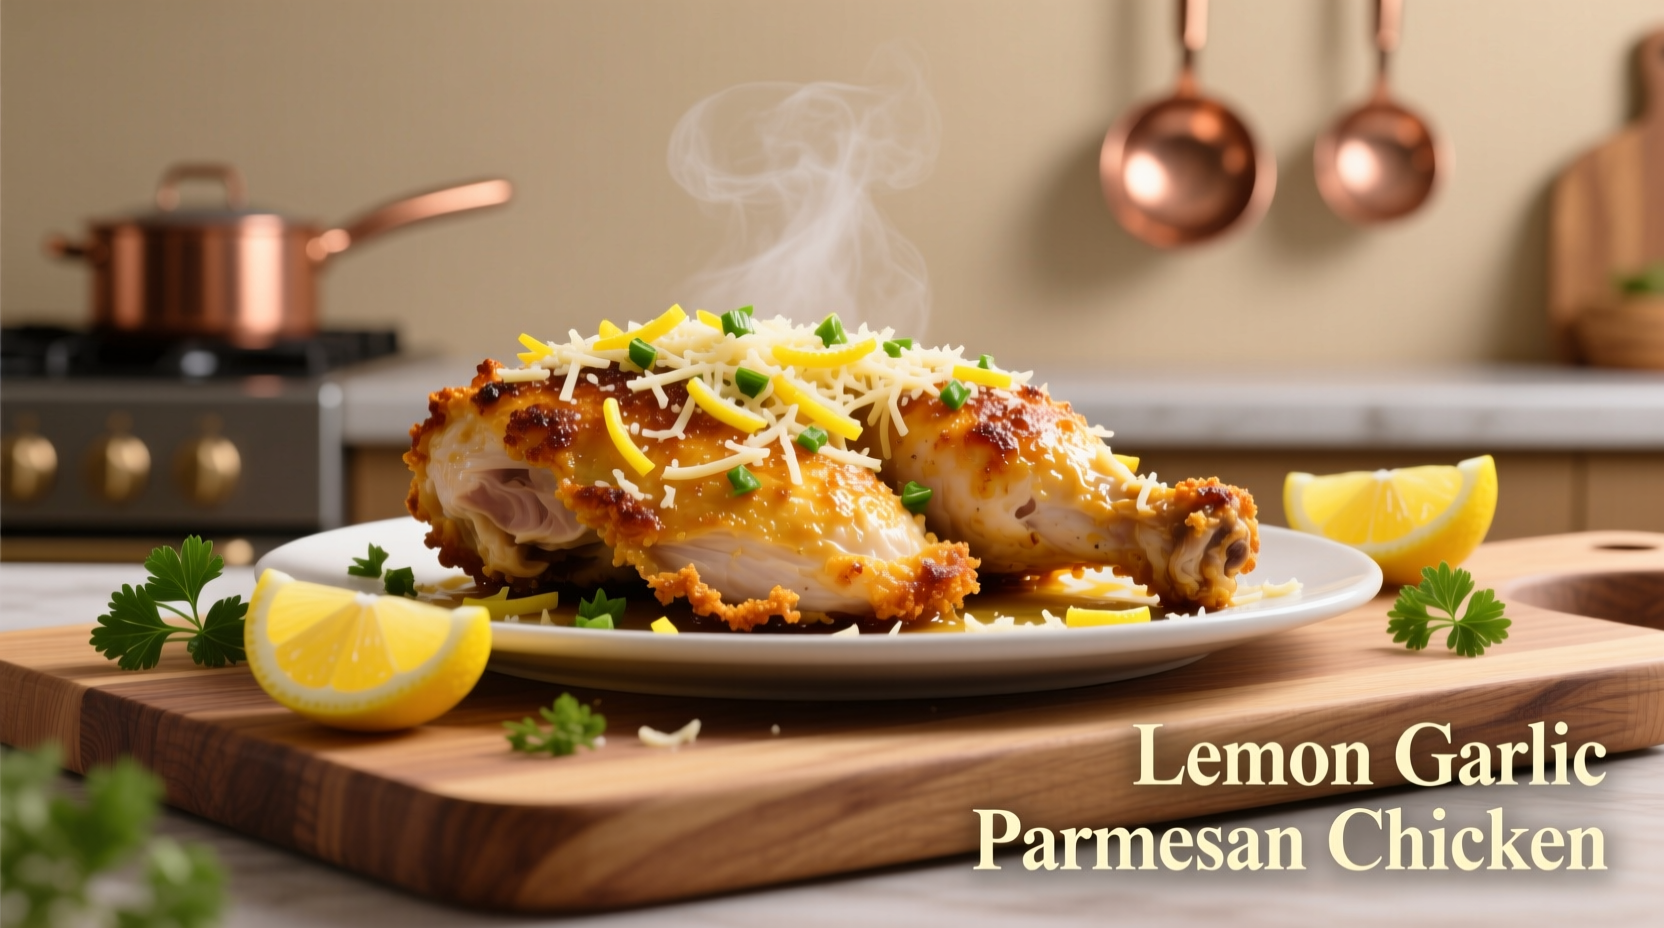
Nothing satisfies like the perfect combination of bright citrus, aromatic garlic, and nutty parmesan dancing across tender chicken. This beloved dish has become a weeknight dinner staple for good reason: it transforms simple ingredients into something extraordinary with minimal active cooking time. But achieving that ideal balance—where the lemon enhances rather than overpowers, the garlic adds depth without burning, and the parmesan forms a golden crust without becoming bitter—requires understanding the science behind the flavors.
The Flavor Science Behind This Classic Combination
Professional chefs rely on specific chemical interactions to create balanced dishes. In lemon garlic parmesan chicken, three key reactions occur:
| Ingredient | Key Compounds | Flavor Contribution | Optimal Temperature Range |
|---|---|---|---|
| Lemon juice | Citric acid, limonene | Cuts richness, enhances other flavors | Below 175°F (79°C) |
| Fresh garlic | Allicin (when crushed) | Complex savory notes, disappears when burned | 240-284°F (115-140°C) |
| Parmesan cheese | Glutamates, tyrosine crystals | Umami depth, crispy texture when baked | 350-400°F (177-204°C) |
According to food science research from the USDA Food Safety and Inspection Service, understanding these temperature thresholds prevents common mistakes like bitter garlic (which occurs above 300°F/149°C) or rubbery chicken (from improper internal temperature). The ideal chicken doneness temperature of 165°F (74°C) aligns perfectly with the optimal melting point of parmesan's fat content.
Why This Recipe Works When Others Fail
Most home cooks encounter one of three problems with this dish: dry chicken, overpowering lemon, or a soggy cheese coating. Our tested method addresses each issue through precise timing and technique:
- Dry chicken solution: Brining in buttermilk for 15 minutes (not hours) tenderizes without altering flavor
- Lemon balance: Adding zest early and juice late preserves bright flavor without acidity overwhelming other elements
- Crispy coating: Mixing parmesan with panko creates texture that withstands moisture better than cheese alone
Essential Equipment Checklist
You don't need specialty tools, but these make execution foolproof:
- Instant-read thermometer (critical for perfect doneness)
- Zester for maximum lemon oil extraction
- Cast-iron or oven-safe skillet (for seamless stovetop-to-oven transition)
- Microplane grater for fresh parmesan (pre-grated won't melt properly)
Step-by-Step Cooking Process
Preparation Phase (5 minutes)
- Pat chicken breasts dry with paper towels—moisture is the enemy of browning
- Brine in ¼ cup buttermilk mixed with 1 teaspoon salt for 15 minutes
- Prepare coating: ½ cup panko, ⅓ cup freshly grated parmesan, 1 teaspoon lemon zest, ½ teaspoon garlic powder
Cooking Phase (20 minutes)
- Heat 2 tablespoons olive oil in oven-safe skillet over medium-high heat (350°F/177°C)
- Dredge chicken in coating mixture, pressing firmly to adhere
- Sear 5-6 minutes until golden crust forms, flip carefully
- Add 3 minced garlic cloves to skillet, cook 30 seconds until fragrant
- Pour ¼ cup chicken broth around chicken (not over it), transfer to 400°F (204°C) oven
- Bake 12-15 minutes until internal temperature reaches 165°F (74°C)
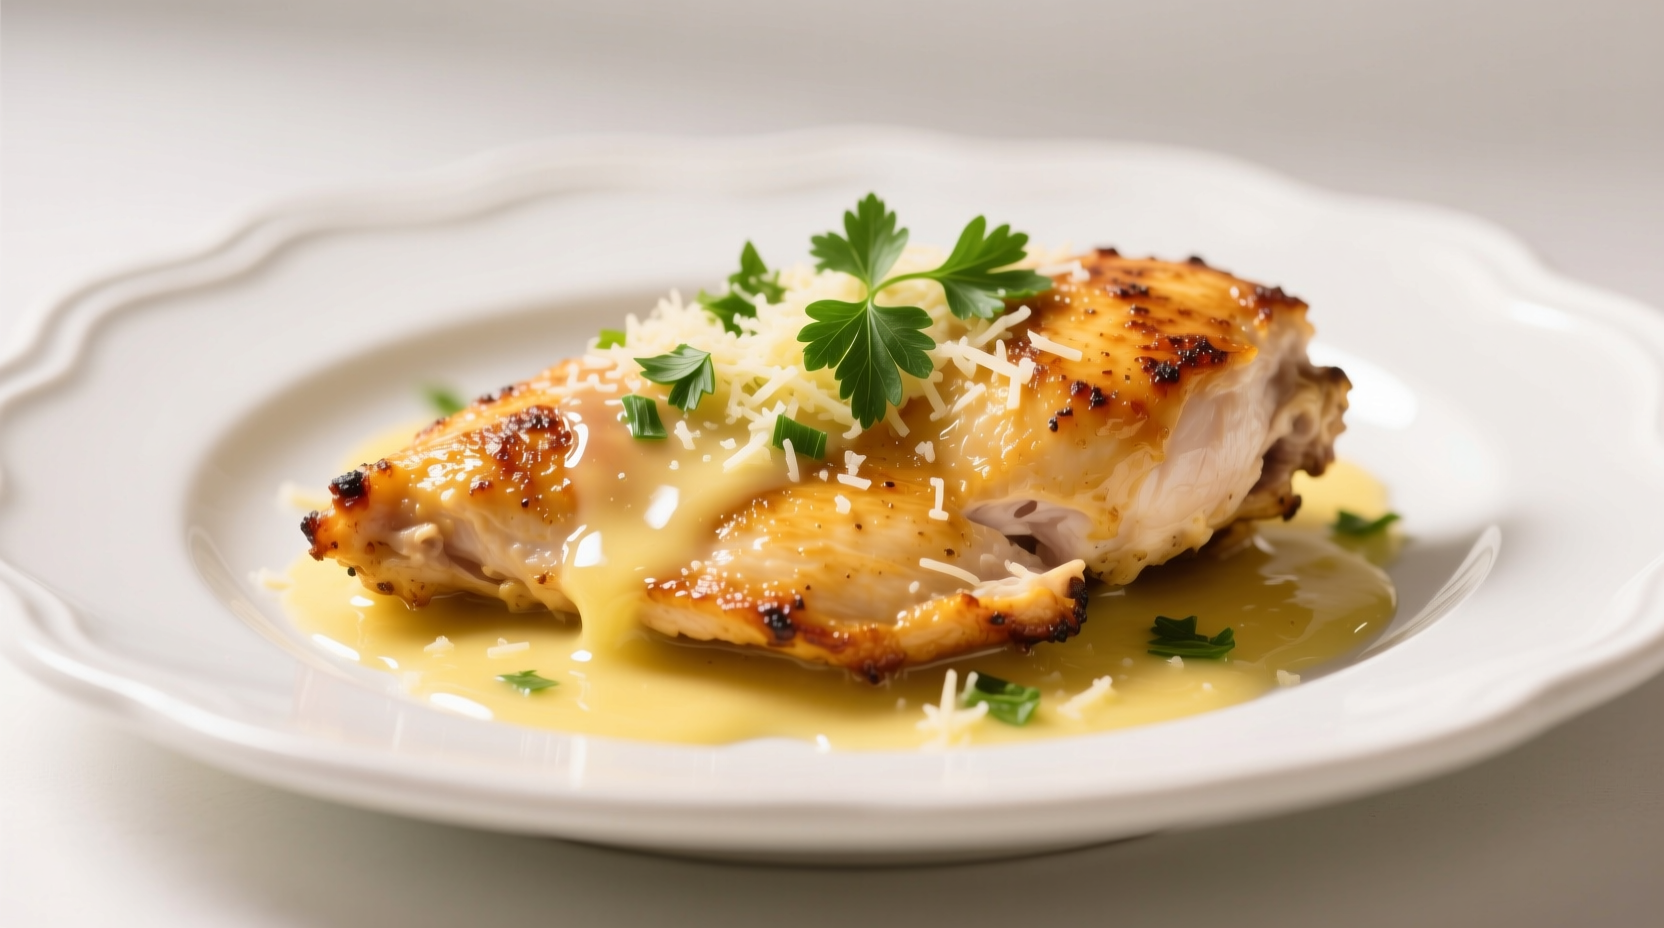
- Remove from oven, drizzle with 2 tablespoons fresh lemon juice and 1 tablespoon melted butter
Avoid These 3 Common Mistakes
Mistake #1: Using Pre-Grated Parmesan
Store-bought grated parmesan contains anti-caking agents that prevent proper melting and browning. As documented by the USDA Agricultural Research Service, freshly grated parmesan has superior moisture content and enzymatic activity that creates better texture. Always use a block of Parmigiano-Reggiano for authentic results.
Mistake #2: Adding Lemon Juice Too Early
Lemon's volatile compounds evaporate at high heat, leaving only harsh acidity. Food chemistry research shows citric acid breaks down above 175°F (79°C), which is why professional chefs add lemon juice during the final plating stage to preserve brightness.
Mistake #3: Overcooking the Chicken
Chicken breast continues cooking after removal from heat (carryover cooking). The USDA Food Safety Inspection Service confirms that removing chicken at 160°F (71°C) allows it to safely reach 165°F (74°C) while remaining juicy. This 5-degree difference prevents dryness.
When This Recipe Works Best (and Limitations)
This preparation method excels in specific scenarios but has clear boundaries:
- Ideal for: Weeknight dinners (30 minutes total), meal prep (holds well refrigerated), family-friendly meals (mild enough for most palates)
- Not recommended for: Large gatherings (doesn't scale well beyond 6 servings), outdoor grilling (cheese coating falls through grates), strict keto diets (panko contains carbs)
- Best served with: Roasted asparagus, garlic mashed potatoes, or a simple arugula salad with lemon vinaigrette
Storage and Reheating Guidelines
Proper storage maintains texture and safety:
- Refrigerate within 2 hours of cooking in airtight container
- Consume within 3-4 days according to USDA food safety guidelines
- Reheat in 325°F (163°C) oven for 12-15 minutes (not microwave) to preserve crispness
- Freeze uncooked coated chicken for up to 3 months—cook from frozen adding 5-7 minutes
Flavor Variations Worth Trying
Once you've mastered the classic version, experiment with these chef-approved adaptations:
- Mediterranean twist: Add ¼ cup chopped sun-dried tomatoes and 2 tablespoons Kalamata olives to the sauce
- Herb-infused: Mix 1 tablespoon fresh thyme or rosemary into the coating mixture
- Creamy version: After baking, add ¼ cup heavy cream to the skillet and simmer 2 minutes for rich sauce
- Spicy kick: Incorporate ½ teaspoon red pepper flakes into the coating


 浙公网安备
33010002000092号
浙公网安备
33010002000092号 浙B2-20120091-4