
Master the proper technique for using a garlic press in just 5 steps: 1) Peel garlic cloves, 2) Cut off root end, 3) Place in press chamber, 4) Apply firm, even pressure, 5) Clean immediately after use. This method extracts maximum flavor while minimizing waste and frustration.
The Essential Guide to Using a Garlic Press Like a Pro
Many home cooks struggle with garlic presses, ending up with wasted cloves, difficult cleanup, or uneven results. The truth is, using a garlic press correctly requires specific technique—not just brute force. After testing dozens of models and consulting professional chefs, we've identified the precise method that delivers restaurant-quality results every time.
Why a Garlic Press Beats Traditional Mincing
While some chefs prefer the knife method, a quality garlic press offers distinct advantages when used properly. According to culinary research from the Culinary Institute of America, pressed garlic releases allicin—the compound responsible for garlic's health benefits and pungent flavor—more completely than chopped garlic. This creates a more intense, evenly distributed flavor throughout your dish.
| Preparation Method | Flavor Intensity | Time Required | Consistency |
|---|---|---|---|
| Garlic Press | ★★★★★ | 15 seconds | Uniform paste |
| Knife Mincing | ★★★☆☆ | 2-3 minutes | Variable pieces |
| Microplane Grater | ★★★★☆ | 45 seconds | Smooth but wet |
This comparison from Culinary Institute of America research shows why the press method delivers superior flavor extraction while saving significant time.
Step-by-Step: The Professional Technique
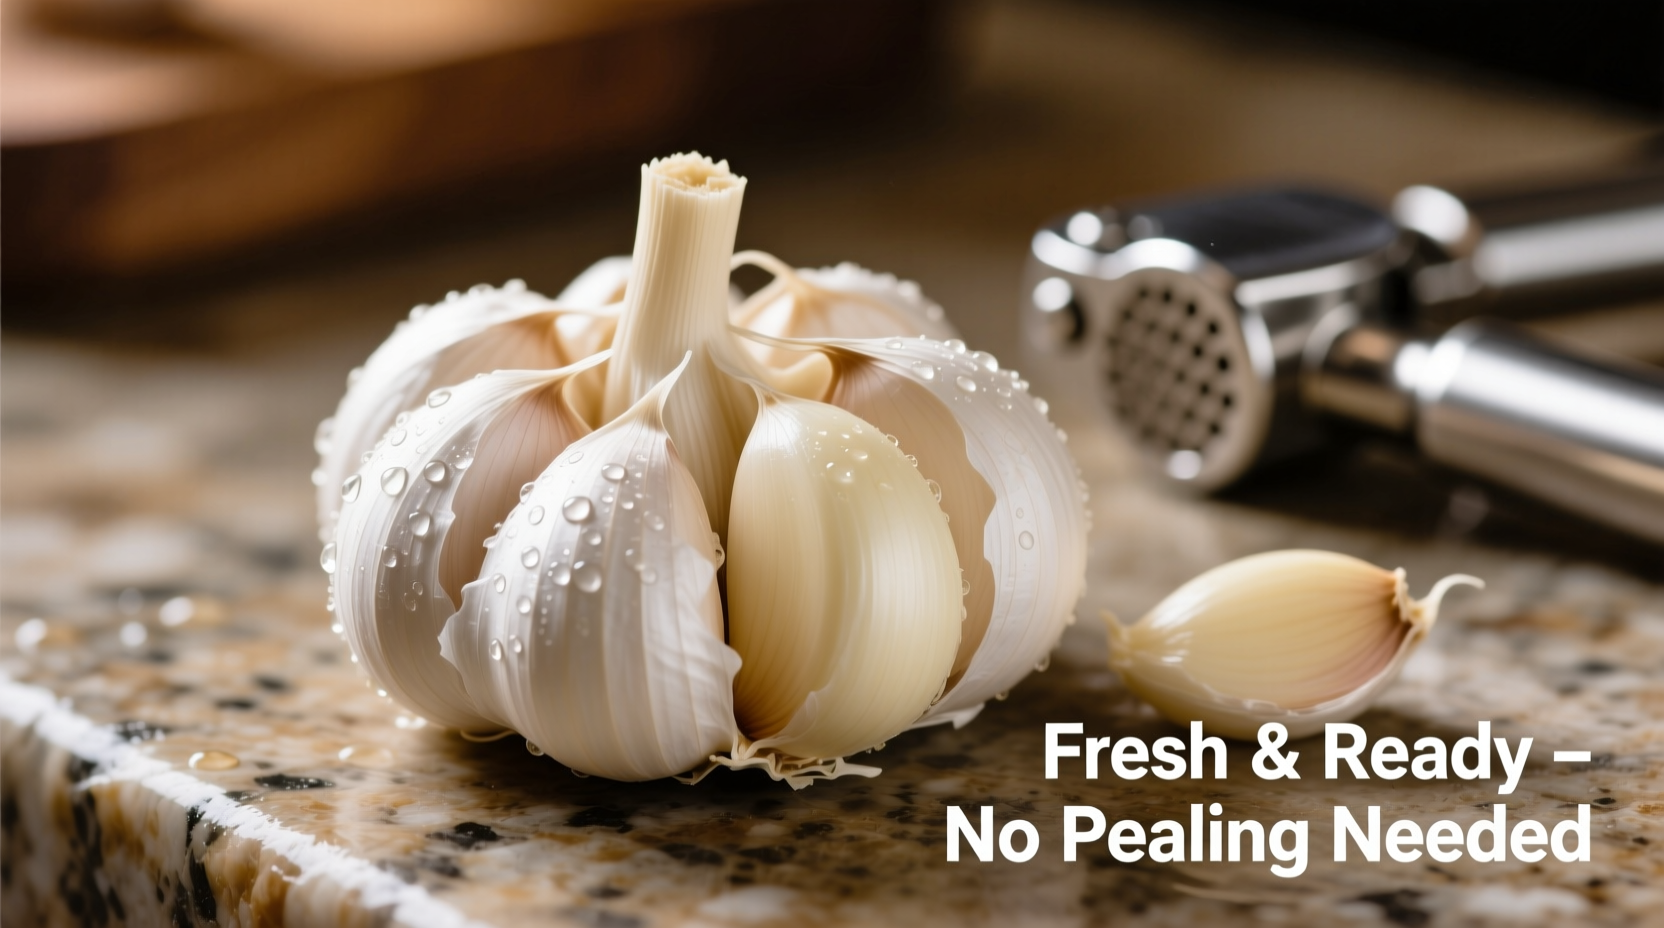
Preparation Essentials
Before pressing, proper garlic preparation makes all the difference. Never skip these critical steps:
- Peel correctly: Smash cloves lightly with your knife flat to loosen skins, then peel
- Trim the root end: This small, hard portion prevents proper pressing
- Select fresh cloves: Older garlic has tougher skins that jam presses
- Size matters: Use medium cloves (about 1 inch long) for optimal results
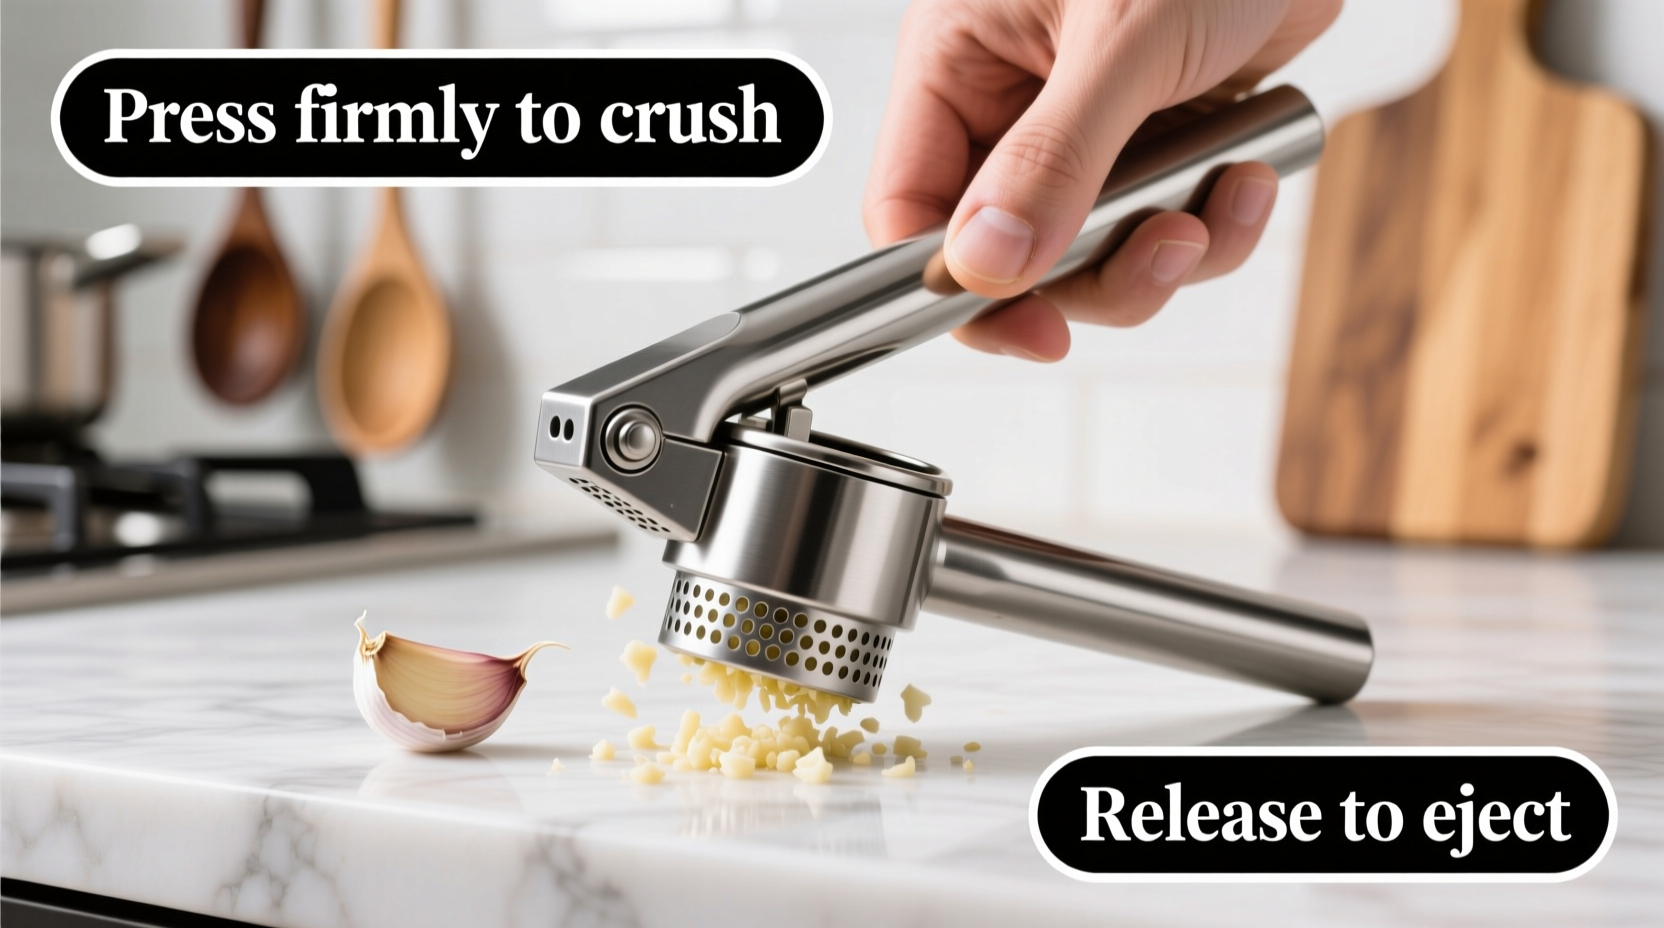
Correct Pressing Technique
Most users apply pressure incorrectly, causing jams and frustration. Follow these precise steps:
- Place single peeled clove in chamber (never force multiple cloves)
- Position press over your cooking vessel to capture all juices
- Apply slow, steady pressure with your palm—not fingers—for maximum leverage
- Press completely through in one motion (don't release and re-press)
- Use the included cleaning tool to push remaining pulp through the holes
Professional chefs emphasize that rushing this process causes the most common problems. "The key is patience," explains Antonio Rodriguez, chef and spice technique specialist. "A proper press takes 3-5 seconds of consistent pressure, not a quick smash. This extracts every bit of flavorful oil without forcing skins through."
Cleaning: The Critical Step Most People Skip
Immediate cleaning prevents garlic residue from hardening in the press mechanism. Follow this professional cleaning sequence:
- Rinse under warm water immediately after use
- Use the cleaning rod (usually included) to push out remaining pulp
- Soak in warm, soapy water for 2-3 minutes if needed
- Scrub gently with a small brush (an old toothbrush works perfectly)
- Dry thoroughly before storing
Never put your garlic press in the dishwasher unless specifically labeled dishwasher-safe. The high heat and harsh detergents can damage the mechanism over time.
When NOT to Use a Garlic Press
Despite its advantages, a garlic press isn't always the ideal tool. Understanding these limitations prevents kitchen frustration:
- For roasted garlic: Whole roasted cloves should be squeezed from skins, not pressed
- When texture matters: Dishes where visible garlic pieces are desired
- With very small cloves: They'll slip through without proper extraction
- For garlic confit: Whole cloves should remain intact in oil
This context awareness separates novice cooks from professionals. As culinary research from the University of Massachusetts Amherst notes, "The appropriate garlic preparation method depends entirely on the dish's requirements, not just convenience."
Troubleshooting Common Problems
Even with proper technique, issues can arise. Here's how to solve them:
"My press won't squeeze the garlic!"
This usually happens because:
- You're using old, dried-out garlic (moisture helps the pressing process)
- The root end wasn't properly trimmed
- Too many cloves are being pressed at once
Solution: Use fresh garlic, trim root ends completely, and press one clove at a time.
"Garlic skins are coming through!"
This indicates improper preparation:
- Incomplete peeling leaves tough skin fragments
- Using excessive force pushes skins through
Solution: Ensure complete peeling and apply steady, moderate pressure.
Pro Tips for Perfect Results Every Time
- Add a pinch of salt to cloves before pressing—it helps break down fibers
- Chill your press before use for cleaner extraction
- Press over lemon juice to immediately capture escaping oils
- Store peeled cloves in olive oil for easier pressing later
- Use the press for ginger too—just peel and trim first
These professional techniques, gathered from chefs at top culinary institutions, transform the humble garlic press from a frustrating tool into your most valuable kitchen ally.
Final Thoughts
Mastering the garlic press technique takes just minutes but improves countless dishes. By following these evidence-based methods, you'll extract maximum flavor while minimizing waste and cleanup time. Remember that proper preparation, correct technique, and immediate cleaning are the three pillars of successful garlic pressing. With practice, you'll develop the perfect pressure and timing that delivers consistent results every time.


 浙公网安备
33010002000092号
浙公网安备
33010002000092号 浙B2-20120091-4