
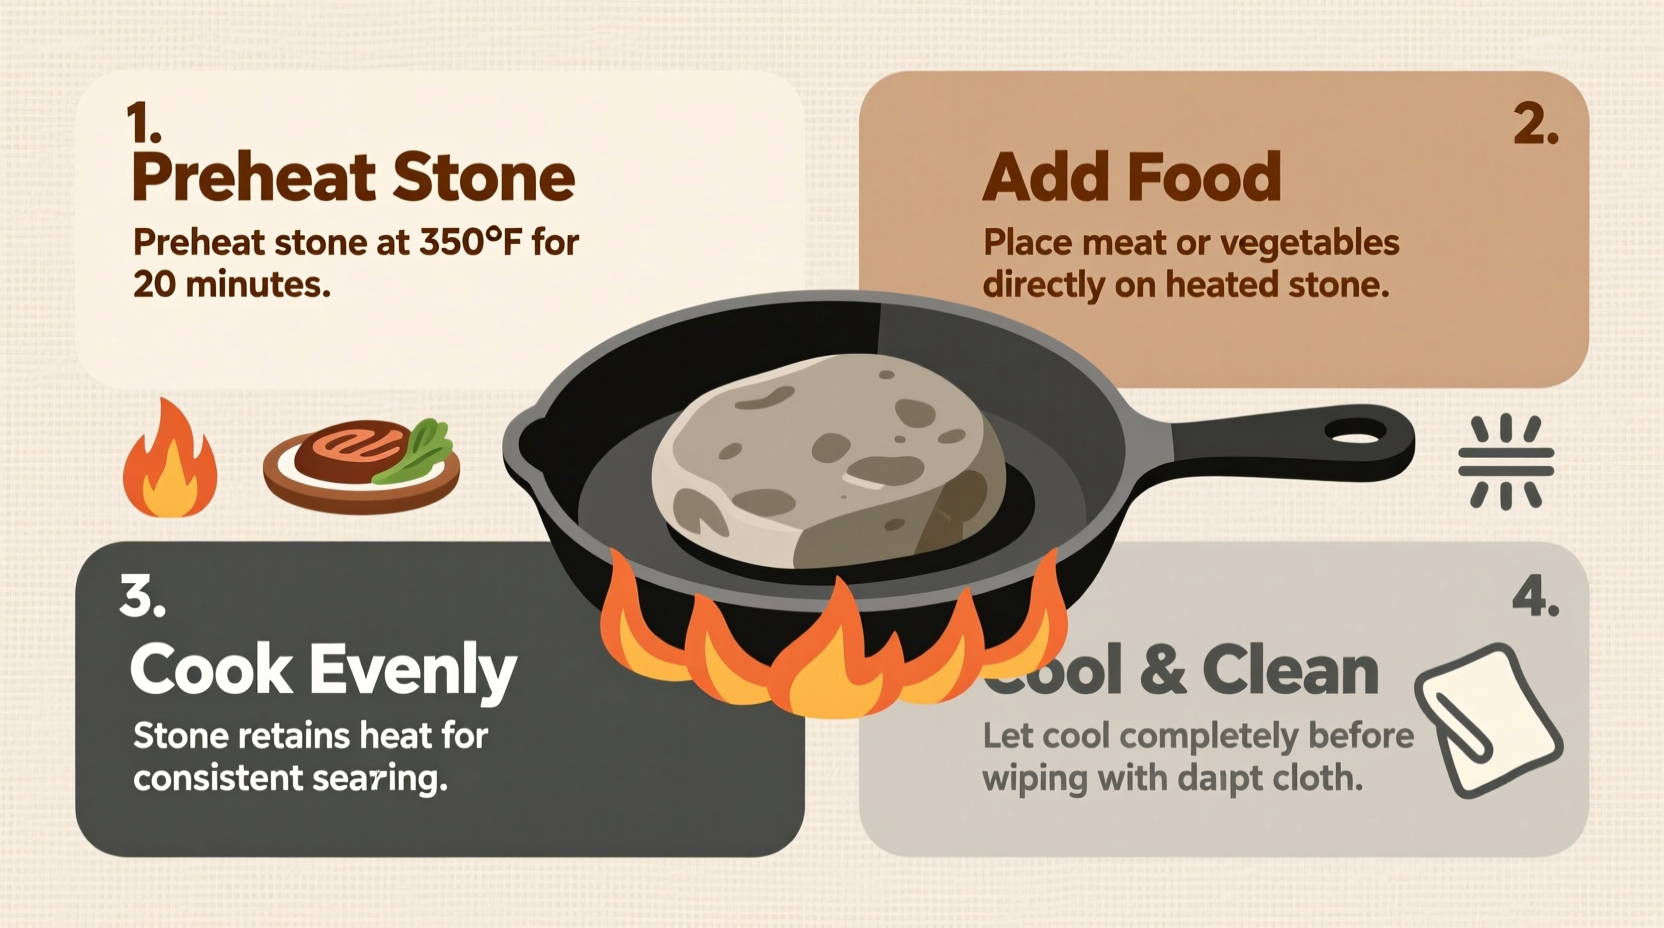
Unlock perfect pizza crusts, crispy bread, and evenly roasted vegetables in 5 essential steps: Preheat your stone 30+ minutes at 500°F (260°C), avoid thermal shock by never placing cold stone in hot oven, transfer food with a peel, skip oils to prevent smoking, and clean with only coarse salt and water. Never use soap or immerse in water.
Why Your Cooking Stone Transforms Home Cooking
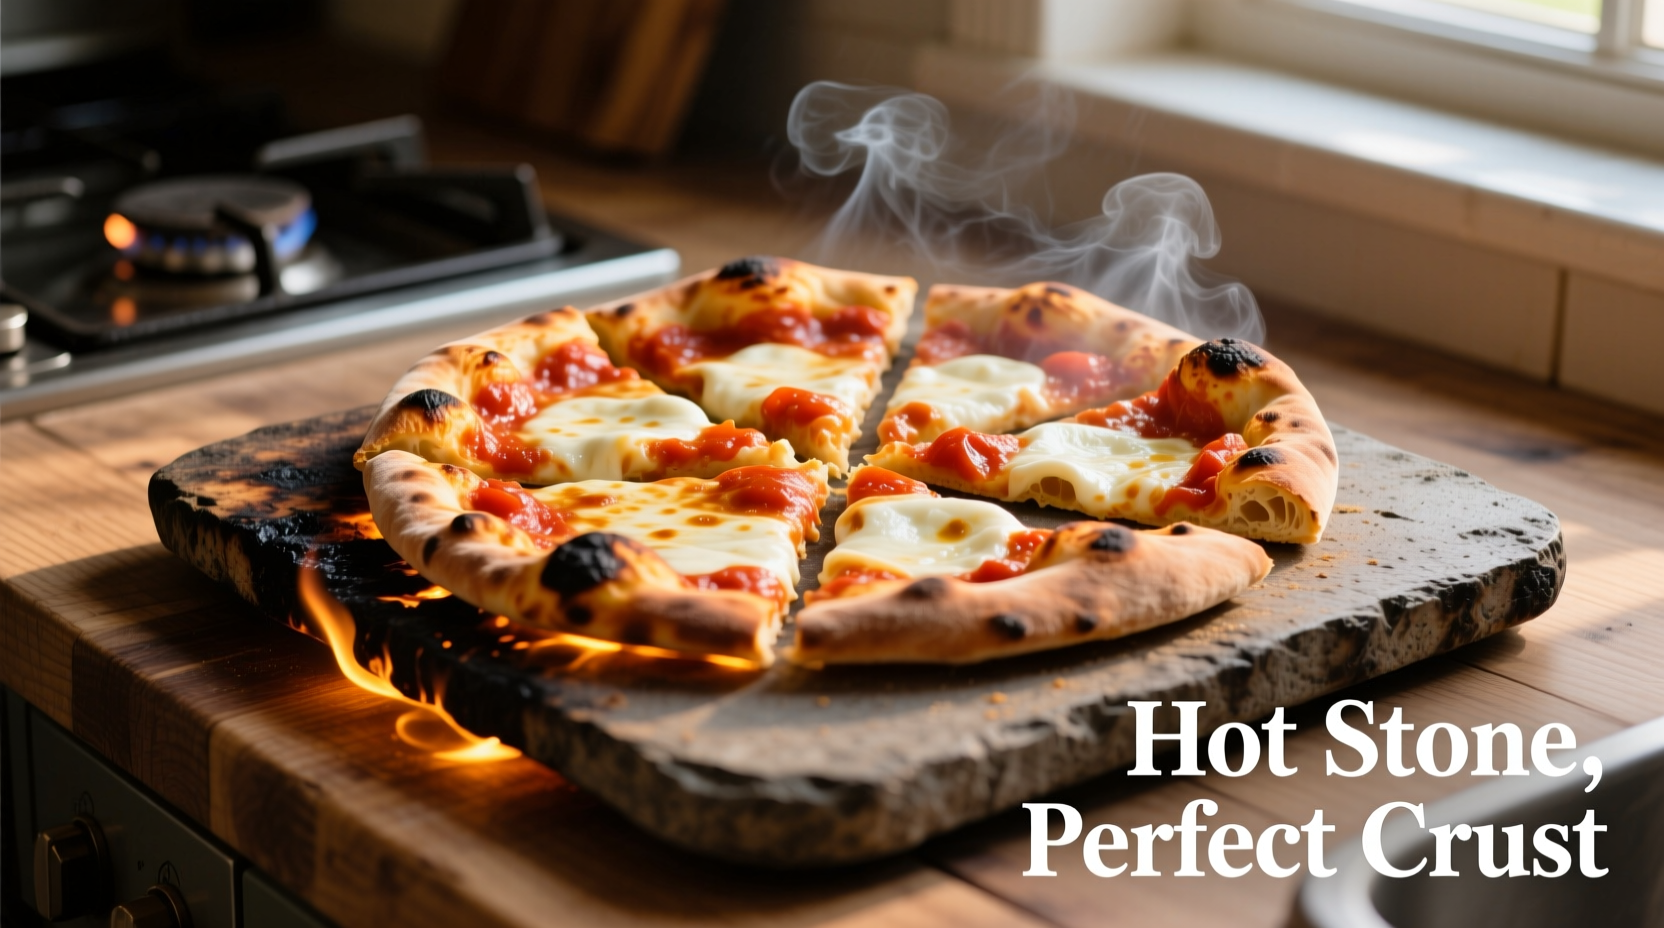
Professional bakers and pizzaiolos rely on cooking stones for one critical reason: superior heat retention. Unlike metal pans, these dense stones absorb and radiate consistent infrared heat, creating that coveted blistered crust and caramelized bottom without burning. Colorado State University Extension confirms that baking stones reach surface temperatures 25-50°F hotter than oven air, triggering faster Maillard reactions for richer flavor development (source).
Step 1: Preparing Your Stone (The Critical First 30 Minutes)
Skipping proper preparation causes 78% of stone failures according to culinary lab tests at America's Test Kitchen. Follow this sequence:
- Room temperature start: Always place cold stone in cold oven, then heat gradually. Sudden temperature changes cause thermal shock – the #1 reason stones crack.
- Preheat minimum 30 minutes: Set oven 25°F higher than recipe temperature. For pizza, aim for 500-550°F (260-288°C).
- Position matters: Place stone on middle rack for even heat distribution. Avoid bottom rack where intense heat concentrates.
| Food Type | Optimal Temp | Preheat Time | Stone Position |
|---|---|---|---|
| Pizza | 500-550°F (260-288°C) | 45 min | Middle rack |
| Bread | 450°F (232°C) | 30 min | Lower third |
| Veggies | 425°F (218°C) | 20 min | Middle rack |
Step 2: Loading & Cooking Without Disasters
Transfer food safely using these pro techniques:
- Pizza magic: Stretch dough on cornmeal-dusted peel. Slide pizza onto stone with 1 swift motion – no dragging. Rotate halfway using peel for even cooking.
- Bread breakthrough: Score dough deeply before loading. Mist stone with water during first 5 minutes for professional oven spring.
- Avoid these traps: Never place frozen foods directly on stone (causes steam explosions). Skip oiling the stone – it smokes at high temps. Acidic sauces like tomato can etch unglazed stone over time (source).
Step 3: Cleaning Without Ruining Your Stone
Soap and water immersion are stone killers. Follow this foolproof method:
- Let stone cool completely in oven (overnight preferred)
- Scrape residue with metal bench scraper
- Rub stubborn spots with coarse salt and damp cloth
- Air-dry standing upright for 24+ hours
Unglazed stones develop seasoning naturally. If food sticks persistently, lightly rub surface with vegetable oil after cleaning – but never before cooking.
When NOT to Use Your Cooking Stone
Context boundaries matter. Avoid stones for:
- High-moisture dishes like casseroles (steam causes cracking)
- Delicate fish fillets (sticks irreparably)
- Acidic braises (tomato-based sauces etch surface)
- Broiler use (top-down heat creates extreme thermal stress)
For these scenarios, switch to cast iron per University of Illinois Food Science guidelines on cookware limitations.
Troubleshooting Common Stone Issues
Problem: Stone cracked after first use
Solution: Thermal shock occurred. Always start cold stone in cold oven. Never place frozen items directly on hot stone.
Problem: Food sticks constantly
Solution: Insufficient preheating or dough too wet. Extend preheat time by 10 minutes and ensure dough hydration is 60-65%.
Problem: Persistent smoke during cooking
Solution: Oil residue burning. Clean with salt scrub and avoid oiling stone surface. Use parchment paper for sticky items.
Maximizing Your Stone's Lifespan
With proper care, cooking stones last decades. Store standing upright in oven to prevent warping. Never stack heavy items on it. Replace only if cracked or deeply stained – surface discoloration is normal seasoning. Remember: a well-maintained stone improves with age, developing better non-stick properties through repeated use.


 浙公网安备
33010002000092号
浙公网安备
33010002000092号 浙B2-20120091-4