
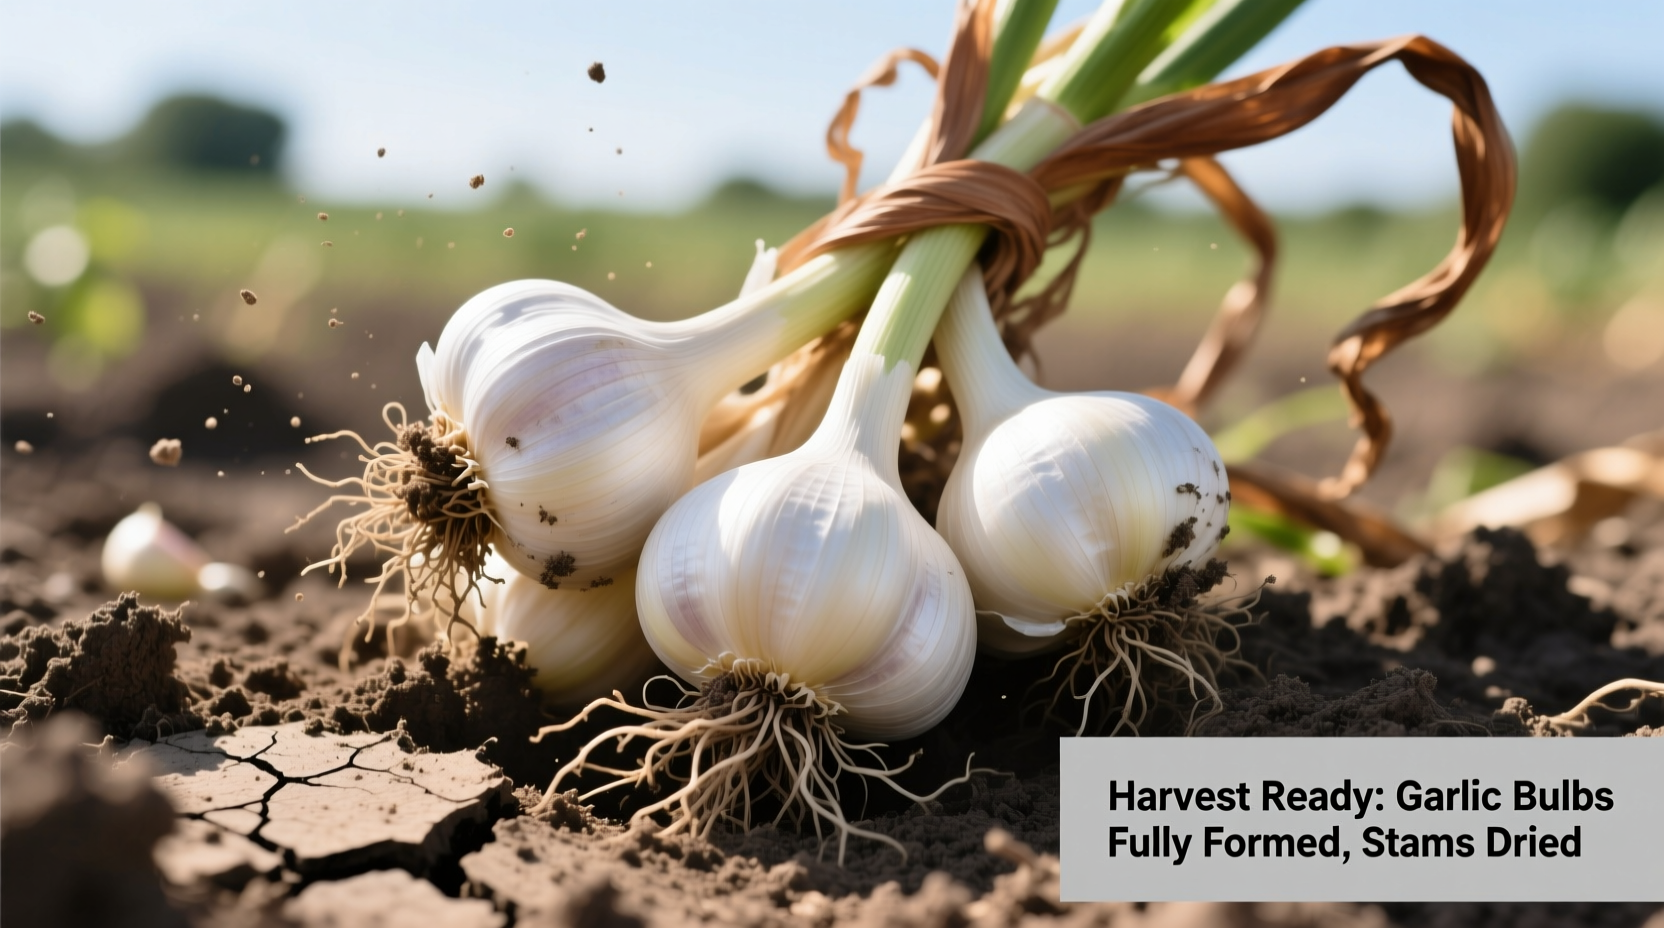
Garlic is ready to harvest when approximately 40% of the leaves have turned brown while the lower third remains green, the bulb wrappers are dry and papery but still intact, and the cloves have fully separated within the bulb. This typically occurs 7-8 months after planting, but varies by garlic variety and climate conditions.
Why Perfect Timing Matters for Your Garlic Harvest
Getting the harvest timing right makes the difference between garlic that stores for months versus garlic that deteriorates within weeks. Harvest too early, and your bulbs will be undersized with thin wrappers that offer little protection. Harvest too late, and the bulb wrappers will split open, exposing cloves to disease and reducing storage life significantly.
Three Visual Indicators That Never Lie
Professional growers rely on these three observable signs rather than calendar dates, which can vary dramatically based on your climate and garlic variety:
1. The Leaf Browning Pattern: Your Most Reliable Indicator
Monitor the lower leaves daily as harvest approaches. When 30-50% of the leaves have turned brown while the lower third remains green, your garlic is approaching peak readiness. This percentage matters more than the total number of leaves.
According to research from Cornell University's College of Agriculture and Life Sciences, the leaf-to-bulb relationship follows a precise pattern: "Each green leaf corresponds to one protective layer around the bulb. When half the leaves have browned, the bulb has typically developed 5-6 protective wrappers - the ideal number for long-term storage." (Cornell Gardening Resources)
2. Bulb Wrapper Integrity: The Critical Final Check
Before harvesting your entire crop, perform a test dig of 2-3 representative plants. Carefully brush away soil to examine the bulb wrappers without disturbing the roots. The wrappers should be:
- Dry and papery in texture
- Firmly attached to the bulb
- Intact without splits or tears
- Displaying the characteristic color of your variety
USDA agricultural specialists note that "bulb wrapper integrity is the single most important factor determining storage potential. Once wrappers begin splitting, the clock starts ticking on your garlic's shelf life." (USDA Plant Resources)
3. Clove Definition: The Internal Readiness Test
When you examine your test-dug bulb, the cloves should be plump and clearly defined, having separated from each other. Immature garlic will have cloves that are still merging together, while over-mature garlic may show cloves beginning to separate excessively.
| Harvest Indicator | Too Early | Just Right | Too Late |
|---|---|---|---|
| Leaf Condition | Less than 30% brown | 40-50% brown | More than 75% brown |
| Bulb Wrappers | Moist, thin, translucent | Dry, papery, intact | Splitting, deteriorating |
| Clove Development | Indistinct, merging | Plump, separated | Excessively separated |
| Storage Potential | 1-2 months | 6-9 months | 1-3 months |
How Garlic Variety Changes Your Harvest Timeline
Not all garlic follows the same maturation schedule. Understanding your variety's characteristics is essential for perfect timing:
Hardneck Garlic (Ophioscorodon)
Hardneck varieties send up a flowering stalk (scape) that should be removed to direct energy to bulb development. They typically mature earlier than softnecks:
- Harvest window: Late June to early August in most temperate climates
- Key visual cue: When 3-4 leaves remain green (out of 6-8 total)
- Regional variation: In cooler northern climates, harvest may occur 2-3 weeks later than southern regions
Softneck Garlic (Sativum)
Softnecks are the varieties commonly braided and found in supermarkets. They mature later and store longer:
- Harvest window: Mid-July to early September
- Key visual cue: When 5-6 leaves remain green (out of 10-12 total)
- Special consideration: In warmer climates (Zone 8+), softnecks may need harvesting earlier to prevent wrapper deterioration
The Test Dig: Your Final Verification Step
Before harvesting your entire crop, conduct a test dig with these steps:
- Select 2-3 representative plants from different areas of your patch
- Use a garden fork to gently loosen soil around the plant
- Brush away soil to examine bulb wrappers without disturbing roots
- Assess wrapper integrity and clove development
- Re-cover plants if not ready and check again in 3-4 days
This verification process prevents premature harvesting that could ruin your entire crop. As noted by agricultural experts at Oregon State University Extension: "The test dig is non-negotiable for serious garlic growers. Calendar dates vary too much year to year, but the plant's physical indicators remain consistent." (OSU Extension Service)
Harvesting Techniques That Preserve Your Crop
Once you've confirmed readiness, proper harvesting technique ensures maximum storage life:
Best Time of Day to Harvest
Harvest in the early morning when temperatures are cooler and plants are fully hydrated. Avoid harvesting during or immediately after rain, as wet soil increases the risk of disease transmission.
Proper Digging Method
Use a garden fork rather than a shovel to minimize bulb damage. Insert the fork 6-8 inches from the plant and gently lever the soil upward. Never pull garlic by the leaves, as this can separate the bulb from the stem.

What to Do Immediately After Harvest
Proper post-harvest handling determines how long your garlic will last in storage:
The Curing Process: Non-Negotiable for Long Storage
After harvesting, cure your garlic in a single layer in a warm (75-85°F), dry, shaded area with good air circulation for 2-3 weeks. Ideal curing locations include:
- Well-ventilated sheds
- Garages with open doors
- Barn lofts
- Under tree canopies (never direct sun)
During curing, the outer wrappers will dry and turn papery, and the roots will shrivel. This process seals the bulb and prepares it for long-term storage.
Trimming and Cleaning
After curing is complete:
- Trim roots to ¼ inch
- Cut stems to 1-2 inches above the bulb
- Gently brush off excess soil (never wash)
- Remove only loose outer wrappers (preserve as many as possible)
Avoid These Common Harvest Mistakes
Even experienced gardeners sometimes make these critical errors:
- Mistake: Harvesting based solely on calendar dates rather than plant indicators
- Solution: Always verify with the leaf browning test and test dig
- Mistake: Leaving garlic in the ground too long waiting for "bigger bulbs"
- Solution: Remember that bulb size stabilizes before wrapper deterioration begins
- Mistake: Washing garlic before curing
- Solution: Brush off soil but never expose to water until ready to use
Regional Considerations for Garlic Harvesting
Your geographic location significantly impacts harvest timing:
- Northern climates (Zones 3-5): Harvest typically occurs late July to mid-August
- Mid-latitude climates (Zones 6-7): Harvest window is late June to late July
- Southern climates (Zones 8-10): Harvest happens earlier, from late May to late June
University of California agricultural researchers note that "in warmer regions, garlic often matures 2-3 weeks earlier than traditional guidelines suggest. Gardeners in Zones 8+ should begin monitoring plants in late May regardless of calendar expectations." (UC Agriculture and Natural Resources)


 浙公网安备
33010002000092号
浙公网安备
33010002000092号 浙B2-20120091-4