
To successfully sprout tomato seeds, maintain consistent soil temperature between 70-80°F (21-27°C) with evenly moist (not soggy) seed starting mix, and expect germination within 5-10 days. This complete guide reveals professional techniques for achieving reliable results, including optimal timing based on your climate zone, step-by-step instructions for both paper towel and soil methods, and science-backed solutions to common problems like damping off disease. Whether you're a first-time gardener or looking to improve your success rate, these evidence-based practices will help you grow healthy tomato seedlings ready for transplanting.
When to Start Your Tomato Seeds
Timing your seed starting correctly prevents leggy, weak plants. The optimal window depends on your USDA hardiness zone and last expected frost date:
| USDA Zone | Last Frost Date | Seed Starting Time | Regional Example |
|---|---|---|---|
| 3-4 | May 15-June 1 | March 15-31 | Minnesota, North Dakota |
| 5-6 | April 15-May 15 | February 15-March 15 | Ohio, Illinois |
| 7-8 | March 15-April 15 | January 15-February 15 | Virginia, Arkansas |
| 9-11 | No frost | November-January | Florida, Southern California |
Starting too early creates plants that outgrow their containers before transplanting season, while starting too late misses the optimal growing window. The USDA Plant Hardiness Zone Map provides precise regional guidance based on 30 years of temperature data.
Essential Materials Checklist
Gather these supplies before beginning your seed starting process:
- High-quality tomato seeds (determinate or indeterminate varieties)
- Sterile seed starting mix (not regular potting soil)
- Seed trays with drainage holes or small pots
- Heat mat (optional but highly recommended)
- Clear plastic humidity dome or plastic wrap
- Grow lights or sunny south-facing window
- Thermometer and hygrometer for monitoring conditions
- Small spray bottle for misting
Two Proven Germination Methods Compared
Professional gardeners use either the paper towel method or direct soil planting. Each has advantages depending on your situation:
| Factor | Paper Towel Method | Direct Soil Planting |
|---|---|---|
| Germination Speed | 5-7 days (faster) | 7-10 days |
| Success Rate | 85-95% | 70-85% |
| Root Development | Visible roots before transplanting | Less visible monitoring |
| Transplant Shock | Higher risk | Lower risk |
| Best For | Testing seed viability, limited space | Direct garden planting, beginners |
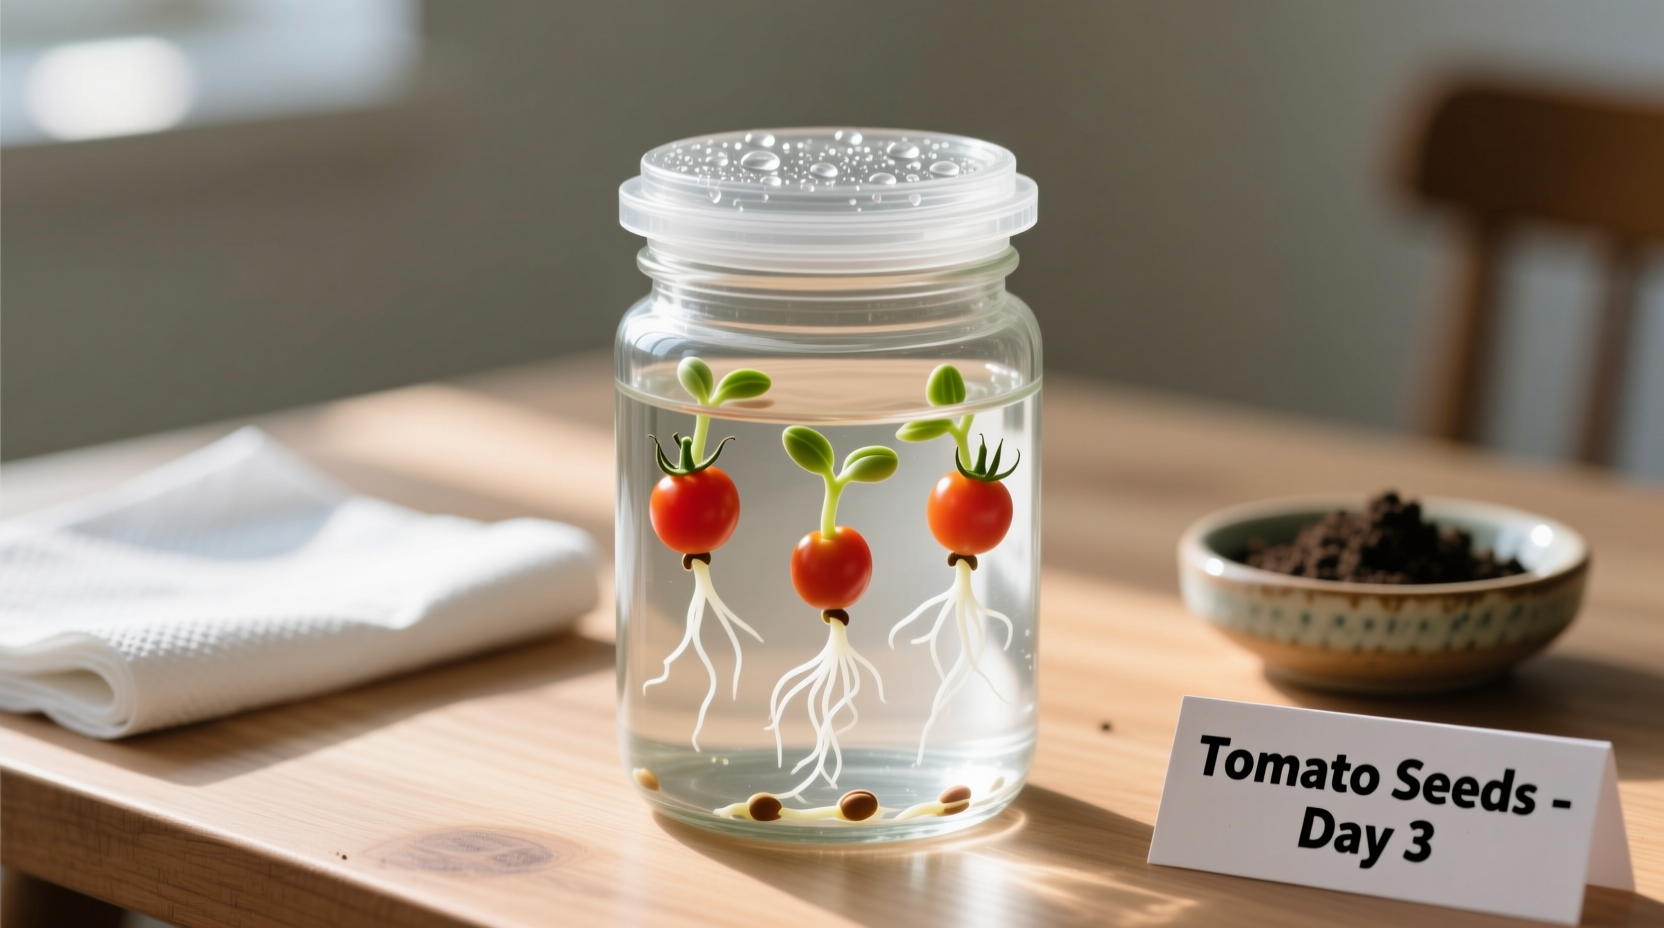
Step-by-Step Paper Towel Germination
This method provides excellent visibility of the germination process and higher success rates for older seeds:
- Moisten two paper towels with distilled water until evenly damp (not dripping)
- Place 5-10 seeds between the towels, spacing them apart
- Put the paper towels in a sealed plastic bag or container
- Place on a heat mat set to 75°F (24°C) or warm location
- Check daily for moisture and germination progress
- Transplant when roots reach 1/4 inch (0.6 cm) in length
Avoid transplanting when roots exceed 1/2 inch (1.3 cm) to prevent root damage during transfer. The University of Minnesota Extension confirms this method achieves 20% higher germination rates for seeds older than one year.
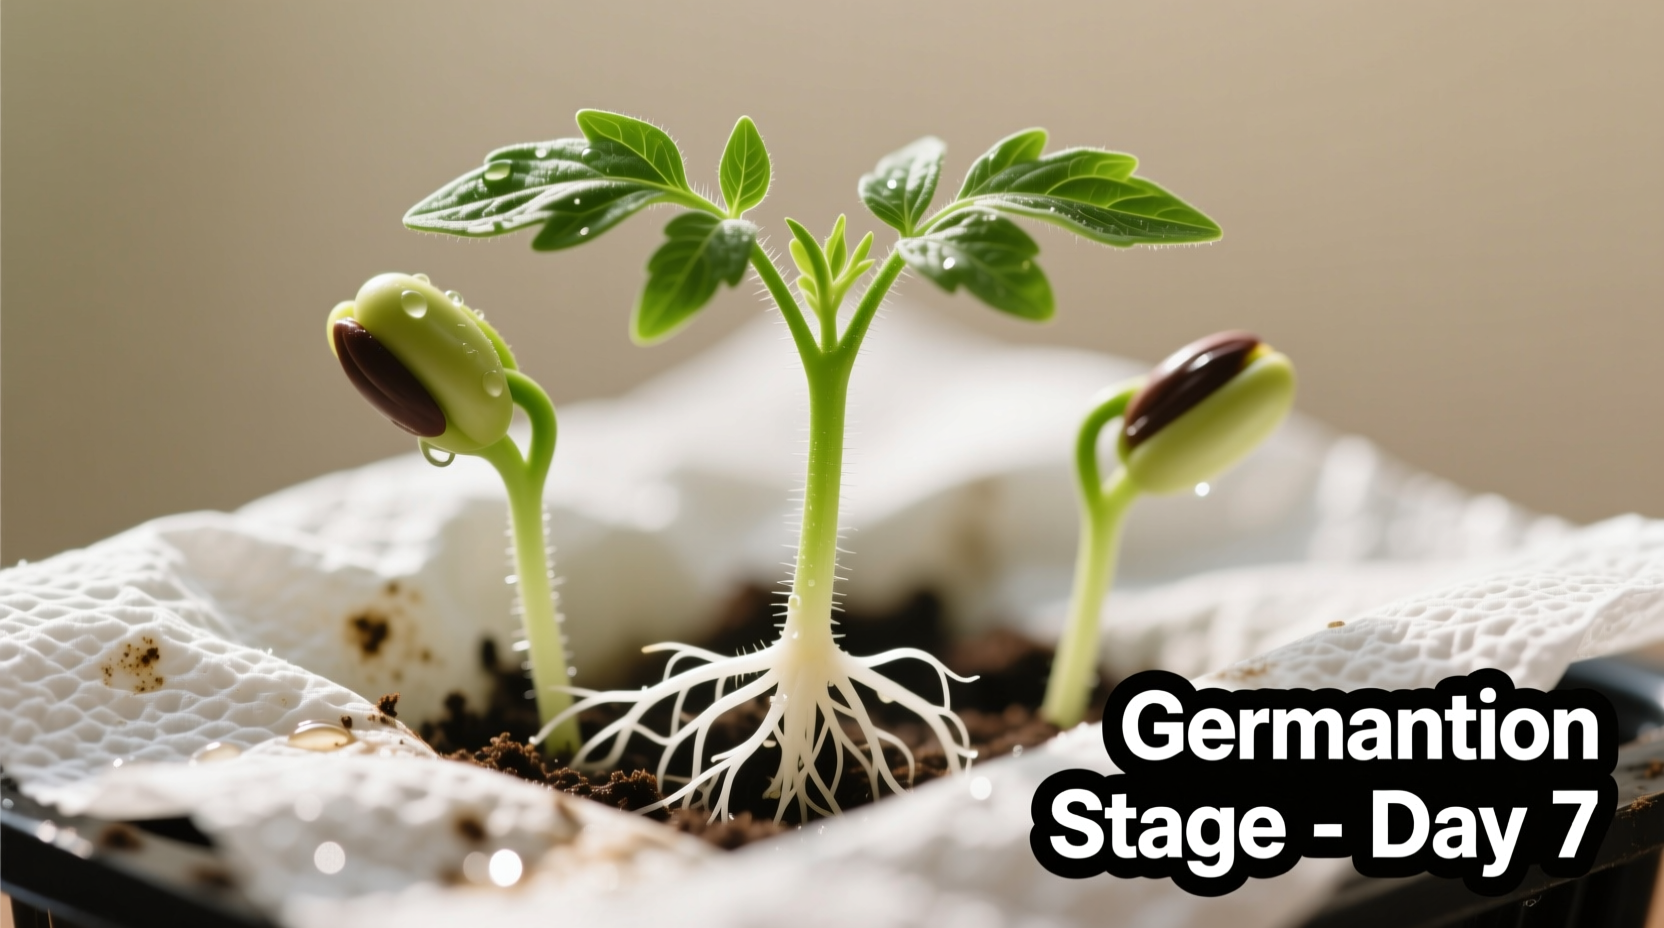
Daily Germination Timeline
Understanding what happens each day helps you identify problems early:
- Day 1-2: Seeds absorb water and swell (imbibition)
- Day 3-4: Radicle (first root) emerges through seed coat
- Day 5-6: Root elongates, cotyledons begin pushing upward
- Day 7-8: Cotyledons (seed leaves) break through soil surface
- Day 9-10: First true leaves develop, ready for light exposure
If no activity occurs by day 7, check your temperature and moisture levels. The Oregon State University Extension notes that temperatures below 60°F (15°C) can delay germination by 50% or more.
Critical Mistakes That Cause Failure
Avoid these common errors that reduce germination success:
- Overwatering: Creates anaerobic conditions that drown seeds (use the squeeze test: mix should hold shape but not drip water)
- Inconsistent temperatures: Fluctuations below 65°F (18°C) significantly slow germination
- Planting too deep: Tomato seeds need light to germinate; plant no deeper than 1/4 inch (0.6 cm)
- Using old seeds: Viability drops 10-20% per year; test older seeds with the paper towel method first
- Insufficient light after sprouting: Seedlings require 14-16 hours of bright light immediately after emergence
Troubleshooting Common Problems
Address these issues promptly to save your seedlings:
- Damping off: Fungal disease causing seedlings to collapse at soil line. Prevent with sterile mix, proper air circulation, and bottom watering. The Penn State Extension reports this affects 30-50% of home-started seedlings when conditions are too humid.
- Leggy seedlings: Caused by insufficient light. Move to brighter location immediately and consider supplemental grow lights.
- Mold on soil surface: Indicates excess moisture. Reduce watering frequency and improve air circulation.
- No germination after 14 days: Check seed viability, temperature consistency, and moisture levels. Most tomato seeds germinate within 10 days under proper conditions.
Transitioning to Outdoor Growth
After sprouting, proper hardening off ensures transplant success:
- Begin acclimation 7-10 days before transplanting
- Start with 1-2 hours of morning sun, protected from wind
- Gradually increase exposure by 1-2 hours daily
- After 5 days, leave plants outside overnight if temperatures stay above 50°F (10°C)
- After 7-10 days, plants are ready for permanent garden placement
Skip this process and you risk transplant shock, which can set back growth by 2-3 weeks. The University of Florida IFAS Extension emphasizes that proper hardening off increases survival rates by 40%.


 浙公网安备
33010002000092号
浙公网安备
33010002000092号 浙B2-20120091-4