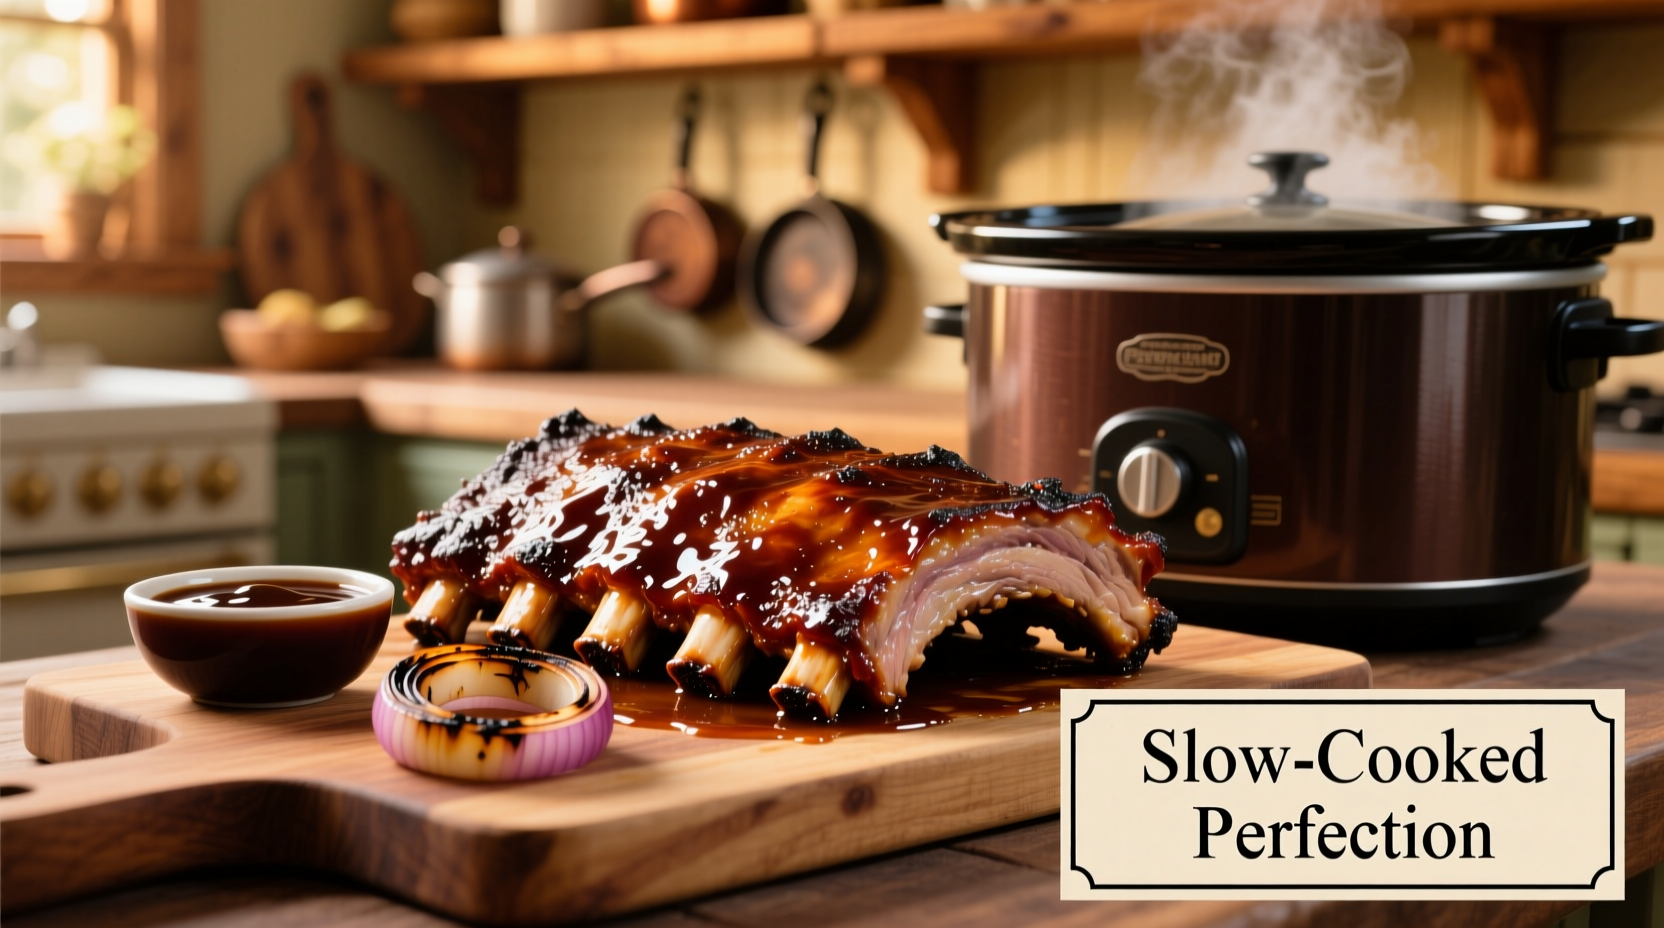
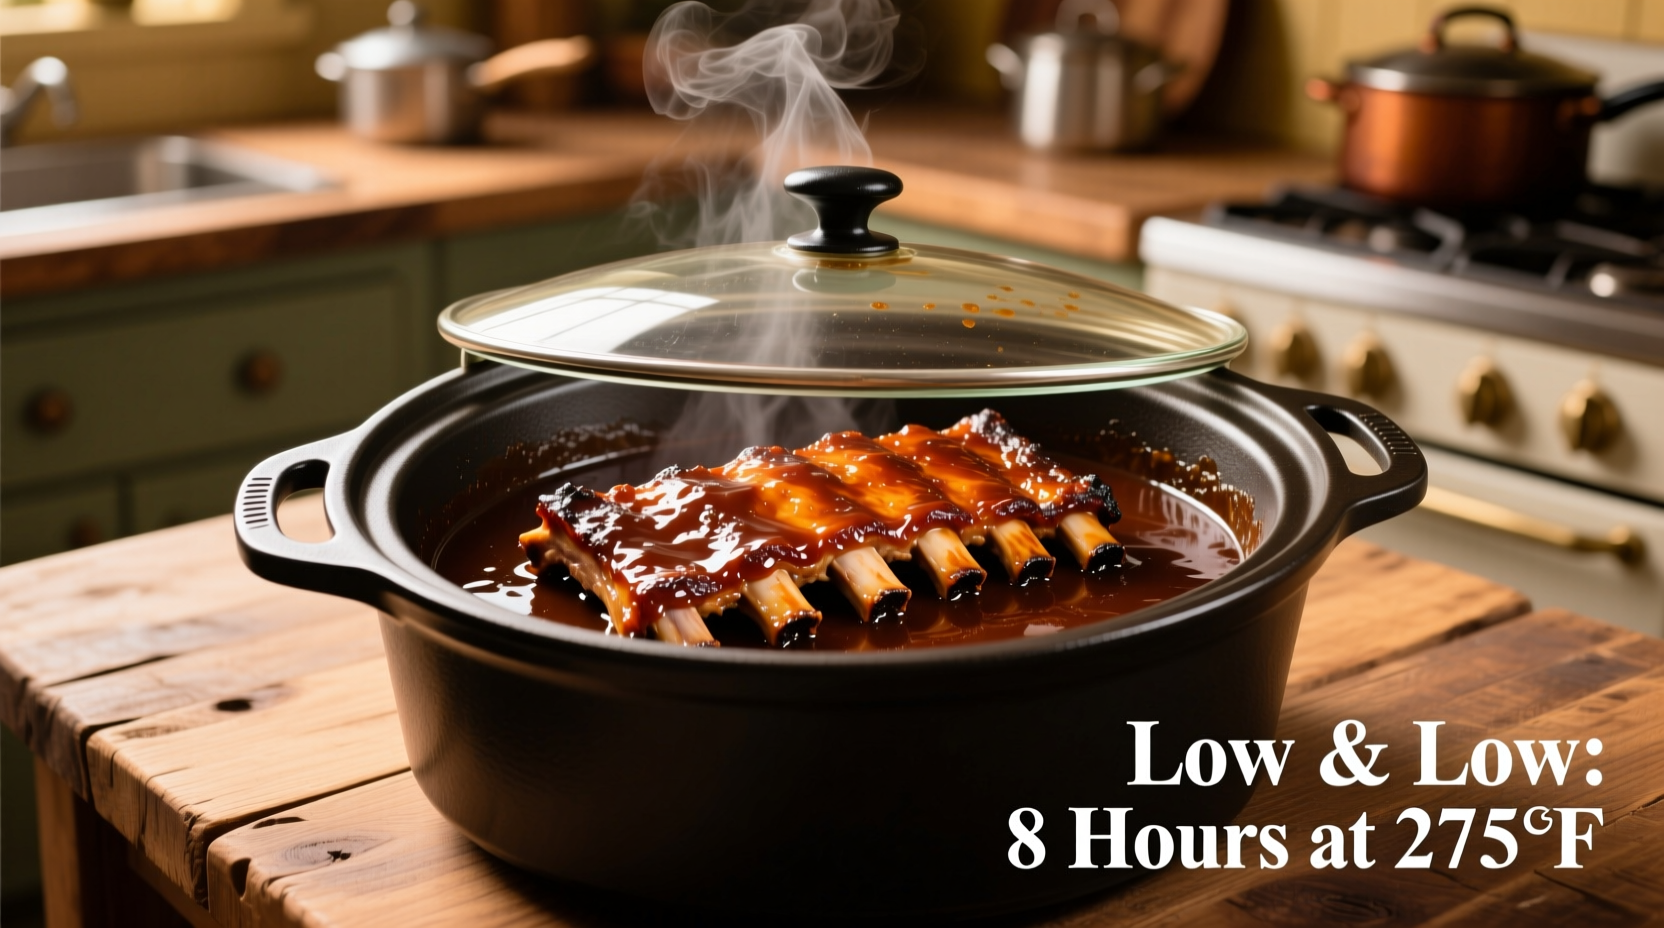
The best way to slow cook ribs in the crock pot is to cook them on low for 6-8 hours or on high for 3-4 hours after seasoning with a dry rub. For fall-off-the-bone tenderness, remove the membrane, apply a balanced spice rub, and cook ribs bone-side down with minimal liquid. Finish with a brief broil for caramelization.
Imagine coming home to perfectly tender ribs that practically fall off the bone, with minimal effort and cleanup. That's exactly what you'll achieve with this foolproof crock pot ribs method. No more babysitting the grill or worrying about temperature fluctuations—just set it and forget it for restaurant-quality results every time.
Your Complete Roadmap to Crock Pot Rib Success
Whether you're a weeknight dinner warrior or prepping for a weekend feast, this guide walks you through every critical step. You'll learn exactly how to select the right ribs, apply the perfect seasoning blend, and master the timing for consistently juicy results. Most importantly, you'll discover the professional chef's secret for adding that essential caramelized finish without compromising the slow-cooked tenderness.
Essential Equipment and Ingredients Checklist
Before you begin, gather these kitchen essentials. Having everything ready prevents mid-cooking scrambles and ensures optimal timing:
- 6-8 quart slow cooker (crock pot)
- Sharp boning knife
- Paper towels
- Meat thermometer (instant-read)
- Aluminum foil
Selecting and Preparing Your Ribs
The foundation of perfect crock pot ribs starts with proper selection and preparation. Most home cooks make critical mistakes at this stage that compromise final results.
| Rib Type | Weight Range | Optimal Cooking Time | Flavor Profile |
|---|---|---|---|
| Baby Back Ribs | 1.5-2.5 lbs | Low: 5-6 hrs / High: 2.5-3 hrs | Milder, more tender |
| Spare Ribs | 2.5-4 lbs | Low: 7-8 hrs / High: 3.5-4 hrs | Richer, fattier flavor |
| St. Louis Style | 2-3 lbs | Low: 6-7 hrs / High: 3-3.5 hrs | Balanced tenderness |
Source: USDA Food Safety and Inspection Service Cooking Meat Made Safe
Follow these preparation steps for maximum flavor absorption:
- Remove the membrane: Slide a butter knife under the membrane on the bone side, then grip with a paper towel and peel off completely
- Dry thoroughly with paper towels—moisture prevents proper seasoning adhesion
- Apply your dry rub using a gentle massaging motion to work spices into the meat
- Let sit at room temperature for 30 minutes before cooking
Step-by-Step Cooking Process
Professional chefs consistently achieve perfect results by following this precise sequence. The key is understanding the science behind each step:
Phase 1: Seasoning Application (15 minutes)
Create a balanced dry rub using this ratio: 3 parts brown sugar, 2 parts paprika, 1 part each of garlic powder, onion powder, salt, and black pepper. For heat lovers, add 1/2 part cayenne. The sugar caramelizes during the finishing step, while the paprika provides rich color without overwhelming heat.
Phase 2: Slow Cooking (6-8 hours on low)
Place ribs bone-side down in the crock pot. Add just 1/4 cup of liquid—apple juice or broth works best—to create gentle steam without boiling. The minimal liquid prevents the ribs from becoming waterlogged while maintaining moisture. Set to low heat for 6-8 hours depending on rib type (refer to our comparison table).
At the 4-hour mark, check tenderness. Ribs are done when a meat thermometer reads 195-203°F internally and the meat bends easily when lifted with tongs. Overcooking leads to mushy texture, while undercooking results in tough, chewy ribs.
Phase 3: Finishing Technique (15 minutes)

This professional chef technique transforms good ribs into exceptional ones. Transfer ribs to a foil-lined baking sheet, brush with your favorite barbecue sauce, and broil for 3-5 minutes until caramelized. The brief high-heat exposure creates that essential restaurant-quality finish without drying out the meat.
Troubleshooting Common Issues
Even experienced cooks encounter these challenges. Here's how to fix them:
- Ribs too mushy: Reduce cooking time by 1-2 hours next time. Overcooking breaks down collagen too much.
- Ribs still tough: Return to crock pot for additional 30-60 minutes. Temperature should reach at least 195°F.
- Excess fat: Skim fat from cooking liquid before finishing. Chill ribs briefly to solidify fat for easier removal.
- Dry ribs: Increase liquid slightly next time (max 1/2 cup) or wrap in foil during final cooking hour.
Serving and Storage Recommendations
For optimal flavor development, let ribs rest for 10-15 minutes after cooking before serving. This allows juices to redistribute throughout the meat. Leftovers store well in an airtight container in the refrigerator for up to 4 days. Reheat gently in the oven at 275°F to maintain texture—microwaving makes ribs rubbery.
When planning your cooking timeline, consider this visual progression of the slow cooking process:
- 0-2 hours: Initial warming phase, collagen begins breaking down
- 2-4 hours: Connective tissues soften, meat starts pulling away from bones
- 4-6 hours: Optimal tenderness range for most rib types
- 6-8 hours: Maximum tenderness before potential overcooking
- 8+ hours: Risk of texture deterioration increases significantly
Source: American Meat Science Association Recommended Cooking Guidelines
When Not to Use the Crock Pot Method
While incredibly convenient, slow cooking isn't ideal for every rib scenario. Avoid this method if:
- You want crispy, bark-like exterior texture (opt for smoking or grilling)
- Preparing for a large gathering where precise timing is critical (slow cookers have variable timing)
- Using very lean rib cuts that may dry out (consider adding extra moisture barrier)
- Seeking traditional barbecue smoke flavor (supplement with liquid smoke)
Pro Tips for Next-Level Results
Elevate your crock pot ribs with these professional techniques:
- Add a splash of apple cider vinegar to your dry rub for enhanced flavor penetration
- Place ribs on a bed of sliced onions to elevate them from direct liquid contact
- Wrap ribs in foil during the final cooking hour for extra-tender results (Texas crutch method)
- Use a meat injector for deeper flavor infusion with liquid marinades
Frequently Asked Questions
Can you cook frozen ribs in a crock pot?
No, always thaw ribs completely before slow cooking. Cooking frozen ribs creates uneven cooking temperatures that can lead to food safety risks. Thaw in the refrigerator for 24-48 hours before seasoning and cooking.
How do you know when ribs are done in the crock pot?
Ribs are done when they reach 195-203°F internally and bend easily when lifted with tongs. The meat should pull back from the bones about 1/4 inch, and a toothpick should slide in with little resistance.
Should ribs be covered in liquid in the slow cooker?
No, ribs should not be submerged. Use only 1/4-1/2 cup of liquid to create gentle steam. Too much liquid can make ribs soggy and prevent proper texture development. The ribs' own fat and juices provide sufficient moisture.
Can you overcook ribs in a slow cooker?
Yes, cooking beyond 8 hours on low typically results in mushy texture where meat falls off the bone too easily. For best results, follow recommended time ranges based on rib type and check for doneness starting at the minimum time.
Do you need to flip ribs in the crock pot?
No flipping is necessary. Place ribs bone-side down initially and leave undisturbed. The slow, even heat penetrates the meat effectively without needing to turn them, which could damage the delicate texture.


 浙公网安备
33010002000092号
 浙B2-20120091-4