
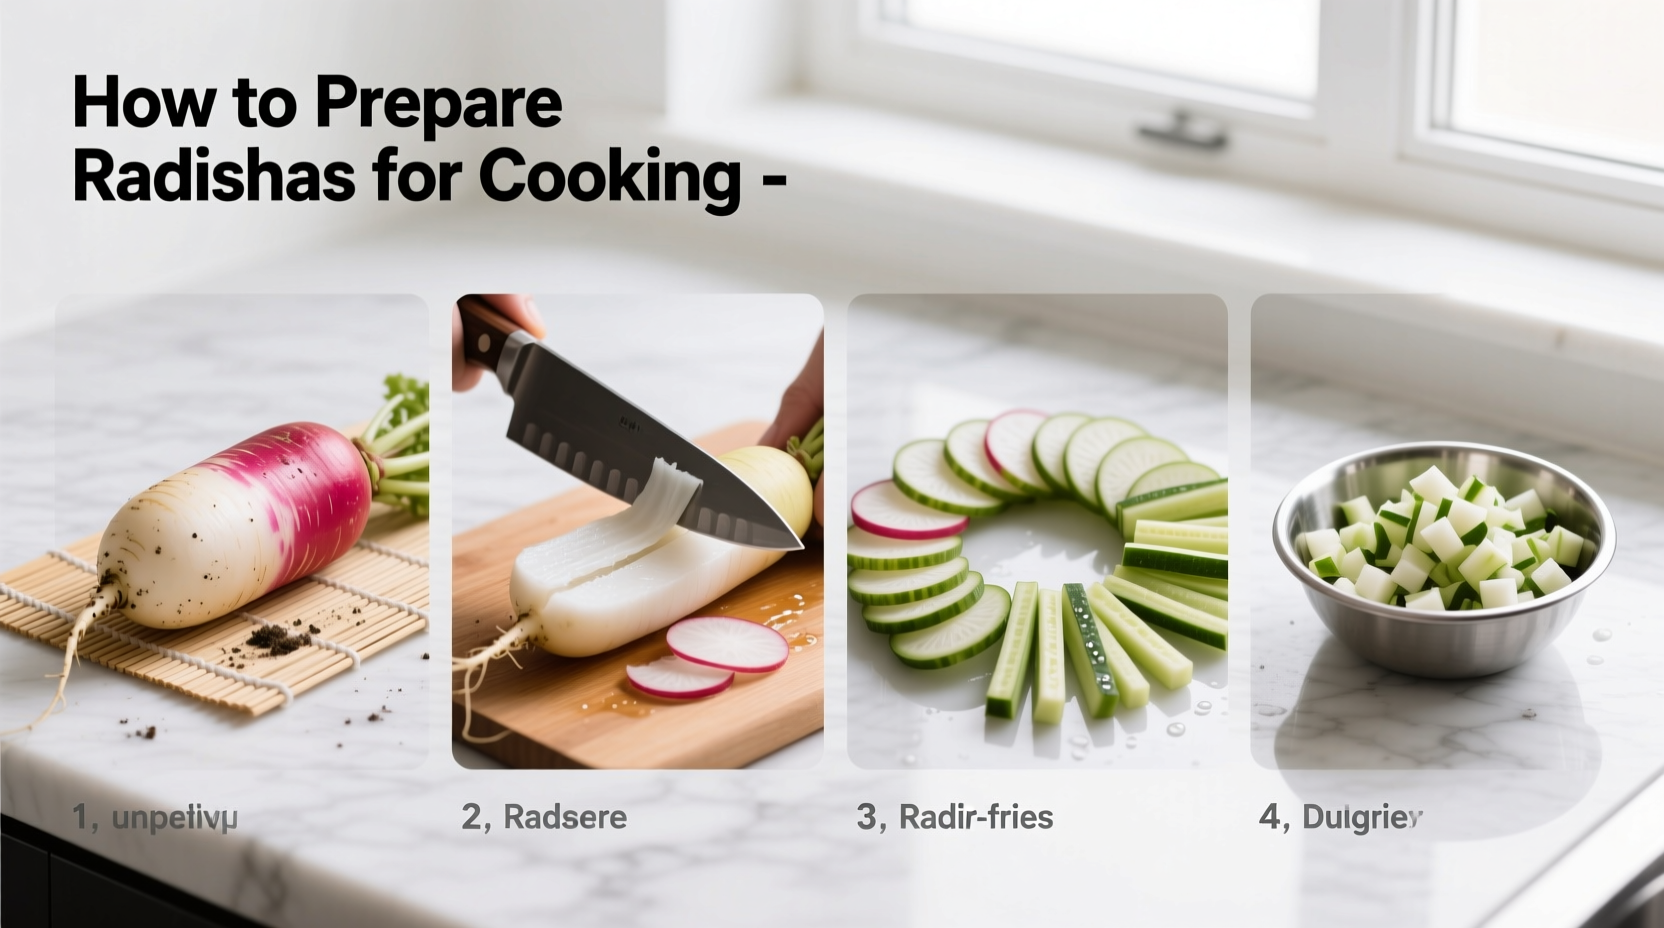
Remove greens immediately after purchase, scrub thoroughly under cold water, trim both ends, and slice or dice according to your cooking method. Unlike raw consumption, cooking radishes requires proper cleaning to remove soil and careful sizing for even cooking—larger pieces for roasting, thinner slices for sautéing.
Why Proper Radish Preparation Makes All the Difference
Many home cooks treat radishes as strictly raw vegetables, unaware that proper preparation unlocks their culinary versatility. When cooked correctly, radishes transform from peppery bites to tender, sweet morsels with complex flavor profiles. The key lies in understanding how preparation affects texture and taste during cooking.
According to USDA food safety guidelines, root vegetables like radishes require thorough cleaning to remove potential soil contaminants. Proper washing prevents foodborne illness while preserving the vegetable's integrity for cooking.
Essential Tools for Perfect Radish Preparation
Before you begin, gather these kitchen essentials:
- Sharp chef's knife (8-10 inch)
- Stable cutting board (wood or plastic)
- Vegetable brush
- Bowl for cold water soaking
- Salad spinner (optional but helpful)
The Step-by-Step Radish Preparation Process
Step 1: Immediate Greens Removal
Remove leafy greens within 2 hours of purchase. The greens draw moisture from the root, causing radishes to become limp and less flavorful. Store greens separately in a produce bag with a damp paper towel for up to 3 days—they're delicious sautéed like spinach.
Step 2: Thorough Cleaning Technique
Unlike delicate vegetables, radishes withstand vigorous cleaning:
- Fill a bowl with cold water
- Scrub each radish with a vegetable brush, paying special attention to crevices
- Soak for 5 minutes to loosen stubborn dirt
- Rinse under running water until water runs clear
- Dry completely with a clean kitchen towel
Step 3: Strategic Trimming
Trim both ends with a sharp knife:
- Cut 1/8 inch from the root end (where greens were attached)
- Remove the small brown tip from the opposite end
- For larger radishes, consider peeling if skin appears tough
| Radish Size | Peeling Recommended? | Best Cooking Method |
|---|---|---|
| Small (under 1") | No | Roasting whole |
| Medium (1-2") | Optional | Slicing for stir-fries |
| Large (over 2") | Yes | Dicing for soups/stews |
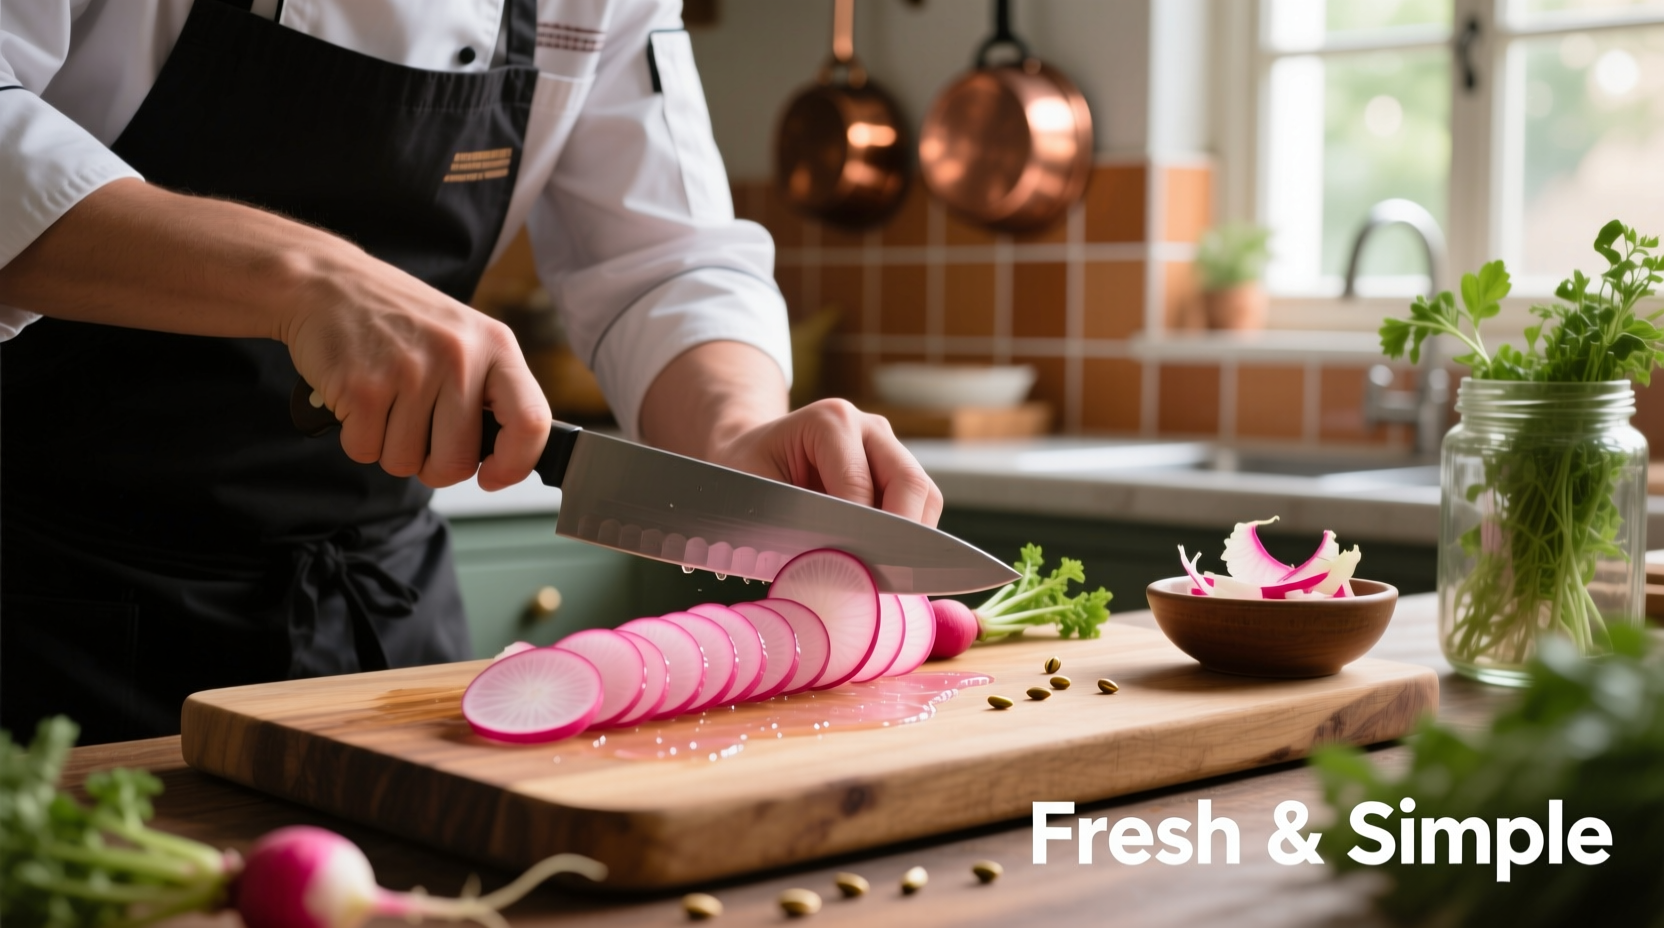
Step 4: Precision Cutting for Cooking
Cutting technique directly impacts cooking results:
- For roasting: Cut into uniform 1/2-inch wedges for even caramelization
- For sautéing: Slice thinly (1/8 inch) for quick, even cooking
- For soups: Dice into 1/4-inch cubes that maintain shape during simmering
- For pickling: Slice into 1/16-inch rounds for maximum flavor absorption
Advanced Preparation Techniques by Cooking Method
Roasting Radish Preparation
Toss wedges with olive oil, salt, and pepper. For enhanced flavor, add a teaspoon of honey to counteract bitterness. Roast at 400°F (200°C) for 20-25 minutes until golden brown and tender. As documented by America's Test Kitchen, roasting transforms radishes' sharpness into a delicate sweetness reminiscent of mild turnips.
Sautéing Radish Technique
Thinly sliced radishes cook in just 3-5 minutes. Start with medium-high heat, add radishes in a single layer, and resist stirring for the first 2 minutes to develop caramelization. Their texture evolves through distinct stages:
| Cooking Time | Texture | Best Use |
|---|---|---|
| 0-2 minutes | Crisp-tender | Stir-fries, quick side dishes |
| 3-5 minutes | Soft with slight resistance | With proteins, in grain bowls |
| 6+ minutes | Meltingly tender | Purees, soups, braises |
Storage Solutions for Prepared Radishes
Prepared radishes maintain quality differently based on preparation:
- Whole, unpeeled radishes: Store in perforated bag with damp paper towel for up to 2 weeks
- Sliced or diced radishes: Keep in airtight container with damp cloth for 3-4 days
- Blanched radishes: Freeze for up to 6 months (ideal for winter stews)
According to the National Center for Home Food Preservation, blanching radishes for 2 minutes before freezing preserves texture better than freezing raw. This technique maintains cellular structure during cooking months later.
Troubleshooting Common Preparation Mistakes
Why Your Cooked Radishes Turned Soggy
Overcrowding the pan creates steam instead of allowing proper caramelization. Cook in single layers with space between pieces. For roasting, use two pans if necessary rather than stacking radishes.
Dealing with Bitterness
Larger, older radishes develop more pungency. Counteract this by:
- Soaking sliced radishes in ice water for 10 minutes before cooking
- Adding small amounts of acid (lemon juice or vinegar) during cooking
- Pairing with sweet elements like honey or caramelized onions
Professional Chef's Pro Tips
As a chef with experience in both fine dining and home cooking environments, I've found these techniques consistently deliver superior results:
- Always cut radishes in uniform sizes for even cooking
- Save trimmed ends for vegetable stock—they add subtle peppery notes
- For vibrant color retention, add a splash of vinegar to cooking water
- Combine with complementary flavors: dill, thyme, butter, and citrus


 浙公网安备
33010002000092号
浙公网安备
33010002000092号 浙B2-20120091-4