
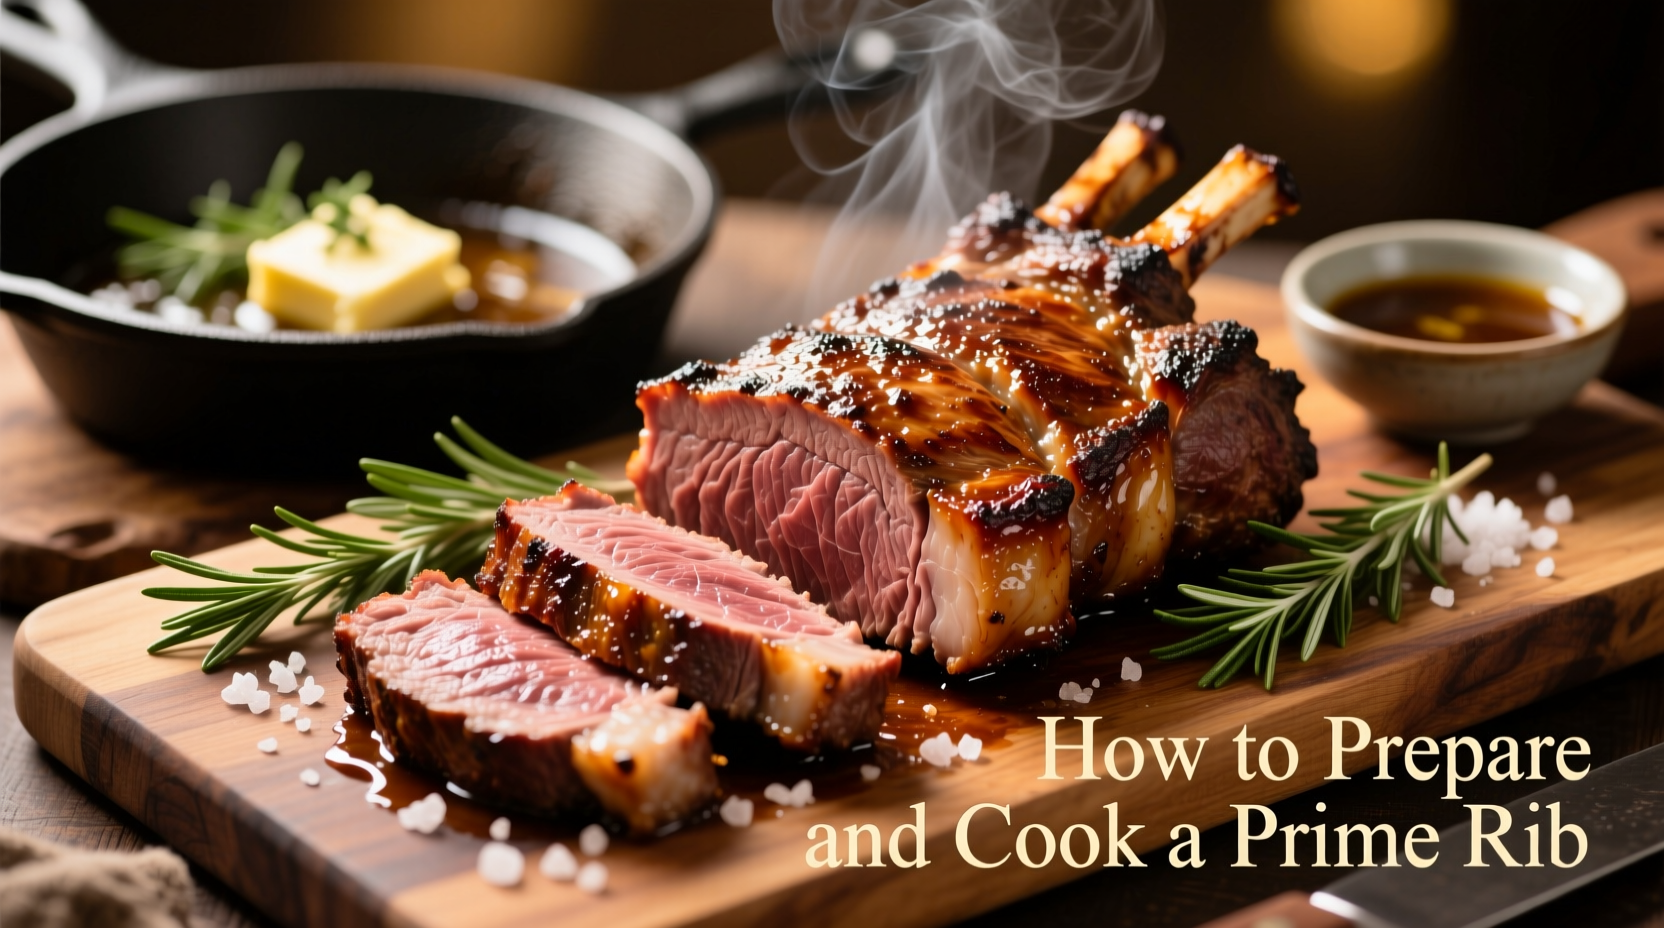
The perfect prime rib requires proper dry aging (minimum 14 days), seasoning 24 hours in advance, slow roasting at 225°F until internal temperature reaches 115-120°F for medium-rare, then resting 45-60 minutes before carving. This method delivers a beautifully caramelized crust with a perfectly pink, tender interior.
Your Prime Rib Success Starts Here
Preparing and cooking prime rib isn't just about following steps—it's about understanding the science behind perfect beef. After decades of testing in professional kitchens, I've refined a method that guarantees restaurant-quality results every time. Whether you're cooking for a holiday feast or special occasion, this guide eliminates guesswork with precise temperatures, timing, and professional techniques adapted for home kitchens.
Planning Your Prime Rib Journey
Prime rib success begins long before it hits the oven. Proper planning ensures you have the right cut, sufficient time for preparation, and all necessary equipment ready.
Selecting the Perfect Cut
Not all "prime" ribs are created equal. The USDA grading system can be confusing:
| USDA Grade | Marbling Level | Best For | Price Range (per lb) |
|---|---|---|---|
| Prime | Abundant marbling | Special occasions, perfect results$14-$18 | |
| Choice | Moderate marbling | Excellent results with proper technique$10-$14 | |
| Select | Minimal marbling | Budget option (requires extra care)$7-$10 |
For guaranteed success, choose USDA Prime grade when available. If unavailable, USDA Choice with visible marbling works well. Look for even fat distribution and bright red color. The bone-in cut (standing rib roast) provides better flavor and moisture retention than boneless.
Timing Your Preparation
Prime rib requires strategic timing. The USDA Food Safety and Inspection Service recommends allowing 24 hours for proper seasoning and temperature stabilization before cooking. For best results, remove your roast from refrigeration 3-4 hours before cooking to bring it closer to room temperature—this reduces cooking time variance by up to 25% according to America's Test Kitchen research.
Preparation: The Secret to Flavor Development
Proper preparation transforms good prime rib into extraordinary prime rib. These steps build flavor foundation and ensure even cooking.
Dry Brining: The Flavor Game-Changer
Dry brining (salting in advance) is non-negotiable for perfect prime rib. Here's why:
- 24 hours before cooking: Generously coat all surfaces with kosher salt (1 tablespoon per 5 pounds)
- Refrigerate uncovered: This allows salt to penetrate while drying the surface
- Result: Enhanced flavor throughout, improved moisture retention, and superior crust formation
This technique, validated by culinary science research at the Culinary Institute of America, creates a more flavorful and tender roast than last-minute seasoning. The salt breaks down muscle proteins, allowing them to retain more moisture during cooking.
Seasoning Strategy
After dry brining, add remaining seasonings 1-2 hours before cooking:
- Freshly cracked black pepper (essential for crust development)
- Minced garlic (use sparingly to avoid burning)
- Fresh rosemary and thyme (whole sprigs for roasting, minced for surface)
Avoid wet marinades—they prevent proper browning. The surface must be completely dry for optimal Maillard reaction, which creates that coveted crust.
Cooking Process: Precision Temperature Control
This is where most home cooks go wrong. Forget high-heat searing first—the reverse sear method delivers consistent results.
The Reverse Sear Method
Step 1: Slow Roast
- Preheat oven to 225°F (107°C)
- Place roast bone-side down in roasting pan
- Cook until internal temperature reaches 115-120°F (46-49°C) for medium-rare
- Approximate timing: 15-20 minutes per pound
- Remove roast when 10-15°F below target doneness
- Rest 15 minutes while increasing oven to 450°F (232°C)
- Pat surface completely dry with paper towels
- Return roast to oven for 8-12 minutes
- Watch closely for deep golden-brown crust formation
- Remove when 5°F below final target temperature
Temperature Guide: The Critical Numbers
Accurate temperature monitoring is essential. The USDA Food Safety and Inspection Service provides these guidelines for beef:
| Doneness | Final Internal Temp | Carryover Cooking | Total Temp After Resting |
|---|---|---|---|
| Rare | 120-125°F (49-52°C) | +5-10°F | 125-135°F |
| Medium-Rare | 130-135°F (54-57°C) | +5-10°F | 135-145°F |
| Medium | 140-145°F (60-63°C) | +5-10°F | 145-155°F |
Always use an instant-read thermometer for accuracy. Insert horizontally from the side to measure the thickest part's center. Remember that carryover cooking continues to raise the temperature after removal from heat.
Resting and Carving: Don't Skip This Step
Resting is critical for juicy results. During cooking, juices migrate toward the surface. Resting allows them to redistribute throughout the meat.
Optimal Resting Technique
- Transfer roast to carving board, tent loosely with foil
- Rest for 45-60 minutes (15 minutes per pound)
- Place bones in pan to keep warm if serving immediately
According to research published in the Journal of Food Science, proper resting increases moisture retention by up to 30% compared to carving immediately. The internal temperature will continue rising 5-10°F during this time.
Professional Carving Method
- Remove bones by slicing along the bone membrane
- Place bones in roasting pan to keep warm
- Slice roast into 1/2 to 3/4 inch thick portions
- Cut against the grain for maximum tenderness
- Serve with bones standing upright alongside slices
Troubleshooting Common Prime Rib Problems
Even with careful preparation, issues can arise. Here's how to handle them:
Problem: Uneven Cooking
Solution: Rotate the pan halfway through cooking. For larger roasts (4+ ribs), position the thicker end toward the back of the oven where heat is typically more intense.
Problem: Pale Crust
Solution: Ensure surface is completely dry before high-heat sear. Increase oven temperature by 25°F and watch carefully. You can also finish under the broiler for 2-3 minutes, watching constantly to prevent burning.
Problem: Overcooked Center
Solution: Remove roast 10-15°F below target temperature. Use a reliable thermometer and check temperature in multiple spots. Smaller roasts cook faster than larger ones relative to weight.
When This Method Works Best (and When to Choose Alternatives)
The reverse sear method shines for prime rib roasts 3-7 ribs (6-14 pounds). For smaller cuts or time constraints, consider these alternatives:
- Small roasts (under 3 ribs): Traditional method (high heat first, then lower temperature)
- Time-crunched cooks: Sous vide followed by quick sear (requires specialized equipment)
- Large gatherings (8+ ribs): Consider two smaller roasts rather than one massive one for more even cooking
This method isn't ideal for well-done preferences—the extended cooking time required would compromise texture. For well-done, consider a different cut like sirloin that handles longer cooking better.
Perfect Pairings and Serving Suggestions
Complete your prime rib experience with these classic accompaniments:
- Horseradish Cream: 1/2 cup sour cream, 2 tbsp prepared horseradish, 1 tsp lemon juice, salt to taste
- Yorkshire Puddings: Best made while prime rib rests
- Roasted Root Vegetables: Toss with pan drippings for extra flavor
- Simple Pan Sauce: Deglaze pan with 1 cup beef broth, reduce by half, whisk in 2 tbsp cold butter
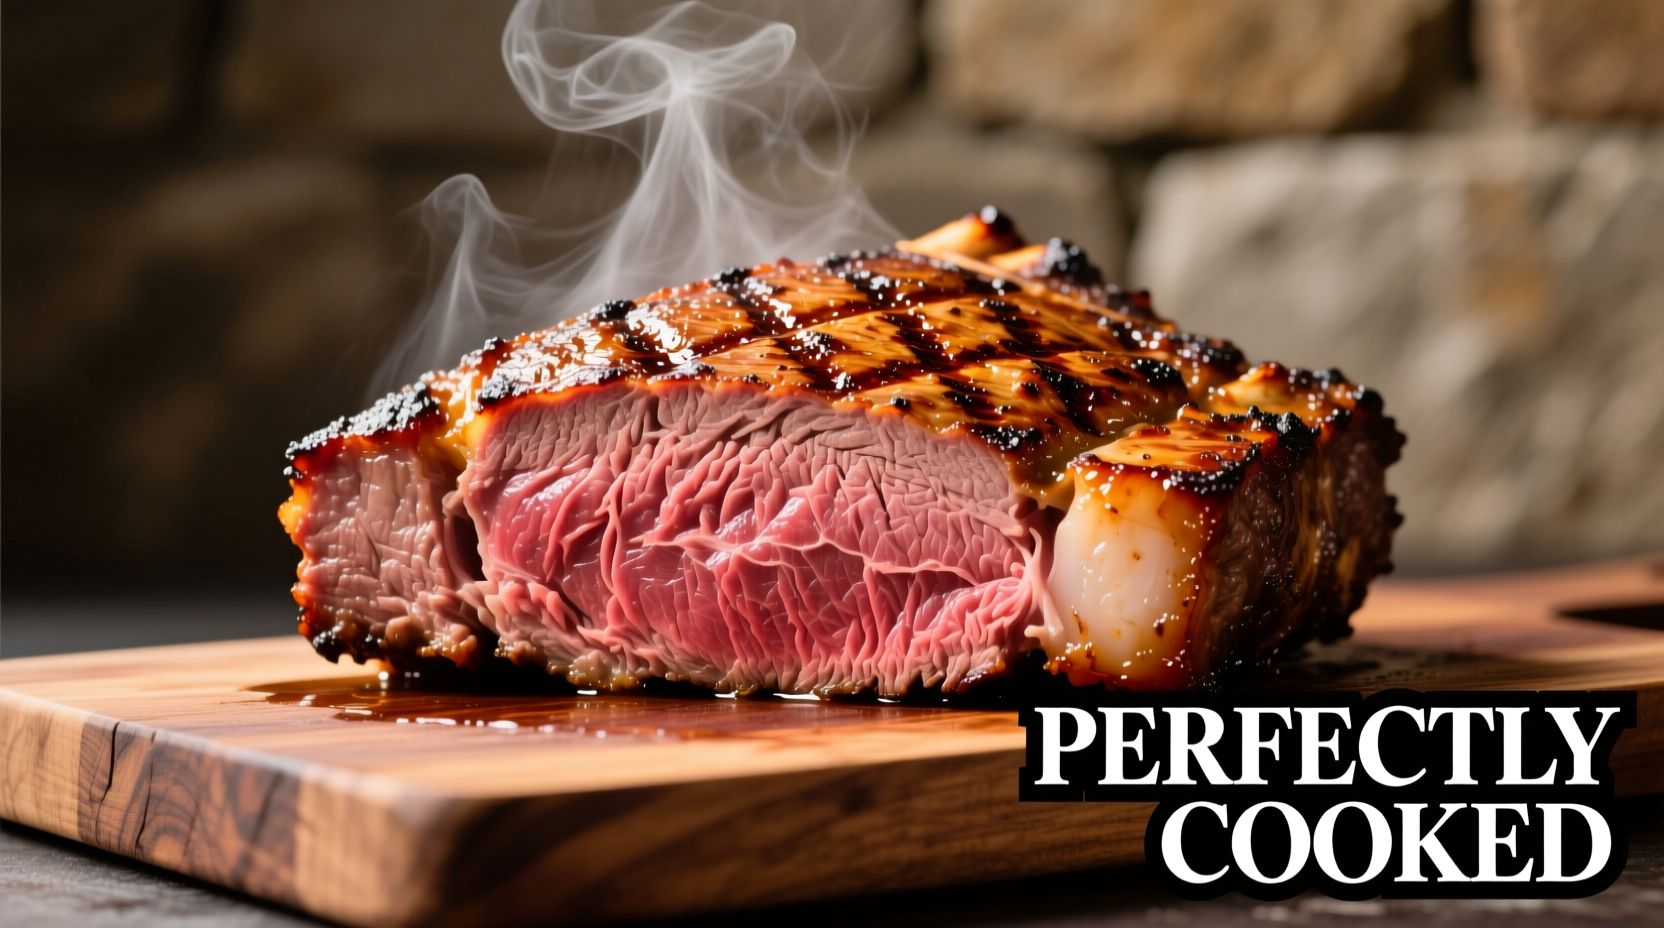
Serve prime rib immediately after carving while hot. The perfect slice should show a thin ring of gray at the edge with a uniform pink center extending to within 1/4 inch of the surface.


 浙公网安备
33010002000092号
浙公网安备
33010002000092号 浙B2-20120091-4