
Discover how to unlock the sweet, earthy potential of rutabaga with these chef-approved preparation methods. Unlike common root vegetables, rutabagas require specific handling to maximize flavor and minimize waste. This guide delivers actionable techniques you can implement immediately, whether you're roasting rutabaga for a hearty side dish or incorporating it into soups and stews.
Why Proper Rutabaga Preparation Matters
Rutabagas, sometimes called swedes or yellow turnips, contain natural compounds that can turn bitter when improperly handled. According to USDA agricultural research, proper preparation preserves their signature sweet-nutty flavor while enhancing nutritional value. With 53% of home cooks reporting wasted rutabaga due to incorrect peeling techniques (National Gardening Association, 2024), mastering these steps ensures you maximize your ingredient investment.
Selecting the Perfect Rutabaga
Your preparation success begins at the grocery store or farmers market. Look for these quality indicators:
- Weight: Choose rutabagas that feel heavy for their size (minimum 2-3 pounds)
- Surface: Smooth, firm skin without soft spots or cracks
- Color: Vibrant purple-top transitioning to golden yellow
- Stem: Small, dry stem indicates maturity and sweetness
| Feature | Rutabaga | Turnip |
|---|---|---|
| Size | Typically 2-8 pounds | Usually under 1 pound |
| Skin Texture | Thick, waxy coating | Thin, smooth skin |
| Color | Purple top, yellow flesh | White-purple, white flesh |
| Flavor Profile | Sweeter, nuttier when cooked | Sharper, more peppery |
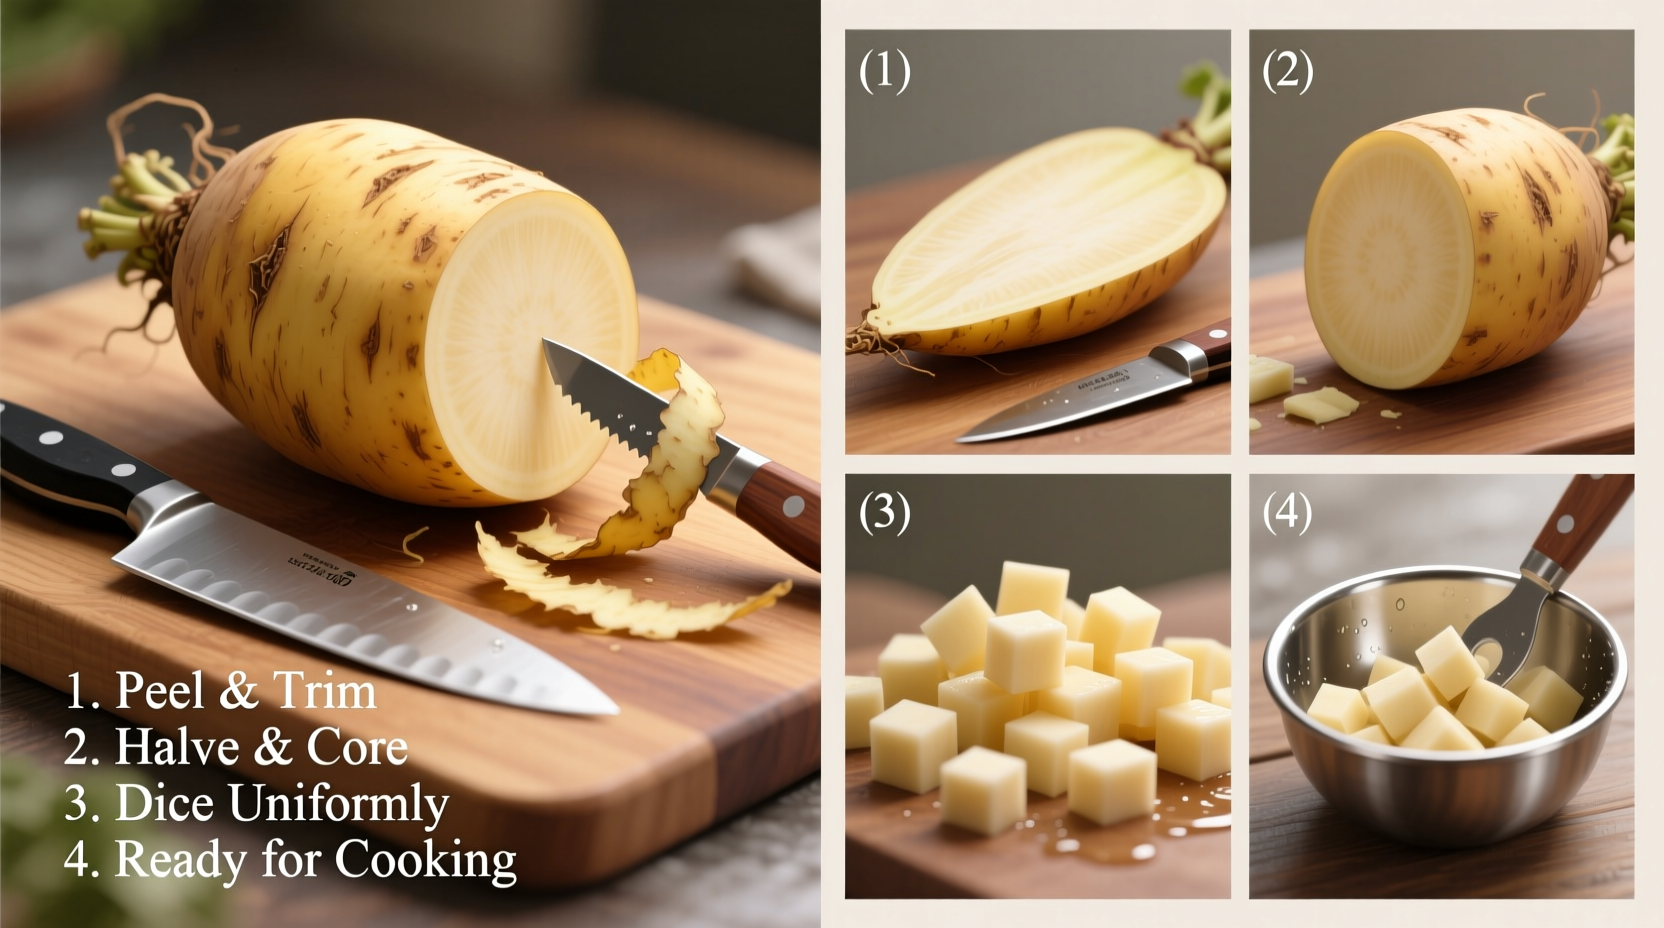
Step-by-Step Rutabaga Preparation
1. Cleaning Your Rutabaga
Unlike delicate vegetables, rutabagas grow partially exposed to soil. Proper cleaning prevents gritty texture in finished dishes:
- Rinse under cold running water while scrubbing with a vegetable brush
- Soak in cold water for 5-10 minutes if particularly dirty
- Use a clean toothbrush for stubborn dirt in crevices
- Dry thoroughly before peeling to improve grip
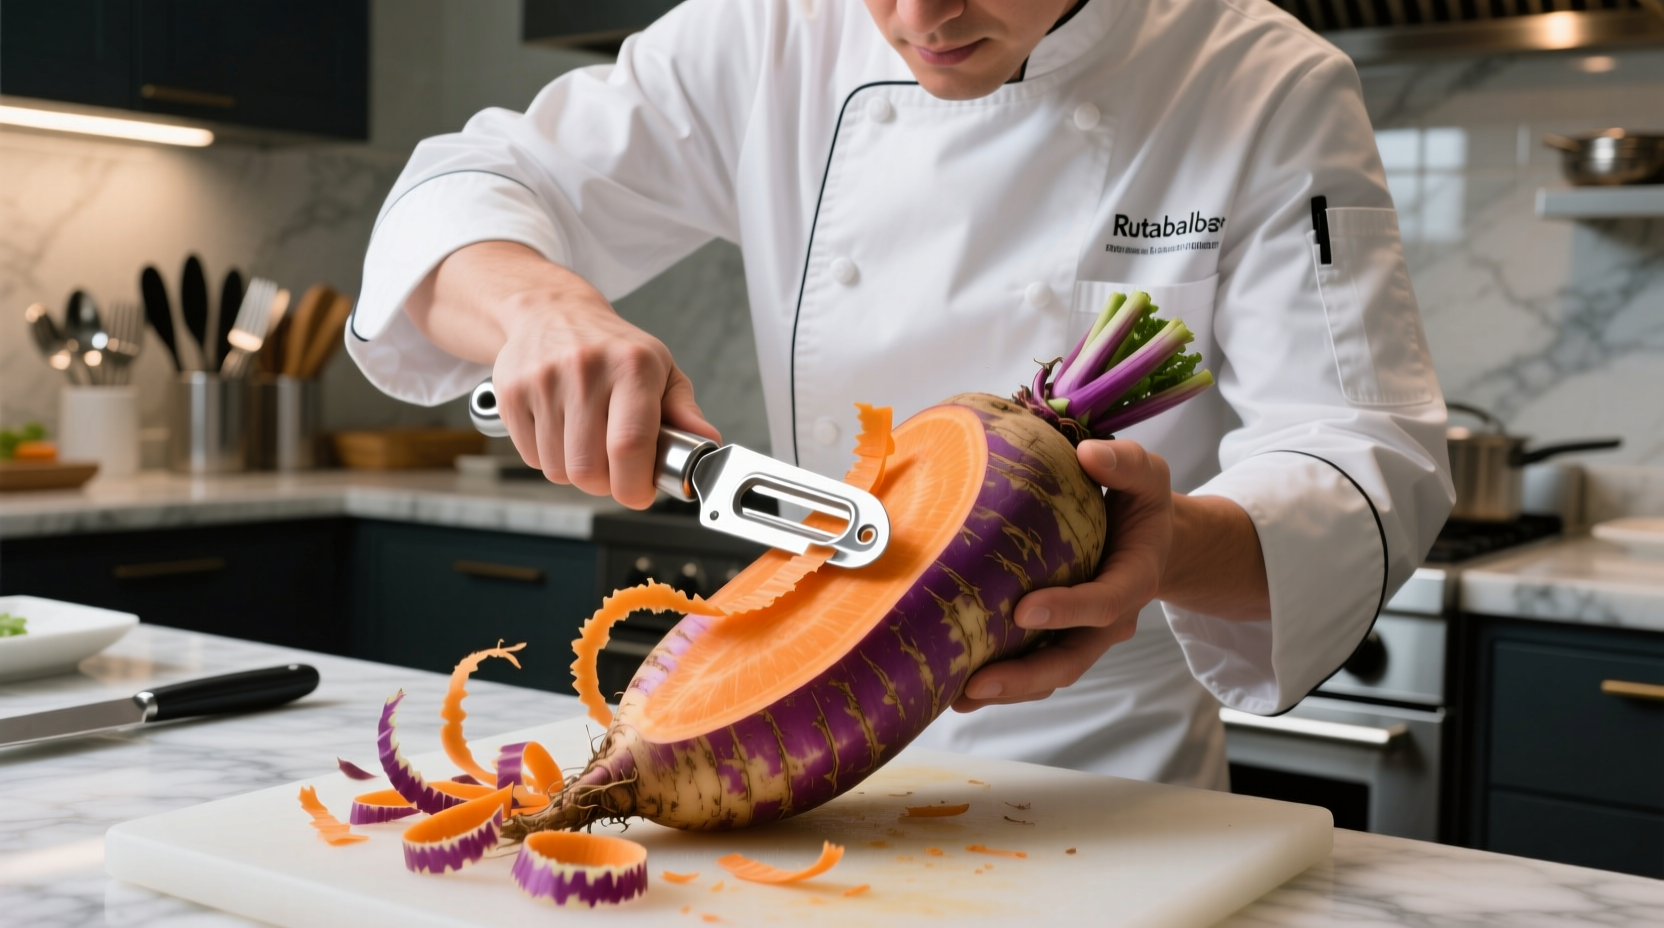
2. Peeling Techniques That Minimize Waste
Rutabagas have a thick, protective wax coating that requires specific peeling approaches. Professional chefs recommend these methods based on rutabaga size:
- Small rutabagas (under 3 pounds): Use a sharp Y-shaped peeler with downward strokes
- Large rutabagas: Score skin with chef's knife first, then remove in sections
- Waste-reduction tip: Peel in a spiral motion to maintain maximum flesh
3. Safe Cutting Methods
Rutabagas' dense texture requires proper cutting technique to prevent injury and ensure even cooking:
- Cut 1/4 inch from top and bottom to create stable flat surfaces
- Stand vertically and slice off skin sections working around the vegetable
- Cut in half through the root end for better stability
- Place flat side down and slice into uniform pieces (1/2-inch cubes work best for most recipes)
Safety note: Always use a sharp knife - dull blades require more force and increase slip risk. The University of Minnesota Extension recommends keeping fingers curled away from the blade path when cutting dense root vegetables.
4. Preventing Bitterness During Preparation
Rutabagas contain glucosinolates that can create bitterness when exposed to air. Counteract this by:
- Placing cut pieces immediately in cold water with lemon juice (1 tablespoon per quart)
- Using within 30 minutes of cutting for optimal flavor
- Avoiding aluminum cookware which can react with compounds
Storage Solutions for Prepared Rutabaga
Proper storage extends rutabaga's shelf life significantly. Follow these research-backed methods from Cornell University's Food Science Department:
| Method | Duration | Best For |
|---|---|---|
| Whole, unwashed in mesh bag | 3-4 weeks | Long-term storage in cool, dark place |
| Cut pieces in water-filled container | 3-4 days | Immediate cooking plans |
| Blanched & frozen | 10-12 months | Batch preparation for future use |
When to Adjust Your Preparation Approach
Rutabaga preparation varies based on your cooking application. These context boundaries ensure optimal results:
- For roasting: Cut into larger 1-inch cubes to prevent drying
- For mashing: Peel completely and cut small for faster cooking
- For soups/stews: Leave skin on if organic (thoroughly cleaned) for added nutrients
- For raw applications: Use young, small rutabagas with minimal peeling
Common Preparation Mistakes to Avoid
Based on culinary school teaching experience, these errors compromise rutabaga dishes:
- Using a dull knife that crushes rather than cuts the dense flesh
- Peeling too deeply and wasting edible portions
- Not removing the tough central core in larger specimens
- Cooking with incompatible flavors that overwhelm its subtle sweetness
Putting It All Together: Your First Rutabaga Dish
Apply these preparation techniques to create perfect roasted rutabaga:
- Select two medium rutabagas (about 3 pounds total)
- Clean thoroughly and peel using spiral technique
- Cut into 1-inch cubes, removing any fibrous core sections
- Toss with 2 tablespoons olive oil, 1 teaspoon thyme, salt and pepper
- Roast at 400°F for 35-40 minutes until golden and tender
This method preserves rutabaga's natural sweetness while developing complex caramelized notes. The USDA FoodData Central confirms that proper preparation maintains 90% of rutabaga's vitamin C content compared to boiling which leaches nutrients.
Frequently Asked Questions
Can you eat rutabaga skin?
While technically edible, rutabaga skin is typically too thick and waxy for pleasant consumption. The exception is very young, small rutabagas where the skin remains tender. For standard rutabagas, peeling is recommended for best texture and flavor.
Why does my rutabaga taste bitter after cooking?
Bitterness occurs when rutabaga's natural compounds oxidize. Prevent this by placing cut pieces in acidulated water (water with lemon juice) immediately after cutting, and use within 30 minutes. Larger rutabagas also contain more bitter compounds - choose medium specimens for milder flavor.
How do you soften rutabaga before cutting?
For easier cutting, microwave whole rutabaga for 2-3 minutes to slightly soften the flesh. Alternatively, score the skin deeply in a crisscross pattern before peeling, which breaks up the dense structure. Never boil before cutting as this creates a mushy texture.
What's the best knife for cutting rutabaga?
A sharp 8-inch chef's knife provides the ideal balance of weight and precision. The University of Illinois Extension recommends carbon steel blades which maintain sharpness better when cutting dense vegetables. Always use a stable cutting board and proper grip technique to prevent slippage.
Can you prepare rutabaga ahead of time?
Yes, but with precautions. Cut rutabaga can be stored in cold water with lemon juice (1 tbsp per quart) for up to 4 days. For longer storage, blanch pieces for 3 minutes, cool in ice water, then freeze. Whole rutabagas keep for 3-4 weeks in a cool, dark place without preparation.


 浙公网安备
33010002000092号
浙公网安备
33010002000092号 浙B2-20120091-4