
Discover how to transform that accidentally sprouted onion from your pantry into a thriving garden plant. This practical guide delivers exactly what you need to know to successfully grow onions from sprouted bulbs, reducing food waste while producing fresh, homegrown produce. Whether you're an experienced gardener or just starting out, these proven techniques work for container gardening or in-ground planting.
Why Plant Sprouted Onions Instead of Throwing Them Away?
Those green shoots emerging from your stored onions aren't a sign of spoilage—they're nature's signal that your onion wants to grow! According to the University of Minnesota Extension, approximately 30% of household food waste comes from produce that could be repurposed. Planting sprouted onions transforms potential waste into fresh food while requiring minimal resources.
What You'll Need Before Planting
Successful onion planting starts with the right materials. You don't need expensive equipment—most gardeners already have these essentials:
- Freshly sprouted onion bulbs (look for firm bulbs with vibrant green shoots)
- Well-draining potting mix or garden soil
- Container with drainage holes (at least 6 inches deep) or garden bed space
- Watering can with fine spray
- Sunlight access (6+ hours daily preferred)
Pro tip: Grocery store onions often come from varieties treated to prevent sprouting, so don't expect large bulb production. However, they'll reliably produce delicious green onions (scallions) regardless of variety.
Step-by-Step Planting Process
Preparing Your Sprouted Onion
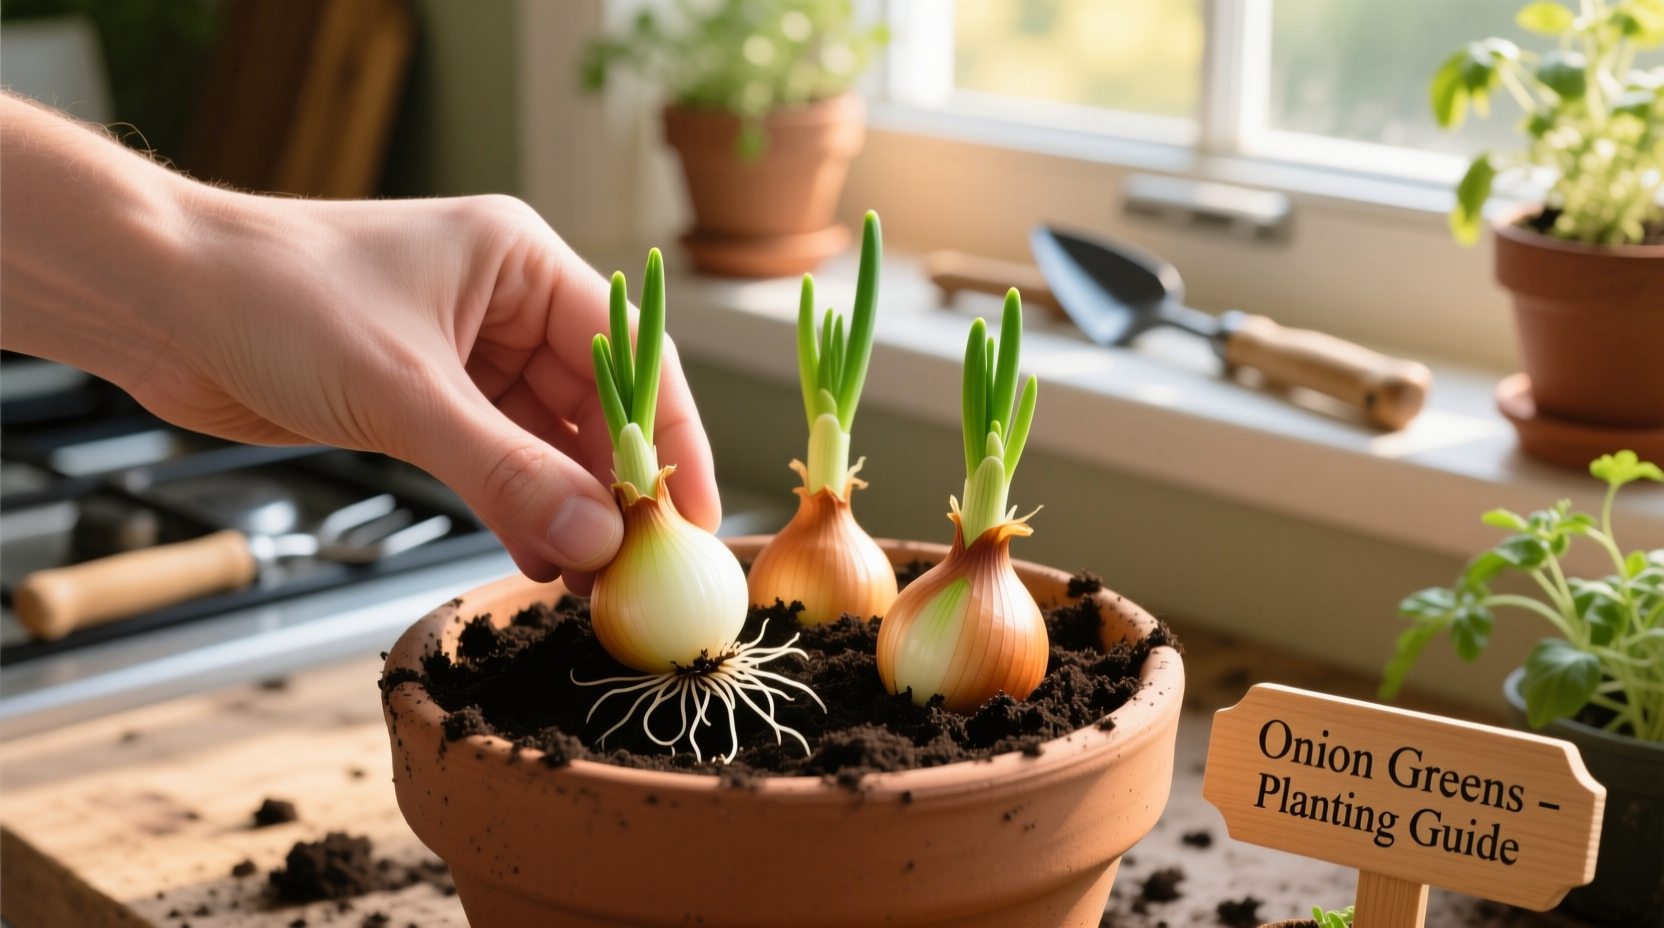
Carefully separate the green shoots if multiple have emerged, ensuring each section has some bulb base attached. If the onion has significantly sprouted and softened, cut horizontally about 1 inch below the green growth to create a planting base with roots intact.
Soil Preparation for Success
Onions thrive in loose, well-draining soil with pH between 6.0-7.0. For container planting, use a quality potting mix rather than garden soil. If planting directly in your garden, amend heavy clay soils with 2-3 inches of compost to improve drainage—critical for preventing bulb rot.
| Soil Type | Drainage Rating | Preparation Needed |
|---|---|---|
| Sandy loam | Excellent | Add 1" compost |
| Clay soil | Poor | Mix 3" compost + perlite |
| Container mix | Good | Ready to use |
Planting Your Sprouted Onion
Follow these precise steps for optimal results:
- Fill your container or prepare garden bed with 4-6 inches of prepared soil
- Place the sprouted onion with green shoots facing upward
- Cover with 1 inch of soil—don't bury too deeply
- Space multiple onions 3-4 inches apart
- Water gently until soil is moist but not soggy
Care Instructions for Healthy Growth
Watering Schedule That Works
Consistent moisture is crucial but overwatering causes rot. The Oregon State University Extension recommends the "knuckle test": water when the top inch of soil feels dry. During active growth (spring/summer), this typically means watering 1-2 times weekly depending on climate.
Sunlight Requirements
Onions need at least 6 hours of direct sunlight daily for optimal growth. In hot climates (above 85°F/29°C), provide afternoon shade to prevent bolting. Container plants offer flexibility—move them to follow the sun throughout the day.
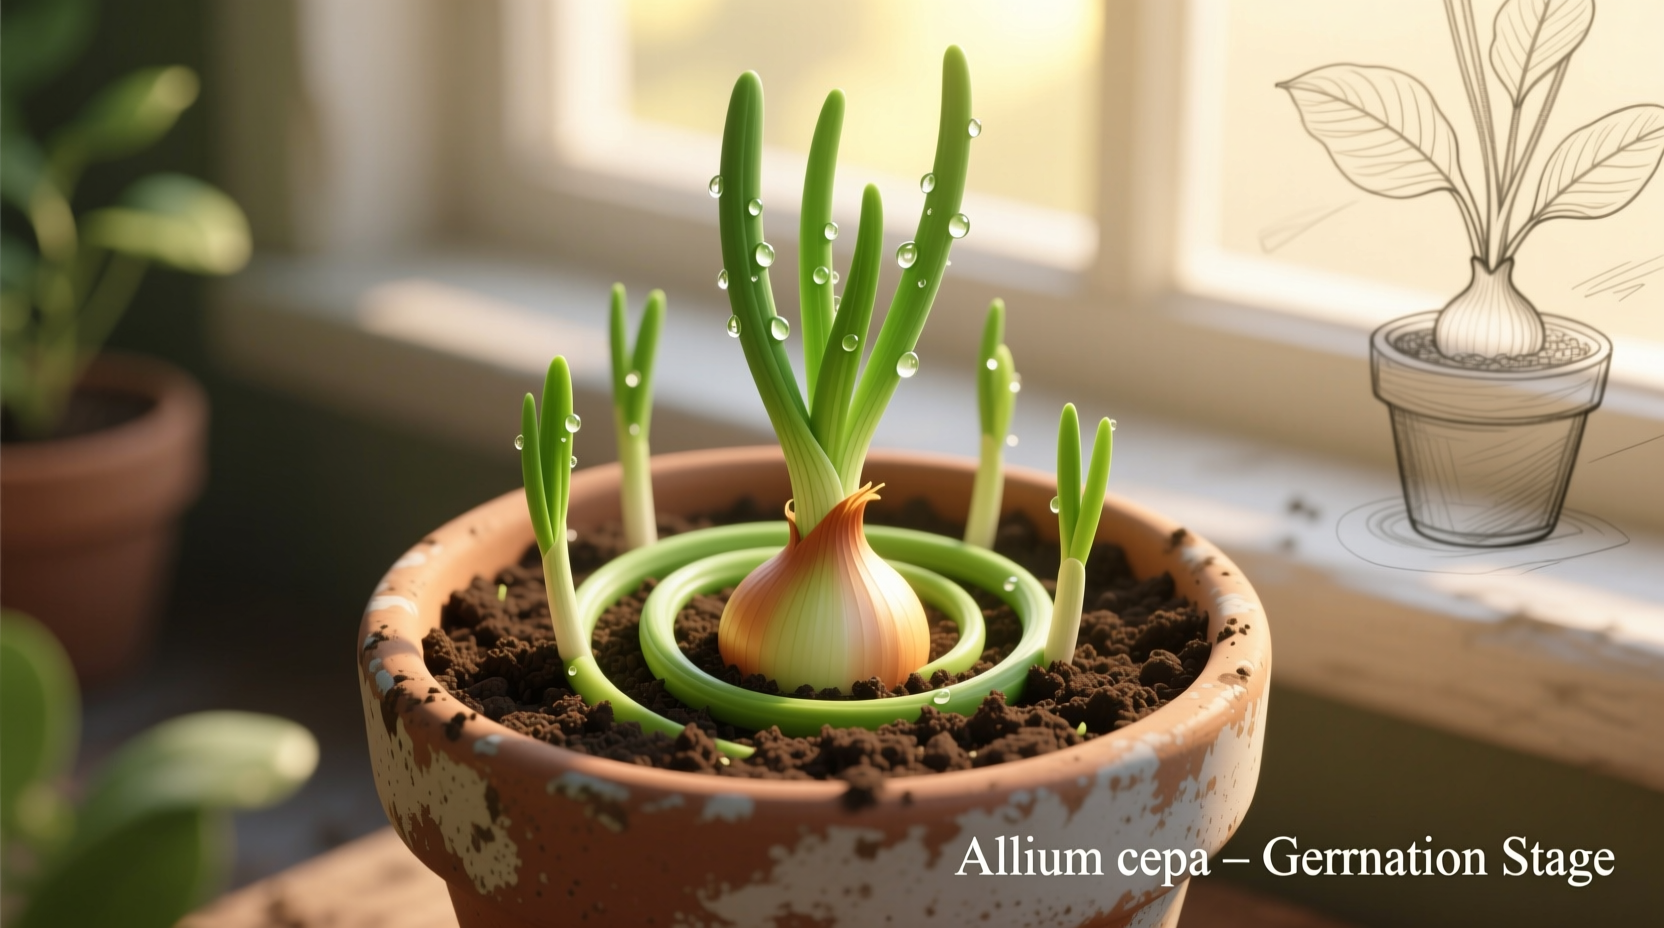
What to Expect: Growth Timeline
Understanding the growth stages helps set realistic expectations. Here's what happens after planting your sprouted onion:
| Time Period | Visible Changes | Action Required |
|---|---|---|
| Days 1-7 | Existing green shoots continue growing | Maintain consistent moisture |
| Weeks 2-3 | New green shoots emerge | Begin harvesting outer leaves |
| Month 2 | Base begins swelling | Add balanced fertilizer |
| Months 3-5 | Potential bulb formation | Reduce watering as harvest approaches |
Troubleshooting Common Issues
Yellowing Leaves
If leaves turn yellow from the tips downward, this typically indicates overwatering. Reduce watering frequency and ensure proper drainage. If yellowing starts at the base, it may signal nitrogen deficiency—apply a balanced liquid fertilizer.
Stunted Growth
Limited growth often results from overcrowding or poor soil nutrition. Thin plants to maintain 3-4 inch spacing and apply a balanced fertilizer every 3-4 weeks during active growth periods.
When Sprouted Onions Won't Produce Bulbs
Important context: Grocery store onions are often "single-harvest" varieties not bred for regrowth. As noted by the University of Florida Gardening Solutions, these typically produce excellent green onions but rarely form substantial new bulbs. Don't be discouraged—your harvest of fresh scallions is still valuable!
Harvesting and Using Your Homegrown Onions
You can begin harvesting green onion shoots when they reach 6-8 inches tall. Cut outer leaves first, allowing the plant to continue growing. For bulb harvesting (if they form), wait until tops naturally fall over and yellow. Gently dig around the bulb and lift it from the soil.
Store harvested green onions in a glass of water in the refrigerator for up to one week, or wrap in a damp paper towel inside a plastic bag. Freshly harvested onions with dry skins can be stored in a cool, dark place for several months.
Frequently Asked Questions
Can you plant a completely sprouted onion that's gone soft?
Yes, but with limitations. If the onion bulb has become soft and mushy, it's likely rotting and won't produce healthy plants. However, if it's still firm with just the green shoots emerging, cut horizontally 1 inch below the green growth to create a planting base with roots. This section can still grow into healthy green onions even if the original bulb deteriorates.
How long does it take to grow onions from sprouted bulbs?
You'll see continued growth of the green shoots within days. Harvestable green onions (scallions) typically develop within 2-3 weeks. For new onion bulbs to form, expect 3-5 months under ideal conditions, though grocery store varieties often produce better green growth than substantial bulbs.
Do sprouted onions produce edible bulbs when replanted?
Grocery store onions rarely produce substantial new bulbs when replanted, but they consistently yield delicious green onions. According to agricultural research, commercial onions are often treated to prevent sprouting and come from varieties not optimized for regrowth. Focus on harvesting the green tops, which provide continuous fresh scallions for months.
Can I grow sprouted onions indoors year-round?
Absolutely! Sprouted onions grow well indoors with proper light. Place your container in a south-facing window receiving 6+ hours of sunlight daily, or use a grow light for 12-14 hours daily. Maintain temperatures between 60-75°F (15-24°C) and water when the top inch of soil feels dry. Indoor plants typically produce smaller but continuous green onion harvests.
What's the best time of year to plant sprouted onions?
Sprouted onions can be planted any time you find them sprouting in storage, but spring planting (when temperatures reach 50°F/10°C) yields the fastest growth. In mild climates, you can plant year-round. For bulb development, plant in early spring for fall harvest. Green onions will grow continuously regardless of planting season.


 浙公网安备
33010002000092号
浙公网安备
33010002000092号 浙B2-20120091-4