
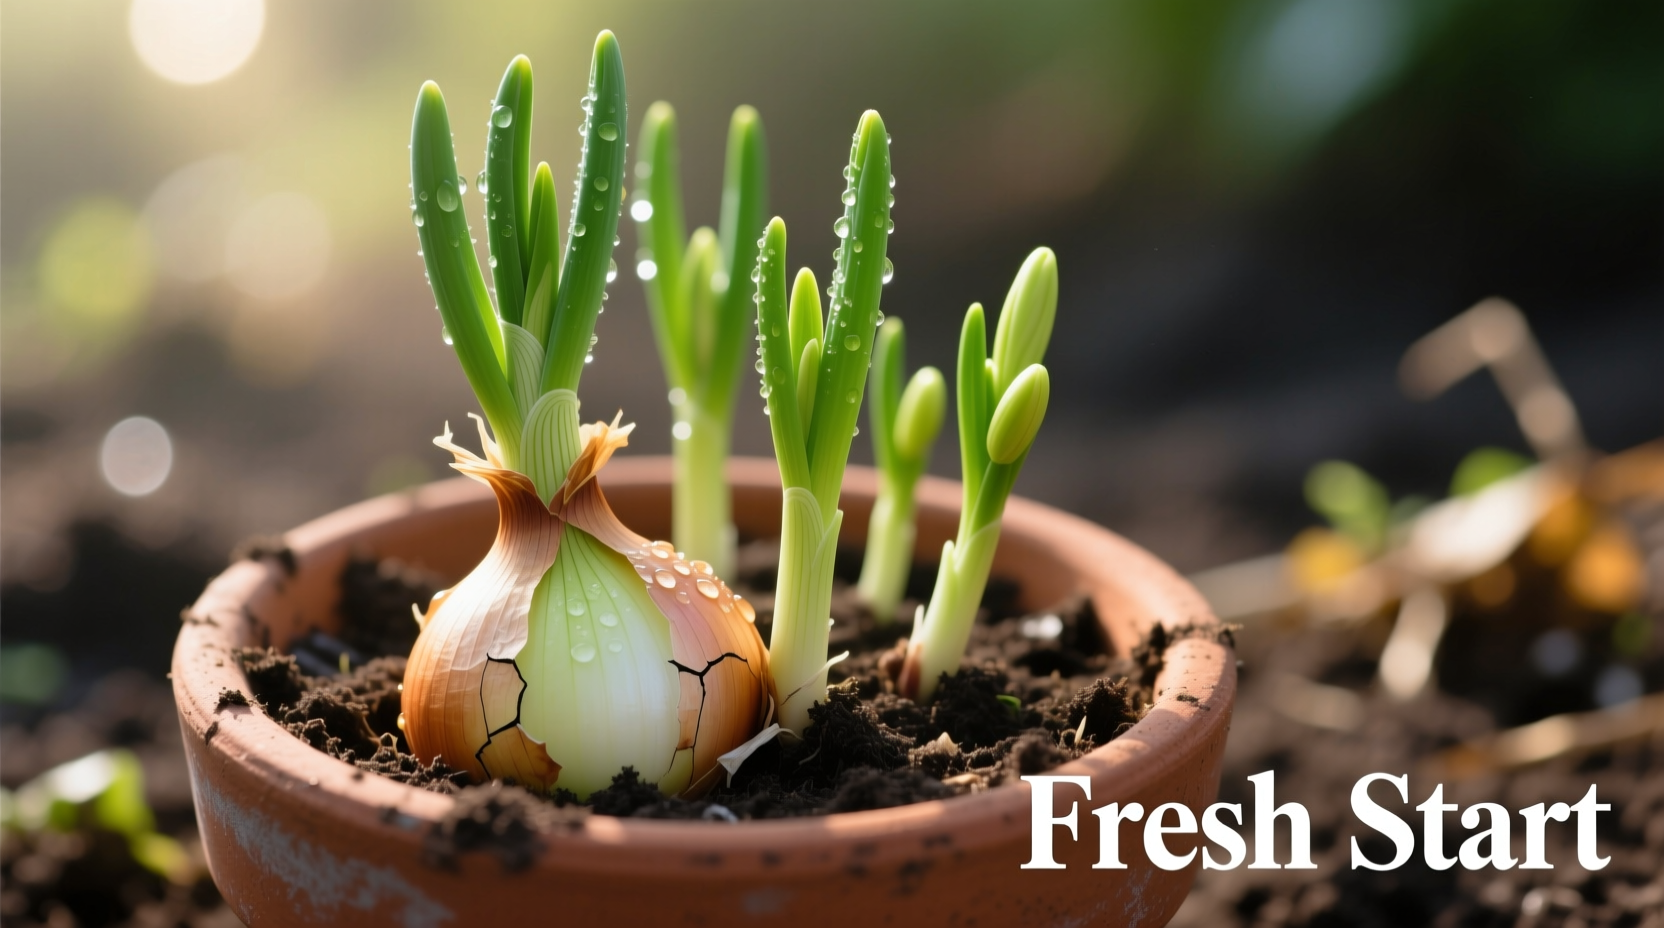
Why Sprouted Onions Make Perfect Garden Starters
That onion you forgot in your pantry isn't wasted—it's actually ready to grow! When onions sprout, they're entering their natural reproductive cycle. The green shoots emerging from the top are the plant's way of reaching for sunlight to continue growth. According to research from the University of Minnesota Extension, this sprouting process indicates the onion has broken dormancy and is primed for planting.
Unlike starting from seeds which takes 100-175 days to mature, sprouted onions give you a significant head start. You're essentially bypassing the germination phase, saving 3-4 weeks of growing time. This biological shortcut makes sprouted onions one of the easiest kitchen waste items to transform into fresh produce.
What You'll Need: Simple Supplies Checklist
Don't worry about special equipment—most gardeners already have these basic items:
| Essential Items | Optional But Helpful |
|---|---|
| Sprouted onion bulb | Organic fertilizer (10-10-10) |
| Container with drainage holes (6" deep minimum) | Moisture meter |
| Potting mix or garden soil | Small trellis for support |
| Watering can | PH testing kit |
Step-by-Step Planting Process
Preparing Your Sprouted Onion
Carefully separate the green shoots from the bulb if they've grown longer than 3 inches. This prevents damage during planting. The Oregon State University Extension recommends trimming excessively long shoots to 2-3 inches to reduce transplant shock while preserving the plant's energy.
Choosing the Right Container
Select a container at least 6 inches deep with proper drainage. Onions develop shallow root systems but need room for bulb expansion. For best results, use a pot with a diameter of 8-12 inches—this gives enough space for 1-3 onions without overcrowding.
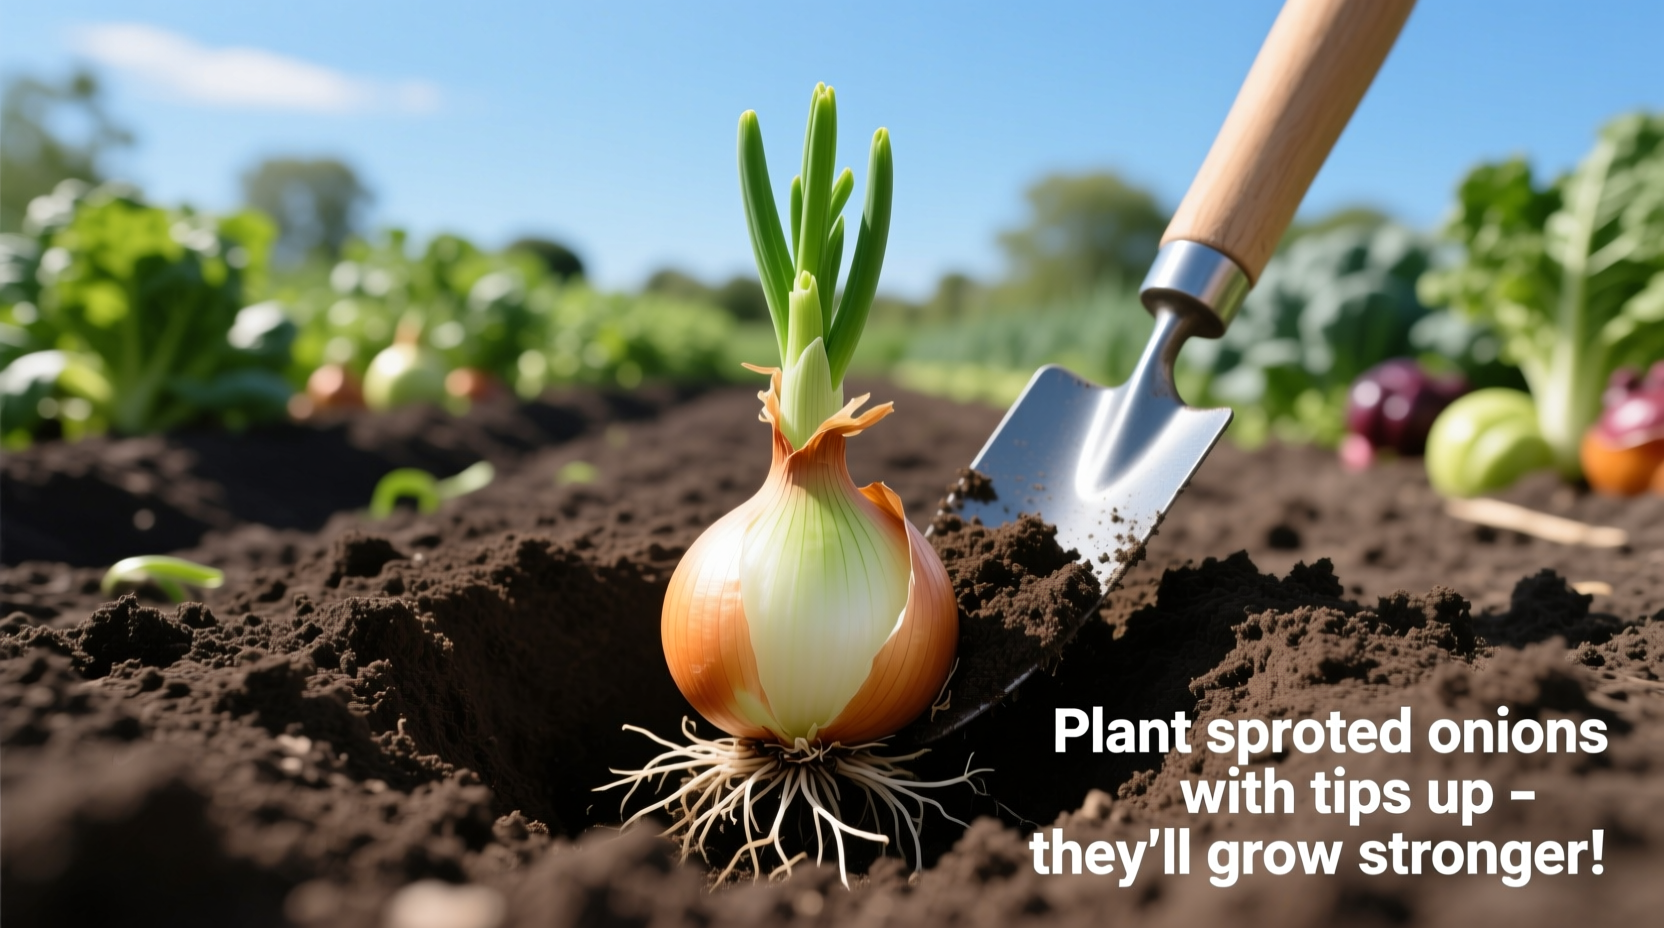
Planting Technique That Works
Fill your container with moist potting mix, leaving 1 inch of space below the rim. Place the sprouted onion with the root end down and green shoots facing up. Plant at a depth where the top of the bulb sits just below the soil surface (about 1 inch deep). Gently firm the soil around the bulb without compacting it.
Watering and Light Requirements
Water thoroughly after planting until moisture drains from the bottom, then maintain consistent moisture—about 1 inch of water per week. Onions prefer full sun (6-8 hours daily), but will tolerate partial shade. The ideal temperature range is 55-75°F (13-24°C), making spring and fall the best planting seasons in most climates.
Growth Timeline: What to Expect Week by Week
Understanding the growth stages helps you provide proper care at each phase:
| Time Period | Visible Changes | Care Requirements |
|---|---|---|
| Days 1-7 | New green shoots emerge | Maintain consistent moisture |
| Weeks 2-4 | Rapid leaf growth, roots establish | Fertilize lightly every 2 weeks |
| Month 2 | Bulb begins forming underground | Reduce watering slightly |
| Months 3-4 | Bulb reaches full size | Stop watering 1 week before harvest |
Troubleshooting Common Growing Problems
Yellowing Leaves
If leaves turn yellow from the tips downward, this typically indicates overwatering. The Utah State University Extension notes that onions prefer drier conditions as bulbs mature. Reduce watering frequency and ensure proper drainage.
Stunted Growth
Limited growth often results from poor soil nutrition or overcrowding. Onions need phosphorus for bulb development—add bone meal or a balanced fertilizer if growth stalls after 4 weeks. Remember that each onion needs at least 3-4 inches of space in all directions.
Pest Prevention
Onions naturally repel many pests, but thrips and onion maggots can be problematic. The most effective organic solution is companion planting with carrots or lettuce, which creates a natural barrier. If pests appear, a mild soap spray (1 tsp dish soap per quart of water) applied in the evening works effectively.
Harvesting Your Homegrown Onions
You have two harvesting options depending on your needs:
Green Onion Stage (30-45 days)
When green shoots reach 6-8 inches tall, you can harvest individual leaves as needed. Cut only the outer leaves, leaving the inner shoots to continue growing. This provides fresh scallions while allowing the bulb to keep developing.
Full Bulb Harvest (90-120 days)
Watch for the natural signal: when about half the leaves fall over and turn brown. Stop watering completely for 7-10 days before harvesting. Carefully dig up bulbs with a garden fork, then cure them in a warm, dry, well-ventilated area for 2-3 weeks before storing.
Maximizing Your Success Rate
Based on field trials conducted by the University of Illinois Extension, these three practices significantly improve results:
- Soil pH matters: Onions prefer slightly acidic to neutral soil (6.0-7.0 pH). Test your soil and amend with lime if below 6.0.
- Rotation is key: Don't plant onions in the same spot two years in a row to prevent disease buildup.
- Trimming technique: When harvesting green onions, cut at a 45-degree angle 1 inch above the bulb to encourage faster regrowth.


 浙公网安备
33010002000092号
浙公网安备
33010002000092号 浙B2-20120091-4