
Why Proper Tomato Planting Matters for Garden Success
Getting tomato planting right from the start determines your entire growing season's success. Tomatoes are among the most popular garden vegetables but require specific conditions to thrive. Whether you're a first-time gardener or looking to improve your harvest, understanding the science-backed planting techniques makes the difference between sparse, disease-prone plants and a bountiful, healthy crop.
Pre-Planting Preparation: Setting the Stage for Success
Before you put a single seed in soil, proper preparation ensures your tomatoes get the best possible start. This phase determines 70% of your eventual harvest quality according to Cornell University Cooperative Extension research.
Determining Your Planting Timeline
Timing your tomato planting correctly prevents frost damage and maximizes growing season. Check your USDA Hardiness Zone to determine your last expected frost date, then count backward:
| Planting Stage | Timing Relative to Last Frost | Soil Temperature Requirement |
|---|---|---|
| Start seeds indoors | 6-8 weeks before last frost | 70-80°F (21-27°C) |
| Transplant seedlings outdoors | After last frost date | At least 60°F (15.5°C) |
| Direct seeding (not recommended) | 2 weeks after last frost | 65-70°F (18-21°C) |
Selecting the Right Tomato Variety
Not all tomatoes grow well in every climate. Consider these factors when choosing varieties:
- Determinate vs. Indeterminate: Determinate varieties grow to a fixed height (3-4 feet) and produce one large harvest; indeterminate varieties continue growing and producing throughout season
- Days to maturity: Short-season varieties (50-60 days) work best in cooler climates
- Disease resistance: Look for codes like VFN (verticillium, fusarium, nematodes) on seed packets
Soil Preparation Essentials
Tomatoes thrive in well-draining, nutrient-rich soil with specific characteristics. According to the University of California Agriculture and Natural Resources, ideal tomato soil contains:
- pH between 6.2-6.8 (test with affordable soil kit)
- 3-4 inches of compost worked into top 12 inches of soil
- Organic matter content of at least 5%
- Avoid fresh manure which can cause excessive foliage growth
The Planting Process: Step-by-Step Instructions
Follow these research-backed steps for optimal tomato establishment. This process differs significantly from planting most other garden vegetables due to tomatoes' unique ability to develop roots along their stems.
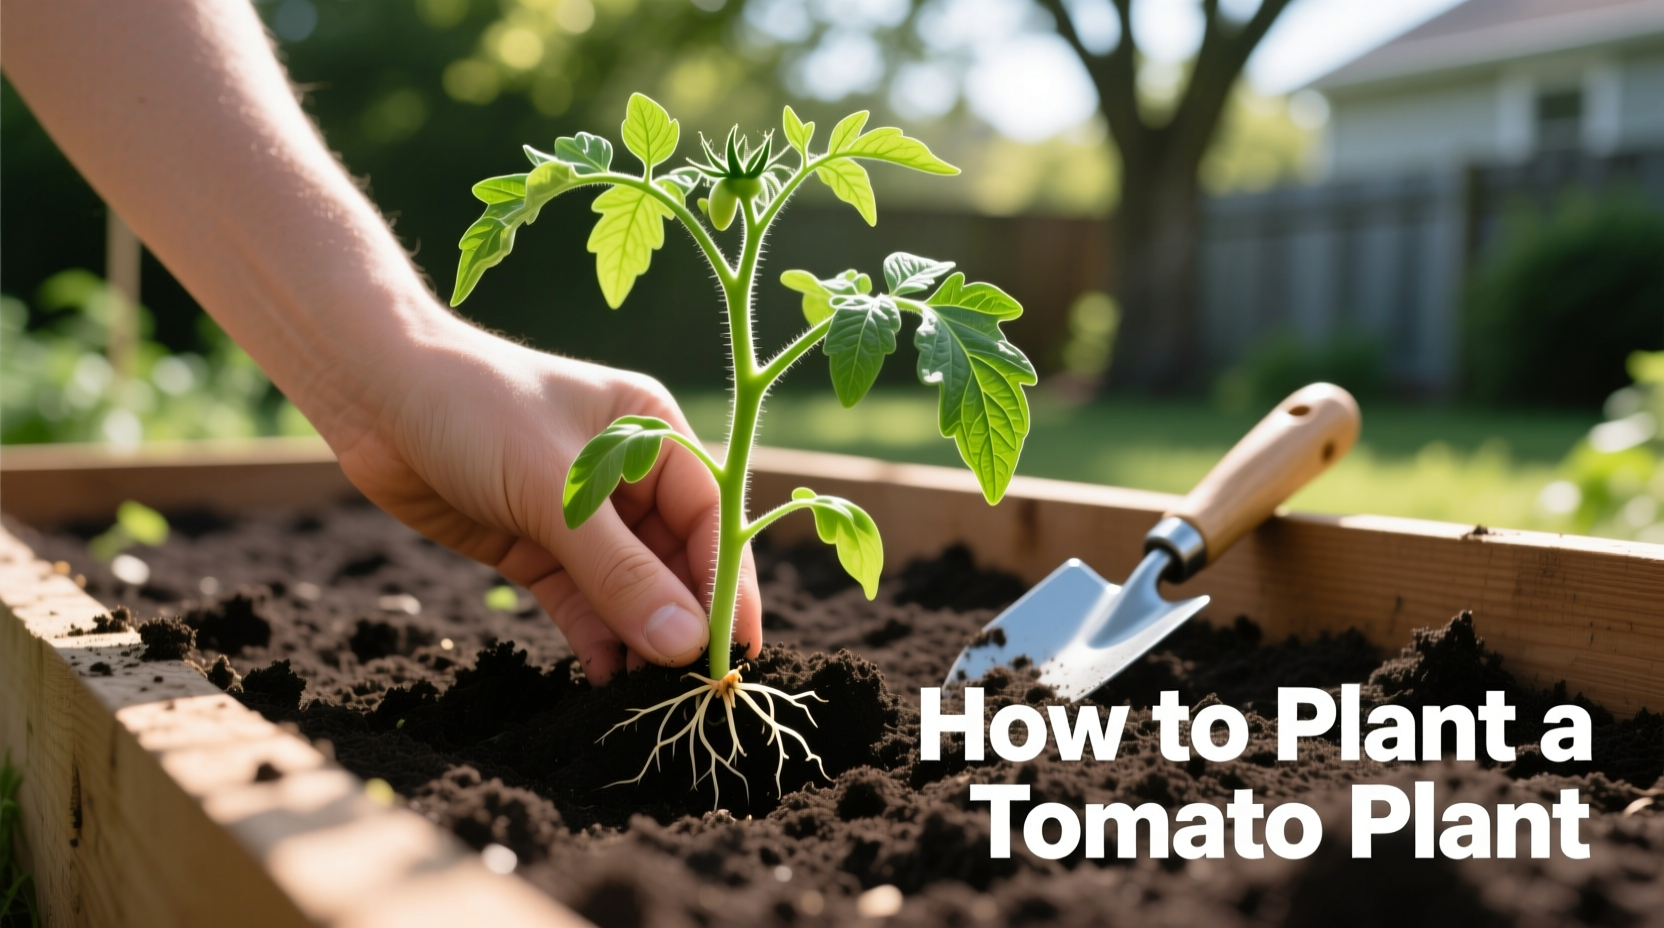
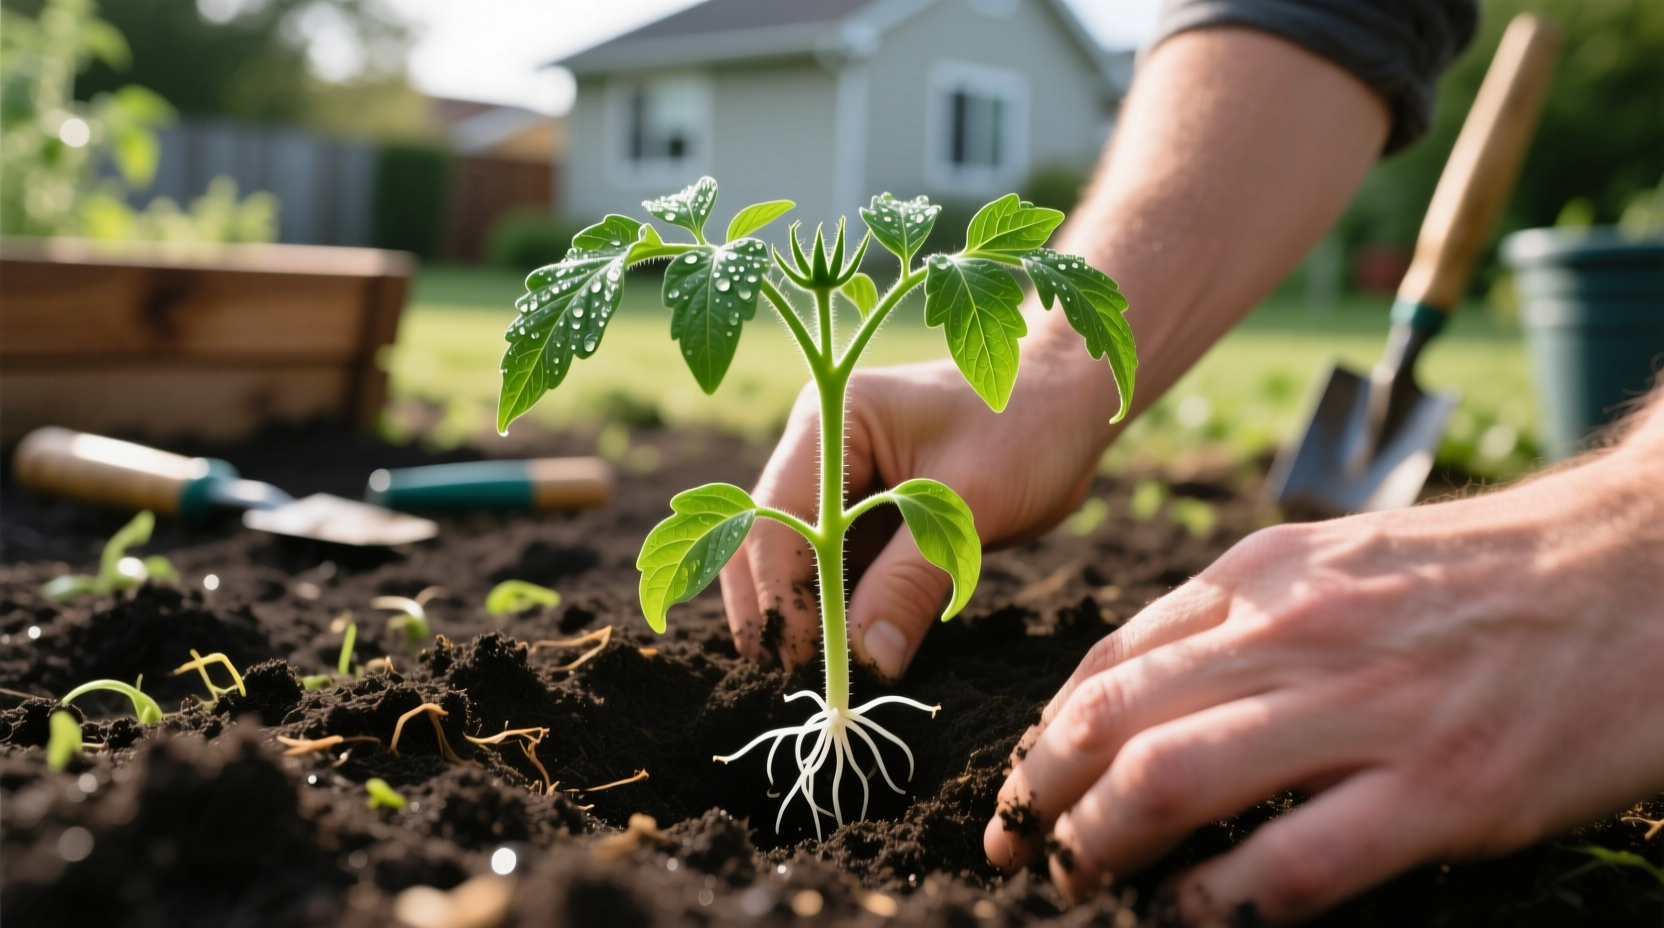
Transplanting Seedlings Properly
The critical step that most beginners miss is planting depth. Unlike most plants, tomatoes should be planted deeper than their nursery container:
- Remove lower leaves from seedling, leaving only top set
- Dig hole 12-18 inches deep (deeper than root ball)
- Add handful of balanced organic fertilizer to bottom of hole
- Place seedling in hole with bare stem below soil line
- Cover stem with soil up to remaining leaves
- Water thoroughly with starter solution (1 tbsp fish emulsion per gallon)
This deep planting technique creates a stronger root system by encouraging roots to develop along the buried stem, resulting in more vigorous plants according to USDA agricultural research.
Proper Spacing for Healthy Growth
Crowded tomatoes develop more diseases and produce fewer fruits. Follow these spacing guidelines:
- Determinate varieties: 24-36 inches between plants
- Indeterminate varieties: 36-48 inches between plants
- Rows: 48-60 inches apart for proper air circulation
Proper spacing reduces fungal disease incidence by 40% based on Cornell University field trials.
Post-Planting Care: Ensuring Strong Establishment
The first two weeks after planting determine your tomato plant's long-term health. Focus on these critical elements:
Watering Techniques for Optimal Growth
Tomatoes need consistent moisture but are susceptible to diseases from improper watering:
- Water deeply (1-2 inches) 2-3 times weekly rather than daily light watering
- Water at base of plant, avoiding leaves to prevent fungal diseases
- Morning watering reduces evaporation and disease risk
- Apply 2-3 inches of organic mulch after soil warms to conserve moisture
Support Systems Installed Early
Install support systems at planting time to avoid damaging roots later:
- Cages: Use sturdy 5-6 foot cages for indeterminate varieties
- Stakes: 7-foot stakes driven 12 inches deep, tied with soft cloth strips
- Trellises: Ideal for space-limited gardens, train plants vertically
Climate-Specific Planting Considerations
Tomato planting requirements vary significantly by climate zone. Understanding these context boundaries prevents common regional mistakes:
| Climate Zone | Special Planting Considerations | Common Mistakes to Avoid |
|---|---|---|
| Cool Northern Climates | Use black plastic mulch to warm soil; choose short-season varieties; start seeds indoors 8-10 weeks early | Planting too early in cold soil; choosing long-season varieties |
| Hot Southern Climates | Plant in late winter for spring harvest; provide afternoon shade; select heat-tolerant varieties | Planting standard varieties in summer heat; overwatering |
| Arid Southwest | Plant on north side of windbreak; use shade cloth during peak heat; amend soil heavily with compost | Planting in full sun exposure; insufficient soil amendment |
Troubleshooting Common Planting Problems
Even with careful planting, issues can arise. Recognize these early warning signs:
Yellowing Leaves After Planting
Often indicates:
- Nitrogen deficiency (older leaves yellow first)
- Overwatering (yellowing throughout plant)
- Cold stress (yellowing with purple veins)
Slow Growth After Transplanting
If plants aren't growing vigorously 7-10 days after planting:
- Check soil temperature (below 60°F slows growth)
- Test for proper pH (tomatoes struggle in alkaline soils)
- Examine root development (roots should be white, not brown/mushy)


 浙公网安备
33010002000092号
浙公网安备
33010002000092号 浙B2-20120091-4