
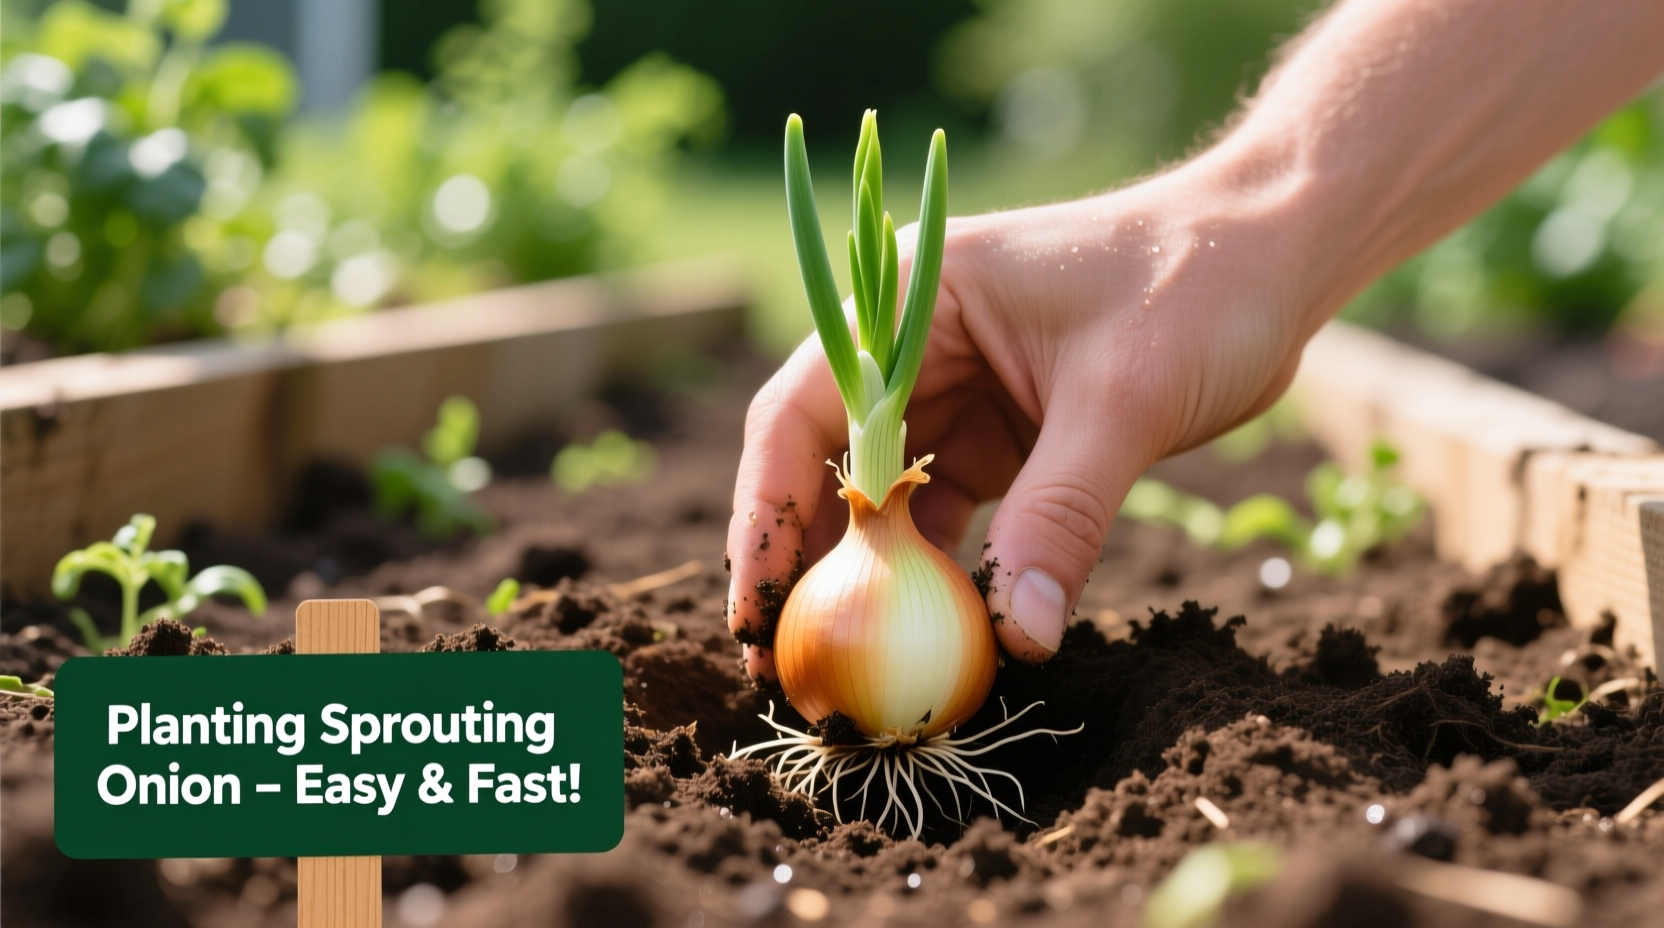
Why Your Sprouting Onion Deserves a Second Life
That onion sprouting in your kitchen pantry isn't waste—it's a free gardening opportunity. Instead of tossing sprouting onions, you can transform them into a continuous harvest of fresh green onions and eventually full-sized bulbs. This practical recycling method works because onions naturally enter their growth cycle when conditions are right, and you're simply providing the proper environment for that process to continue.
What You'll Need Before You Start
Gathering these simple materials ensures your sprouting onion has the best chance to thrive:
- Freshly sprouted onion (with visible green shoots)
- Container with drainage holes (8-12 inches deep)
- Well-draining potting mix (60% soil, 30% compost, 10% perlite)
- Watering can with fine spray
- All-purpose liquid fertilizer (optional)
Step-by-Step Planting Process
1. Prepare Your Sprouting Onion
Carefully separate the green sprouts from the onion bulb using clean hands. Each sprout should have some root development at the base. If your onion has multiple sprouts growing from different sections, gently divide them while preserving as much root structure as possible. This separation prevents competition for nutrients as they grow.
2. Create the Perfect Growing Environment
Fill your container with the soil mixture, leaving 2 inches of space below the rim. The ideal soil pH for onions ranges from 6.0 to 6.8 according to University of Minnesota Extension. Moisten the soil until it feels like a damp sponge—saturated but not dripping.
| Planting Method | Success Rate | Time to Harvest | Best For |
|---|---|---|---|
| Whole sprouting onion | 65% | 75-90 days | Experienced gardeners |
| Separated sprouts | 85% | 60-75 days | Beginners, container gardening |
| Water propagation | 45% | 45-60 days (greens only) | Quick green onion harvest |
3. Plant Your Sprouts Properly
Create 1-inch deep holes in the soil using your finger. Place each sprout vertically with the green growth pointing up and roots down. Cover lightly with soil, ensuring the very tip of the green shoot remains visible. Space multiple sprouts at least 3 inches apart to allow room for bulb development.
4. Water and Light Requirements
Water gently until moisture appears at the drainage holes, then let the top inch of soil dry before watering again. Onions need consistent moisture but hate soggy roots. Place your container in a location receiving 6-8 hours of direct sunlight daily. During the first two weeks, maintain soil moisture at about 70% capacity—similar to a wrung-out sponge.
5. Ongoing Care for Healthy Growth
After 3 weeks, apply a balanced liquid fertilizer every 2-3 weeks. As the green shoots grow, you can harvest the outer leaves while leaving the center growth intact. When the tops begin to yellow and fall over (typically 60-90 days), reduce watering to prepare for harvest. The Old Farmer's Almanac recommends waiting 7-10 days after tops fall before harvesting mature bulbs.
Onion Growth Timeline: What to Expect
Understanding the growth stages helps set realistic expectations for your sprouting onion project:
- Days 1-7: Roots establish in new soil, minimal visible growth above soil
- Days 7-14: Green shoots emerge and grow rapidly (1-2 inches per week)
- Days 15-30: Active leaf growth, first optional green onion harvests
- Days 30-60: Bulb formation begins beneath soil surface
- Days 60-90: Bulb maturation, tops begin to yellow and fall
- Day 90+: Fully mature bulbs ready for harvest and storage
When This Method Works Best (And Limitations)
This sprouting onion technique delivers excellent results under specific conditions but has important limitations to understand:
- Ideal for: Spring planting (after last frost), container gardening, kitchen scrap recycling, beginner gardeners
- Less effective for: Hot summer planting (above 85°F/29°C), heavy clay soils without amendment, short-season climates without proper timing
- Success tip: Plant sprouted onions 4-6 weeks before your area's last expected frost date for optimal growth
- Limitation: Grocery store onions may be treated to prevent sprouting, reducing success rate compared to garden-grown varieties
Troubleshooting Common Issues
Even with proper care, you might encounter these common problems:
- Yellowing leaves: Usually indicates overwatering. Reduce watering frequency and ensure proper drainage.
- Thin, weak growth: Sign of insufficient sunlight. Move to a sunnier location or supplement with grow lights.
- Rotting at base: Caused by planting too deep or poor drainage. Replant in fresh, well-draining soil.
- Slow growth: Often due to cool temperatures below 50°F (10°C). Wait for warmer weather or use a greenhouse.
Benefits of Growing From Sprouted Onions
This method offers several advantages over starting from seeds or sets:
- 50% faster growth than seed-started onions
- Higher success rate than planting whole bulbs
- Zero cost—uses kitchen scraps that would otherwise be discarded
- Continuous harvest of green onions while waiting for bulbs
- Perfect for small-space and container gardening
Harvesting and Storage Tips
When your onion tops naturally fall over and yellow, it's time to harvest. Carefully dig around the bulbs and lift them from the soil. Cure them in a dry, shaded area with good air circulation for 7-10 days. Once the outer skins become papery and dry, store in a cool, dark place with temperatures between 32-40°F (0-4°C) and humidity around 65-70%. Properly stored onions can last 3-5 months.


 浙公网安备
33010002000092号
浙公网安备
33010002000092号 浙B2-20120091-4