
Discover exactly how to transform that accidentally sprouted sweet potato from your pantry into a thriving garden plant. This complete guide walks you through every step—from preparing your sprouted tuber to harvesting your homegrown sweet potatoes—with professional gardening techniques that ensure success even for beginners.
Why Plant a Sprouted Sweet Potato Instead of Buying Slips?
While many gardeners purchase sweet potato slips (young plants), using a sprouted tuber offers distinct advantages. You avoid shipping costs, gain immediate control over growing conditions, and can often start the process weeks earlier than slip availability. According to the University of Illinois Extension, home-sprouted sweet potatoes frequently develop stronger root systems than store-bought slips because they haven't experienced shipping stress.
Your Step-by-Step Planting Process
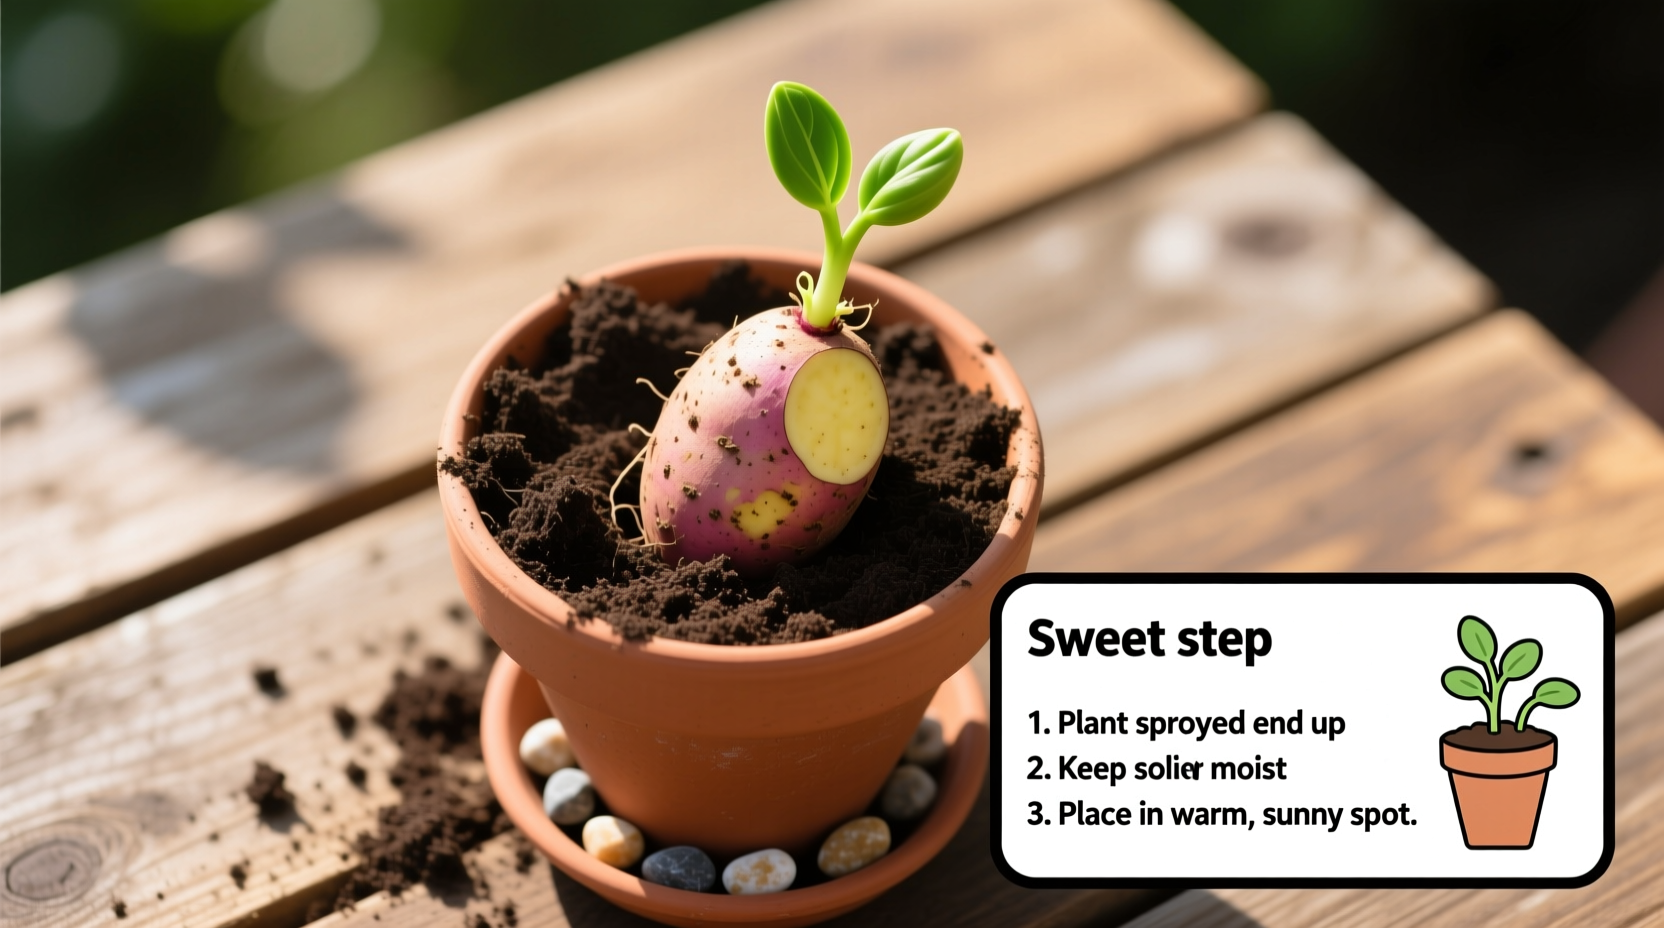
Step 1: Select and Prepare Your Sprouted Sweet Potato
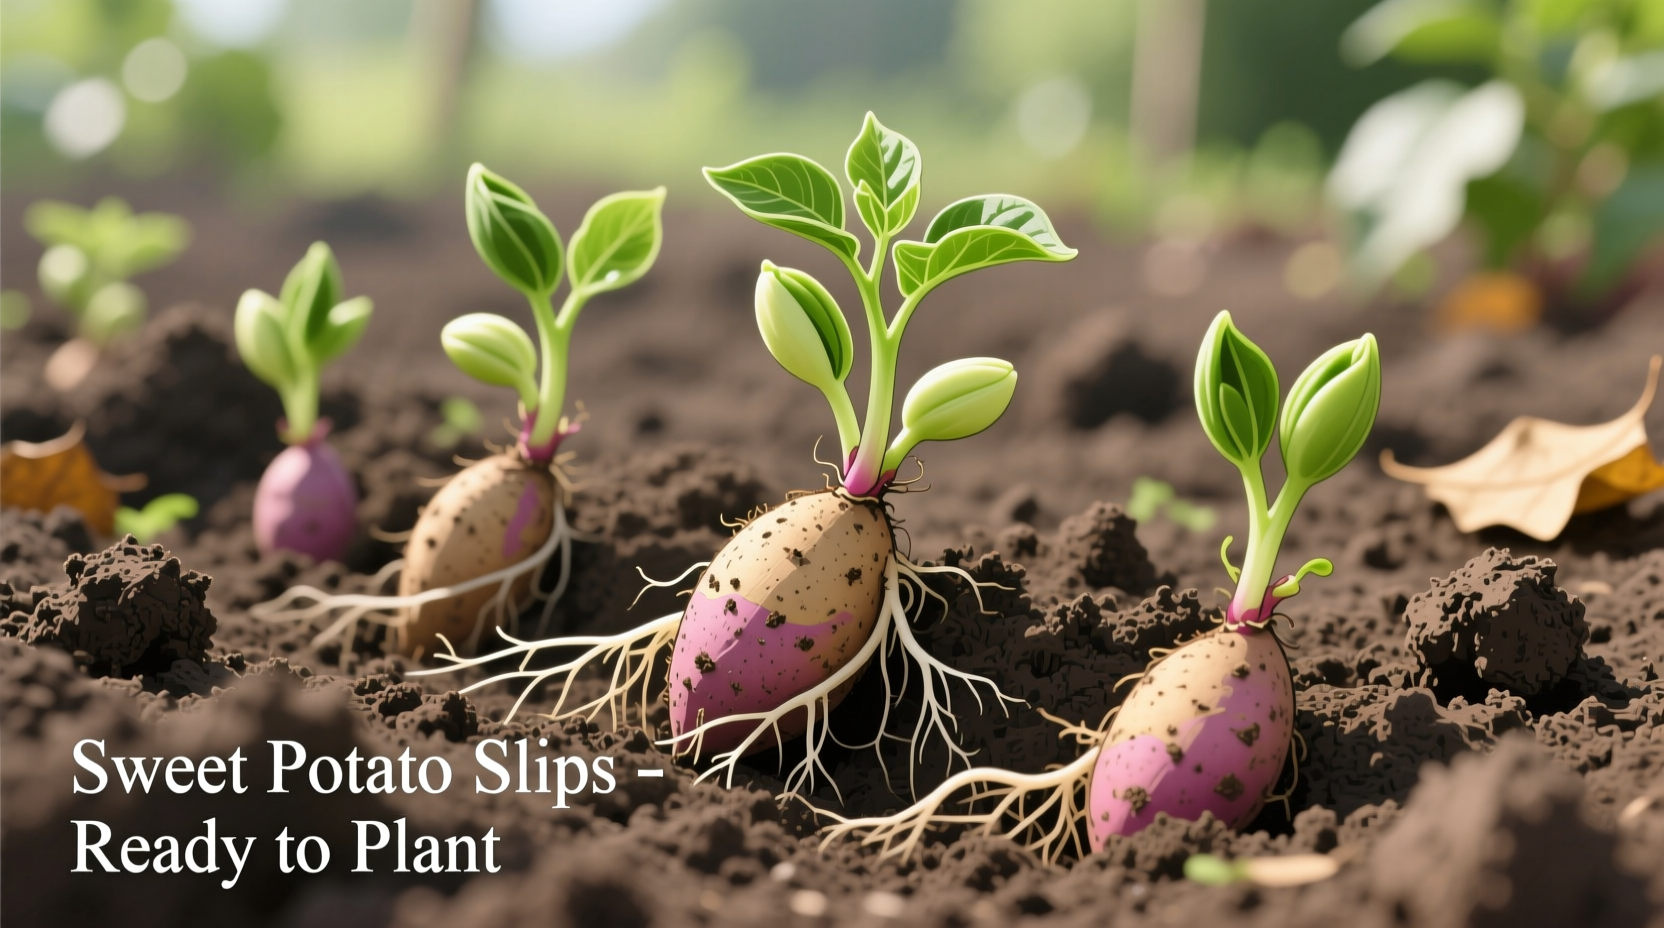
Choose a firm tuber with multiple healthy sprouts ("slips") at least 2-3 inches long. Avoid potatoes with soft spots or mold. Gently separate slips by twisting them from the tuber—don't cut, as this damages delicate roots. Place slips in room-temperature water for 24-48 hours until small roots develop.
Step 2: Create the Perfect Planting Environment
Sweet potatoes thrive in warm conditions. Wait until soil temperatures reach at least 65°F (18°C) at planting depth. Prepare soil by mixing in 3-4 inches of compost to improve drainage—sweet potatoes hate "wet feet." Create mounds 8-10 inches high and 12 inches wide to ensure proper drainage and warmth.
Step 3: Planting Your Sprouted Sweet Potato
Burrow slips 3-4 inches deep with roots spread naturally, leaving the top leaves above soil. Space plants 12-18 inches apart in rows 36-48 inches apart. Water thoroughly after planting, then maintain consistent moisture—about 1 inch of water weekly—but avoid soggy soil.
Step 4: Essential Care During Growing Season
Monitor these critical factors for optimal growth:
- Fertilizing: Apply balanced organic fertilizer (5-10-10) 3 weeks after planting
- Watering: Reduce watering 3-4 weeks before harvest to improve storage quality
- Pest control: Hand-pick morning glory beetles; use row covers for flea beetles
- Soil maintenance: Hill soil around vines every 2-3 weeks to encourage tuber formation
| Planting Stage | Timeframe | Critical Actions |
|---|---|---|
| Sprout development | 1-3 weeks | Keep tuber in warm, moist environment |
| Root establishment | Days 1-14 after planting | Maintain consistent soil moisture |
| Tuber formation | Weeks 4-10 | Hill soil, monitor for pests |
| Maturation | Weeks 10-16 | Reduce watering, watch for leaf yellowing |
When This Method Works Best (And When to Choose Alternatives)
Planting sprouted sweet potatoes works exceptionally well in these situations:
- You have a limited budget (uses existing resources)
- You're growing in containers or small spaces
- Your climate has a shorter growing season (get earlier start)
Consider purchasing certified disease-free slips instead when:
- You need specific cultivars not available in grocery stores
- Your region has sweet potato weevil problems
- You've had disease issues with home-sprouted potatoes before
The University of Minnesota Extension notes that grocery store sweet potatoes may have been treated with sprout inhibitors, which can reduce success rates by up to 40% compared to organically grown tubers.
Harvesting and Curing Your Homegrown Sweet Potatoes
Harvest when leaves begin yellowing, typically 90-120 days after planting. Carefully dig around plants with a garden fork. After harvesting, cure tubers for 7-10 days in warm (80-85°F), humid (85-90%) conditions to heal wounds and convert starches to sugars. Properly cured sweet potatoes can store for 5-6 months in cool, dark conditions.
Common Mistakes That Reduce Your Yield
Avoid these frequent errors that can cut your harvest by 30% or more:
- Planting too early in cold soil (delays growth)
- Overwatering during tuber formation stage
- Using fresh manure (causes misshapen tubers)
- Harvesting too early before proper curing
Troubleshooting Your Sweet Potato Growth
Address these common issues promptly:
- Yellowing leaves: Could indicate nitrogen deficiency—apply balanced fertilizer
- Cracked tubers: Result of inconsistent watering—maintain even moisture
- Small harvest: Often from overcrowding—ensure proper spacing
- Pale tubers: Insufficient sun exposure—plant in full sun areas
Frequently Asked Questions
Can I plant a sweet potato that sprouted in my pantry?
Yes, pantry-sprouted sweet potatoes can be planted successfully. Separate the sprouts (slips) from the tuber once they reach 2-3 inches long, allow roots to develop in water for 24-48 hours, then plant in warm soil. Success rates are higher with organically grown sweet potatoes, as conventional varieties may have sprout inhibitors.
How deep should I plant sprouted sweet potatoes?
Plant sweet potato slips 3-4 inches deep with the top leaves above soil level. For whole sprouted tubers, bury them 2-3 inches deep with sprouts facing upward. Proper depth ensures adequate warmth for root development while protecting young plants from temperature fluctuations.
How long does it take to grow sweet potatoes from sprouts?
From planting sprouted sweet potatoes to harvest takes 90-120 days, depending on variety and growing conditions. The first 3-4 weeks establish roots, weeks 4-10 develop tubers, and the final 4-6 weeks mature the crop. Warmer climates with longer growing seasons typically yield larger harvests.
Do sweet potatoes need full sun or can they grow in partial shade?
Sweet potatoes require full sun—at least 6-8 hours of direct sunlight daily—for optimal growth and yield. While they can survive in partial shade, this typically results in significantly smaller tubers and increased disease susceptibility. The University of Illinois Extension recommends selecting the sunniest garden location available for sweet potato cultivation.
What's the difference between planting sprouted sweet potatoes versus buying slips?
Planting sprouted sweet potatoes gives you earlier control over growing conditions and avoids shipping stress that can weaken store-bought slips. However, purchased slips offer specific cultivars and are certified disease-free. Home-sprouted potatoes may have lower success rates (60-70%) compared to commercial slips (85-90%), but represent a more economical starting point for home gardeners.


 浙公网安备
33010002000092号
浙公网安备
33010002000092号 浙B2-20120091-4