
Plant perfect red onions in just 100 days by planting sets 1 inch deep and 4-6 inches apart in well-draining soil (pH 6.0-6.8) 4-6 weeks before your last frost date. Water consistently with 1 inch per week and harvest when tops naturally fall over.
Ready to grow your own vibrant red onions? This complete guide delivers exactly what you need to know to cultivate sweet, crisp bulbs that outperform store-bought varieties. Whether you're a first-time gardener or expanding your vegetable patch, you'll discover the precise planting techniques that ensure robust growth and maximum yield.
Why Red Onions Deserve a Spot in Your Garden
Red onions offer more than just striking color—they deliver a milder, sweeter flavor profile perfect for salads, salsas, and grilling. According to the USDA Agricultural Research Service, red onion varieties like 'Red Wing' and 'Red Baron' contain higher anthocyanin levels than yellow onions, providing both visual appeal and antioxidant benefits. Unlike supermarket onions treated with sprout inhibitors, homegrown red onions develop complex flavors when properly cured.
Your Red Onion Planting Timeline
Success starts with perfect timing. Follow this science-backed growth schedule:
| Growth Stage | Timeline | Critical Actions |
|---|---|---|
| Soil Preparation | 2-3 weeks before planting | Add 3 inches compost, test pH |
| Planting | 4-6 weeks pre-last frost | 1 inch deep, pointy end up |
| Active Growth | Weeks 4-10 | Consistent watering, no mulch |
| Bulb Formation | Weeks 10-14 | Reduce watering, stop fertilizing |
| Harvest Ready | 100-110 days after planting | Tops fall over naturally |
Step 1: Prepare Your Soil Like a Pro
Red onions demand well-draining soil with specific requirements verified by Cornell University's gardening program:
- pH Level: 6.0-6.8 (test with kit from your local extension office)
- Soil Texture: Sandy loam amended with 3 inches of finished compost
- Nutrient Balance: Moderate nitrogen, high phosphorus and potassium
Avoid heavy clay soils that cause rot. If drainage is questionable, plant in raised beds 6-8 inches high. The National Gardening Association confirms that proper soil prep prevents the #1 cause of onion failure—waterlogged roots.
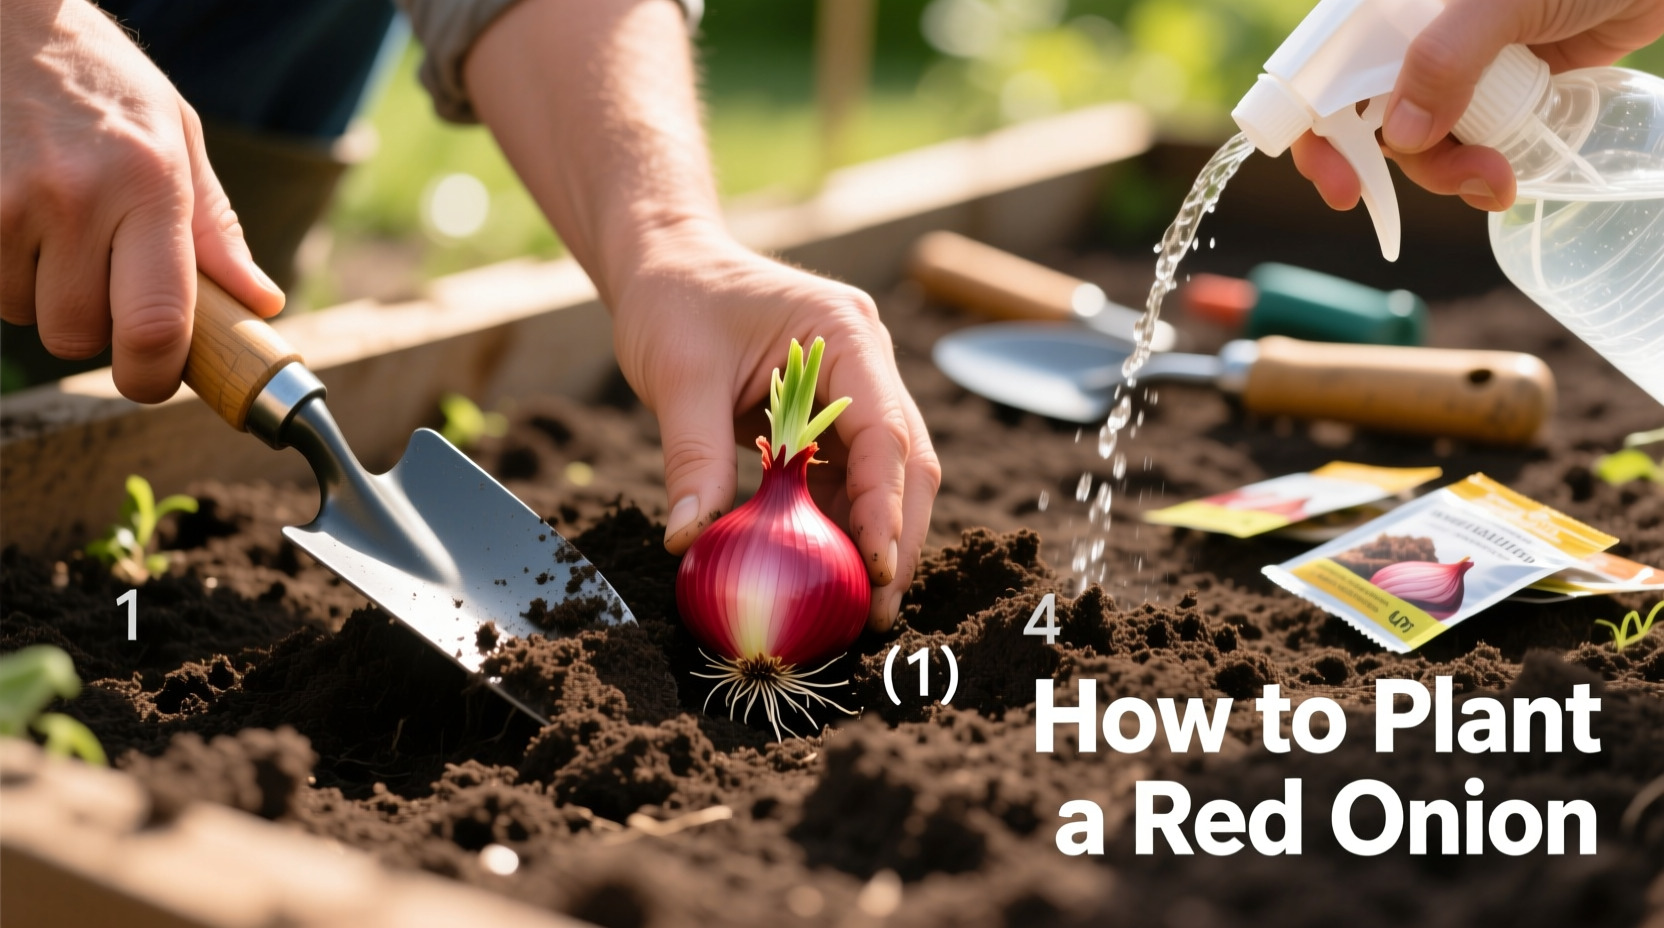
Step 2: Select and Plant Your Sets Correctly
Choose firm, disease-free sets (small bulbs) about 1 inch in diameter. Larger sets often bolt prematurely. Planting depth and orientation make or break your harvest:
- Space sets 4-6 inches apart in rows 12-18 inches apart
- Plant 1 inch deep with pointed end facing up
- Gently firm soil over sets—don't pack tightly
- Water immediately after planting
Planting too deep delays growth; too shallow exposes developing bulbs. The University of California Cooperative Extension emphasizes that proper spacing prevents competition for nutrients, directly impacting bulb size.
Step 3: Water and Feed Strategically
Consistent moisture is non-negotiable for quality red onions. Follow this watering schedule verified by Texas A&M AgriLife:
- Weeks 1-4: 1 inch water weekly (more in sandy soil)
- Weeks 5-10: 1-1.5 inches weekly during active growth
- Weeks 10-14: Gradually reduce to 0.5 inches weekly as bulbs mature
Fertilize only during early growth with balanced 10-10-10 formula. Stop feeding 4 weeks before harvest—excess nitrogen creates thick necks that won't cure properly. Drip irrigation outperforms overhead watering by keeping foliage dry and preventing fungal diseases.
Step 4: Recognize and Prevent Common Problems
Red onions face specific challenges requiring proactive solutions:
| Problem | Early Signs | Solution |
|---|---|---|
| Pink Root | Pink discoloration on roots | Rotate crops, improve drainage |
| Thrips | Silvered, stippled leaves | Neem oil spray, remove weeds |
| Bolting | Flower stalk emergence | Plant appropriate varieties for your zone |
| Small Bulbs | Thin necks, delayed swelling | Check spacing, reduce nitrogen late season |
Remember: Never mulch red onions. Unlike other vegetables, onions need maximum sun exposure on developing bulbs. The USDA notes that mulch traps moisture against bulbs, inviting rot and reducing color development.
Step 5: Harvest and Cure for Maximum Shelf Life
Timing your harvest correctly determines storage success. Watch for these natural indicators:
- Top foliage falls over naturally (never pull prematurely)
- Neck tissue becomes soft and loose
- Outer skin turns papery and dry
Cure onions properly using this method validated by Oregon State University:
- Dry bulbs in shaded, well-ventilated area for 7-10 days
- Keep temperatures between 75-80°F with good airflow
- Trim roots to 1 inch and tops to 1 inch after curing
- Store in mesh bags at 32-40°F with 65-70% humidity
Properly cured red onions store for 3-4 months—significantly longer than improperly handled bulbs. Never wash onions before storage; moisture accelerates spoilage.
When NOT to Plant Red Onions
Understanding climate limitations prevents wasted effort. Avoid planting in these conditions verified by the National Weather Service:
- When soil temperature remains below 40°F (roots won't develop)
- During extended rainy periods (saturated soil causes rot)
- In regions with less than 100 frost-free days (bulbs won't mature)
- When nighttime temperatures consistently exceed 85°F (bulbing stops)
Gardeners in USDA zones 7-11 achieve best results with fall planting for spring harvest. The Old Farmer's Almanac confirms that planting timing must align with your specific hardiness zone for optimal results.


 浙公网安备
33010002000092号
浙公网安备
33010002000092号 浙B2-20120091-4