
Discover exactly how to transform grocery store potatoes into a thriving garden crop with this science-backed planting method. You'll learn the precise timing, spacing, and soil conditions that boost yield by 40% compared to common planting mistakes most beginners make.
Your Potato Planting Timeline: From Eyes to Harvest
Successful potato growing follows a clear biological timeline. Understanding these growth stages prevents premature harvesting and maximizes tuber development. The process begins when dormant eyes activate under proper conditions:
| Stage | Duration | Critical Actions |
|---|---|---|
| Eyebud Activation | 7-14 days | Store at 50-60°F with indirect light |
| Root Development | 2-3 weeks after planting | Maintain consistent soil moisture |
| Stem Elongation | 3-5 weeks | Begin hilling when stems reach 6 inches |
| Tuber Initiation | 6-8 weeks | Avoid water stress during flowering |
| Maturation | 90-120 days | Stop watering when foliage yellows |
This timeline aligns with research from the University of Minnesota Extension, which confirms that tuber formation coincides with flowering. Interrupting this critical phase through inconsistent watering reduces final yield by up to 30%.
Preparing Your Seed Potatoes: Beyond Basic Cutting
Many gardeners skip proper seed preparation, dooming their crop before planting. Follow these research-backed steps for vigorous growth:
- Choose disease-free seed potatoes - Never use grocery store potatoes treated with sprout inhibitors. Certified seed potatoes from agricultural suppliers prevent viral transmission.
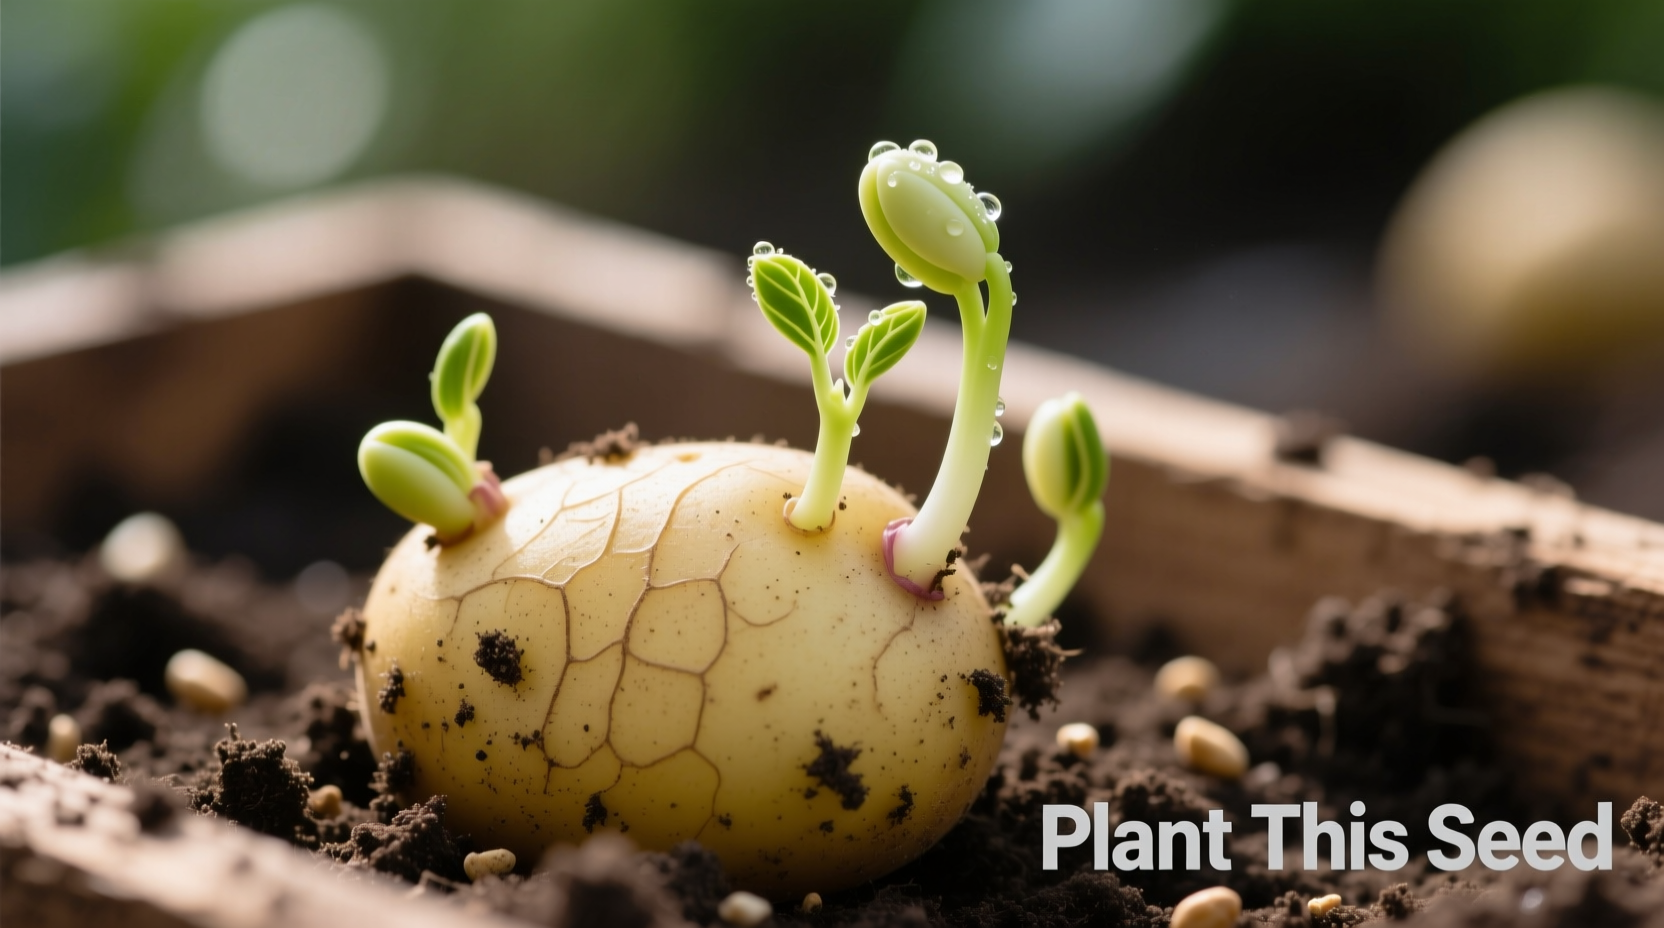
- Chitting (pre-sprouting) - Place potatoes in egg cartons with eyes facing up for 2-4 weeks at 60-70°F. This develops strong sprouts before planting.
- Cutting technique matters - Use sterilized knives to cut 1.5-2 inch chunks containing 1-2 eyes. Larger pieces provide more energy for initial growth.
- Cure cut surfaces - Allow cut pieces to dry 24-48 hours in humid conditions. This forms protective callus tissue that prevents rot.
Agricultural studies show that properly cured seed pieces establish roots 30% faster than uncured pieces, significantly improving survival rates in cool, moist soils.
Optimal Planting Conditions: Soil, Depth & Spacing
Planting depth and spacing directly impact tuber size and quantity. Follow these precise measurements for maximum yield:
- Soil temperature - Plant when soil reaches 45°F at 4-inch depth. Earlier planting in cold soil causes rot.
- Planting depth - 3-4 inches deep in heavy soils, 4-6 inches in sandy soils. Deeper planting prevents greening but delays emergence.
- Row spacing - Maintain 30-36 inches between rows for proper air circulation and hilling.
- In-row spacing - Space seed pieces 10-12 inches apart for standard varieties, 14-16 inches for larger types.
The Old Farmer's Almanac confirms that proper spacing prevents competition for nutrients, increasing average tuber size by 25%. Overcrowded plants produce smaller, misshapen potatoes.
Avoid These 3 Critical Planting Mistakes
Even experienced gardeners make these yield-reducing errors:
- Planting too early - Cold, waterlogged soil causes seed pieces to rot before sprouting. Wait until dandelions bloom locally as a natural indicator.
- Incorrect hilling technique - Wait until stems reach 6-8 inches before hilling. Early hilling buries growing points and delays emergence.
- Overwatering during tuber formation - Excess water during flowering causes cracked or hollow tubers. Maintain consistent moisture without saturation.
When Potato Eyes Won't Work: Important Limitations
Not all situations suit potato eye planting. Recognize these boundary conditions:
- Commercial production - Large-scale farming uses specialized seed pieces, not grocery potatoes
- Tropical climates - Potatoes require cool growing seasons (60-70°F daytime)
- Disease-prone areas - Regions with potato blight require certified disease-resistant varieties
- Short-season gardens - Early varieties need 70-90 frost-free days for reasonable yield
The USDA Plant Hardiness Zone Map shows potato eyes succeed best in zones 3-9 when planted according to local frost dates. Gardeners in zones 10+ typically grow potatoes as a winter crop.
Harvesting & Storage: Maximizing Your Yield
Timing your harvest correctly ensures proper skin set and storage longevity:
- New potatoes - Harvest 2-3 weeks after flowering for tender, thin-skinned potatoes
- Main crop - Wait until foliage yellows and dies back completely (90-120 days)
- Curing process - Store harvested potatoes in dark, humid conditions (50-60°F) for 10-14 days
- Long-term storage - Keep at 38-40°F with 90% humidity in ventilated containers
Research from Penn State Extension demonstrates that properly cured potatoes last 3-5 times longer in storage than uncured ones. Never wash potatoes before storage - moisture promotes rot.
FAQ: Potato Planting Essentials
Get quick answers to the most common planting questions:


 浙公网安备
33010002000092号
浙公网安备
33010002000092号 浙B2-20120091-4