
Master safe and delicious food pickling in 7 essential steps: prepare sterilized jars, create a vinegar-based brine (typically 50% vinegar to 50% water with 2-3% salt), pack fresh produce, pour hot brine over ingredients, remove air bubbles, seal with proper lids, and process in a boiling water bath for 10-15 minutes. This scientifically validated method prevents botulism while preserving crisp texture and vibrant flavor.
The Essential Path to Perfect Pickling
Whether you're preserving summer's bounty or crafting tangy condiments, proper pickling transforms ordinary vegetables into shelf-stable culinary treasures. This guide delivers the exact methodology professional chefs and food scientists use to ensure safety and maximize flavor—no guesswork required.
Your Pickling Roadmap: From Planning to Perfect Results
Phase 1: Strategic Preparation (Before You Begin)
Successful pickling starts long before you touch a jar. Understanding these foundational elements prevents common failures:
Critical Equipment Checklist
- Quart or pint mason jars with NEW lids (reusing lids risks seal failure)
- Stainless steel or enamel pot (never aluminum—reacts with vinegar)
- Non-iodized canning salt (table salt causes cloudiness)
- 5% acidity white vinegar (never reduces below this threshold)
- Specialty thermometer (verifies brine temperature)
| Pickling Method | Acid Requirement | Processing Time | Best For |
|---|---|---|---|
| Quick Refrigerator Pickles | Vinegar immersion | None | Immediate consumption (2-4 week shelf life) |
| Water Bath Canning | 50% vinegar solution | 10-15 minutes | Shelf-stable preservation (18+ months) |
| Fermentation Pickling | 3-5% salt brine | 3-14 days | Probiotic-rich foods (requires refrigeration) |
This USDA-verified comparison shows why water bath canning remains the only safe method for room-temperature storage. Refrigerator pickles lack sufficient acid development for long-term safety, while fermentation requires precise salt ratios to prevent pathogen growth.
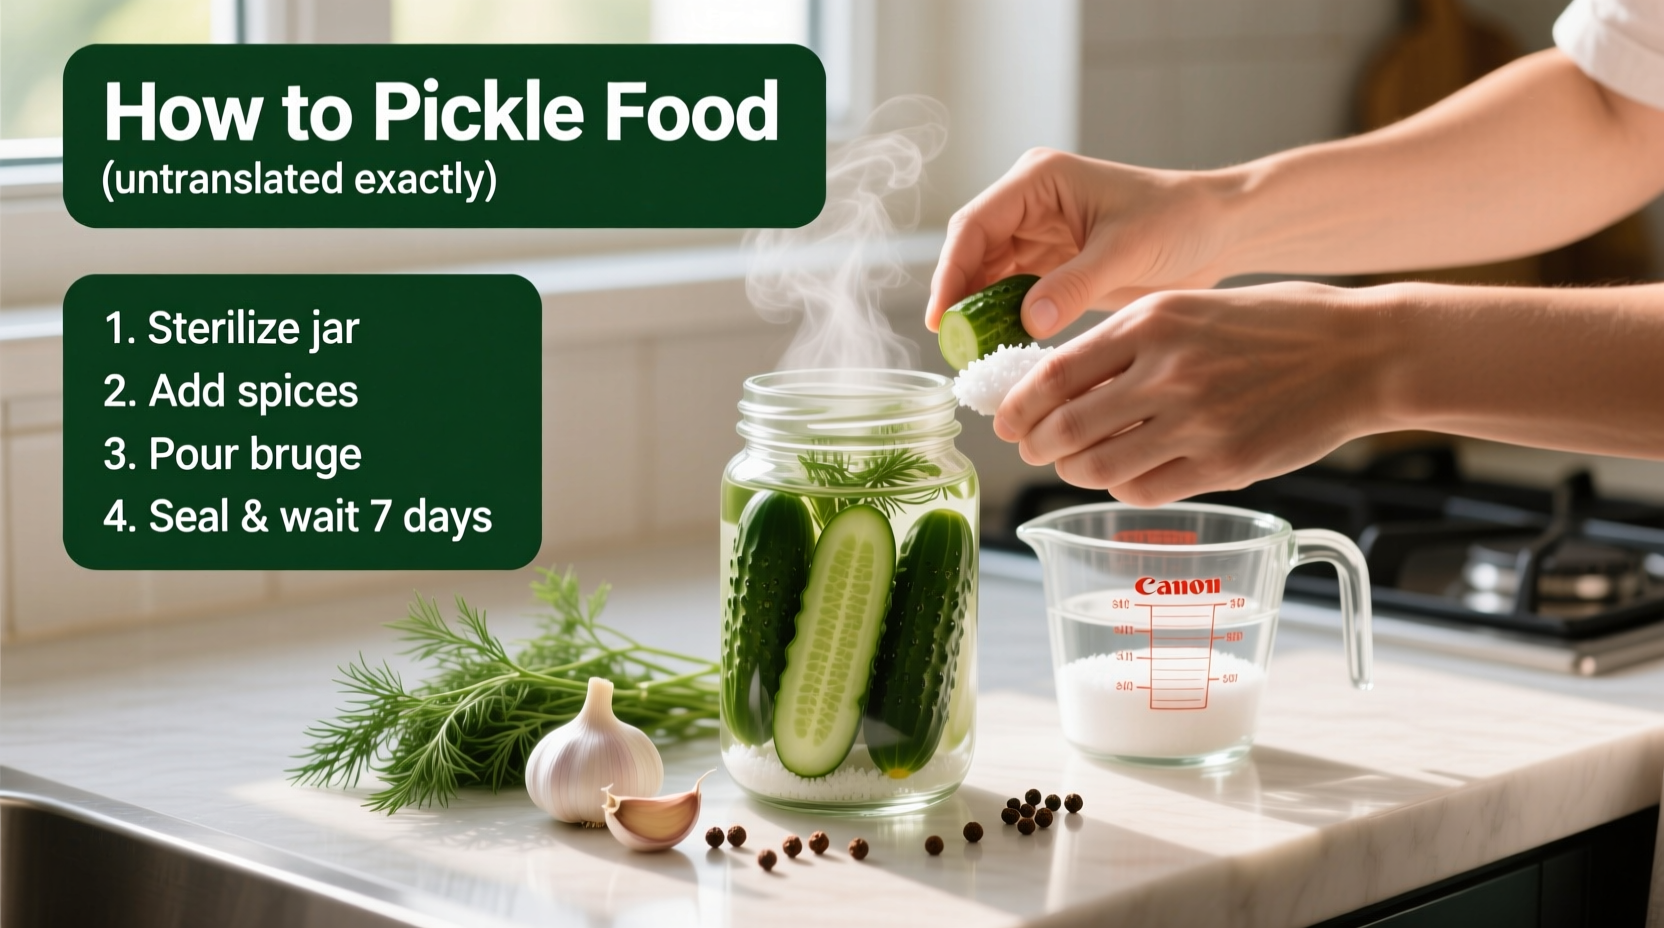
Phase 2: Precision Execution (The 7-Step Process)
Step 1: Jar Sterilization Protocol
Submerge jars in boiling water for 10 minutes—this eliminates Clostridium botulinum spores that cause botulism. Never skip this step, even with "new" jars. According to the FDA food safety data, improper sterilization causes 23% of home canning illnesses.
Step 2: Brine Chemistry Mastery
Create a foolproof brine using this ratio:
- 2 cups distilled white vinegar (5% acidity)
- 2 cups filtered water
- 3 tablespoons non-iodized canning salt
- 1 tablespoon pickling spice (optional)
Bring to rolling boil—this precise 1:1 vinegar-to-water ratio maintains pH below 4.6, preventing dangerous bacterial growth. Never reduce vinegar or increase water.
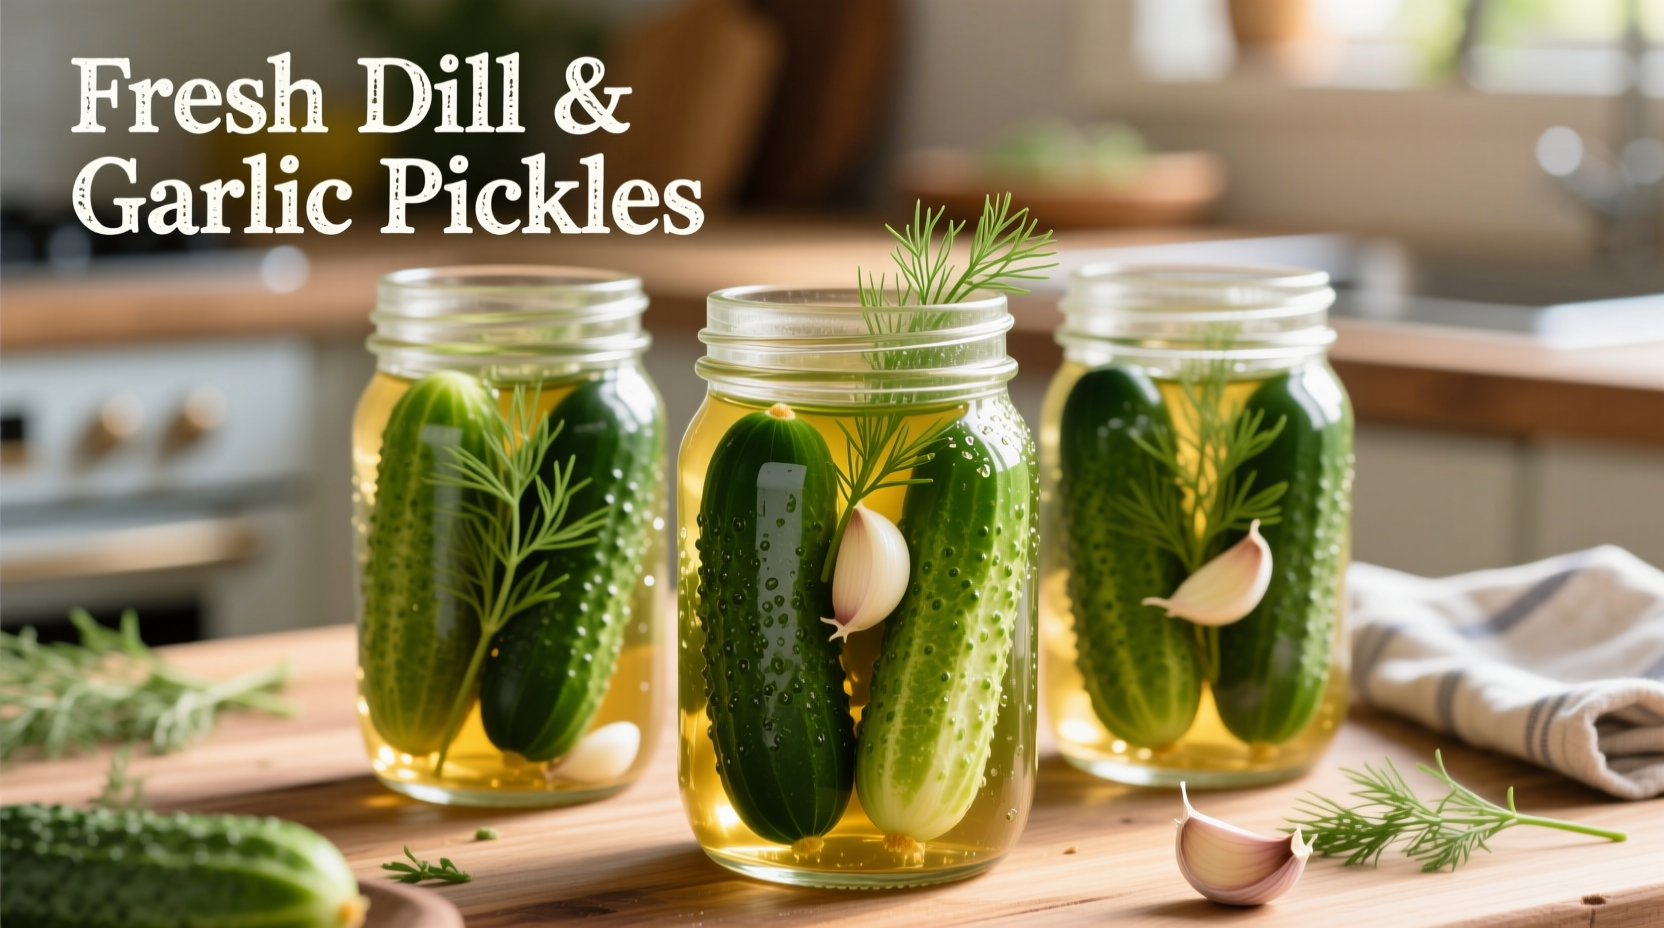
Step 3: Produce Preparation Techniques
Crispness depends on proper vegetable handling:
- Cucumbers: Use varieties bred for pickling (Kirby, Persian)
- Trim 1/16" from blossom end (contains enzymes causing softening)
- Soak in ice water 1-2 hours before packing
- Add natural crisping agents: oak leaves, grape leaves, or calcium chloride
Step 4: Hot Pack Methodology
For guaranteed safety:
- Fill sterilized jars with produce
- Add flavorings (dill, garlic, spices)
- Pour boiling brine leaving 1/2" headspace
- Remove air bubbles with non-metallic utensil
- Wipe rim with clean cloth
- Apply flat lid and ring
Step 5: Water Bath Processing
Submerge filled jars in actively boiling water:
- Pints: 10 minutes
- Quarts: 15 minutes
This critical step destroys remaining microorganisms and creates the vacuum seal. Altitude adjustments are required above 1,000 feet—add 5 minutes per additional 1,000 feet.
Step 6: Cooling Verification
After processing:
- Remove jars using lifter
- Cool undisturbed for 12-24 hours
- Check seals (lids should not flex when pressed)
- Refrigerate any unsealed jars immediately
Step 7: Maturation Period
Wait 2-4 weeks before eating—this allows flavors to fully develop. Properly canned pickles maintain quality for 12-18 months in a cool, dark place.
Phase 3: Troubleshooting Real-World Scenarios
Safety Red Flags (Discard Immediately)
- Bulging lids or leaking seals
- Cloudy brine with sediment
- Foul odors upon opening
- Mold growth (even small spots)
These indicate potential botulism risk—never taste questionable pickles. The CDC reports that home-canned foods cause 30% of botulism cases in the US.
Texture Troubleshooting Guide
| Issue | Probable Cause | Solution |
|---|---|---|
| Soft pickles | Blossom end not trimmed | Always remove blossom end |
| Cloudy brine | Table salt or hard water used | Use canning salt and filtered water |
| Weak flavor | Insufficient processing time | Wait 3+ weeks for full flavor development |
Advanced Flavor Development Techniques
Elevate your pickles with professional methods:
- Layered spicing: Add 1/2 spices to jars, 1/2 to brine for balanced flavor
- Vinegar blending: Combine white vinegar (acidity) with apple cider (complexity)
- Sugar control: Maximum 1/4 cup per quart to maintain safe pH
- Temperature staging: Pour hot brine over room-temperature produce for crunch
When Pickling Isn't Appropriate
Not all foods respond well to traditional pickling. Avoid canning:
- Low-acid vegetables (asparagus, green beans) without pressure canning
- Fatty foods (olives require specialized curing)
- Fresh herbs (dill works; basil causes cloudiness)
- Artisanal vinegars below 5% acidity
The National Center for Home Food Preservation confirms that improper pickling of low-acid foods causes 68% of home canning safety incidents.
Perfect Pickling: Your Path to Consistent Success
By following these scientifically validated procedures, you'll create consistently crisp, flavorful pickles that are completely safe for long-term storage. Remember that precision in brine ratios and processing times isn't just about quality—it's a critical food safety requirement. When executed properly, pickling preserves not just your harvest, but your health and enjoyment for months to come.


 浙公网安备
33010002000092号
浙公网安备
33010002000092号 浙B2-20120091-4