
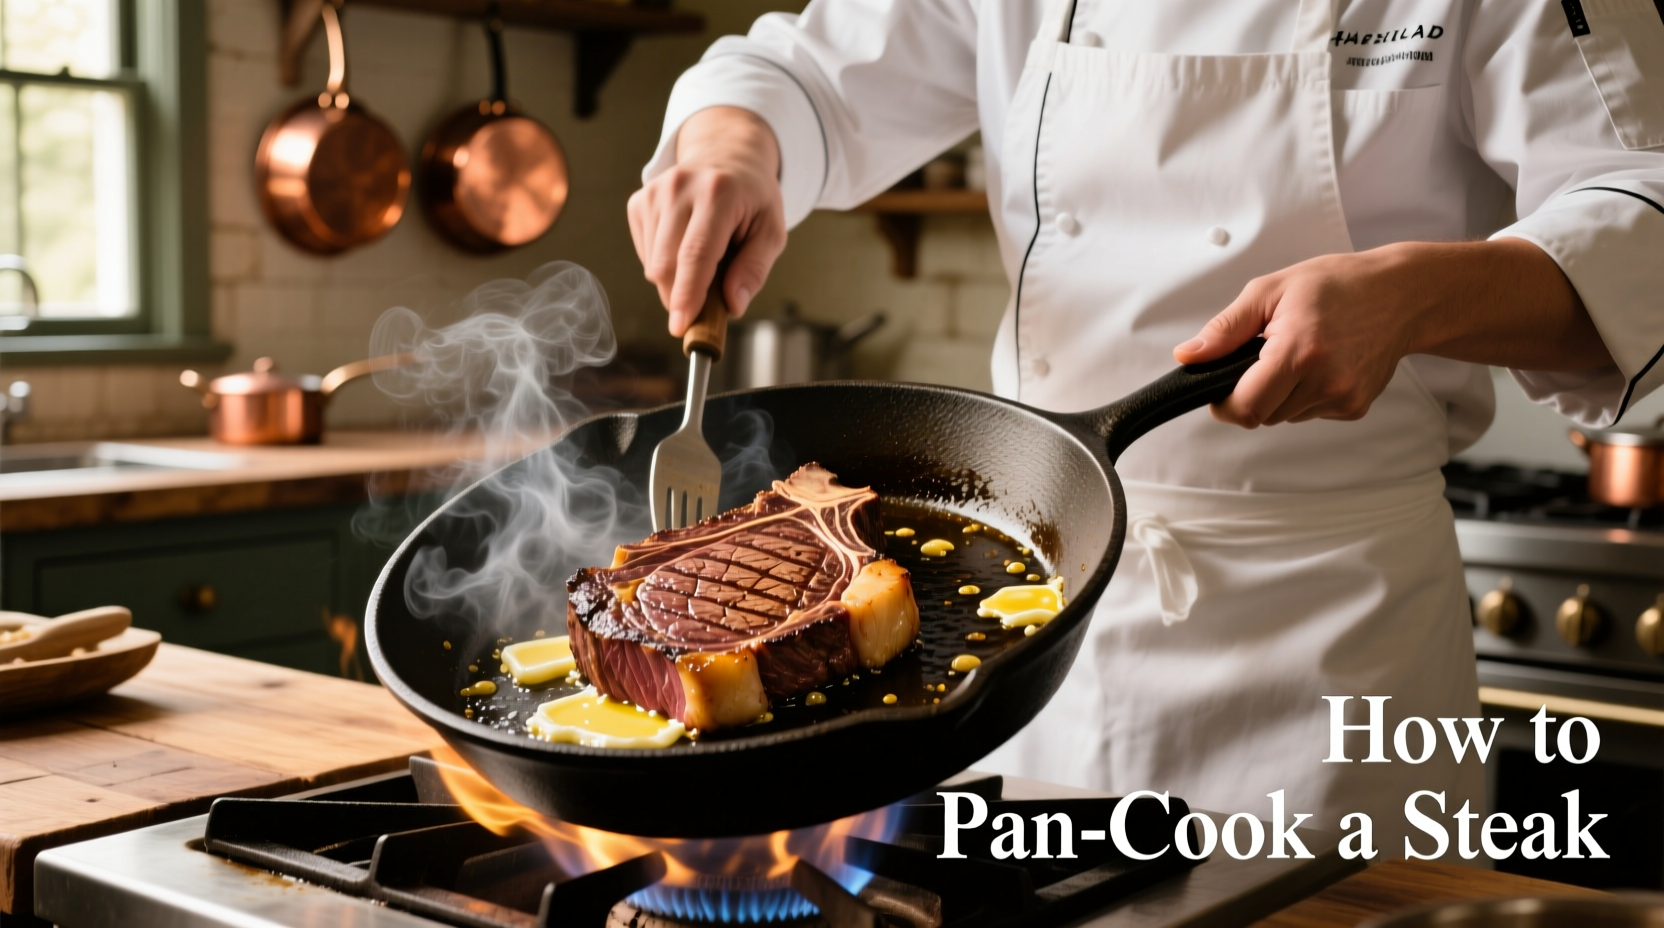
Cooking the perfect steak in a pan seems intimidating, but with the right technique, you can achieve results rivaling expensive steakhouses. The key lies in understanding heat management, proper timing, and recognizing visual cues that indicate doneness. Unlike grill cooking which requires outdoor space and equipment, pan-searing gives you precise temperature control and creates an exceptional Maillard reaction crust that locks in juices while developing complex flavors.
Why Pan Cooking Beats Other Methods for Home Chefs
While grilling remains popular, pan cooking offers distinct advantages for indoor preparation. Professional chefs consistently choose cast iron or carbon steel skillets for steak preparation because these materials retain heat exceptionally well and distribute it evenly across the cooking surface. According to the American Meat Science Association, "surface temperature control is the single most critical factor in developing desirable flavor compounds during steak preparation." Unlike thinner pans that create hot spots, heavy-bottomed skillets maintain consistent heat that prevents uneven cooking and ensures proper crust formation without burning.
| Steak Cut | Best Doneness | Recommended Cooking Time | Flavor Profile |
|---|---|---|---|
| Ribeye | Medium-rare | 4-5 minutes per side | Rich, marbled, buttery |
| Filet Mignon | Rare to medium-rare | 3-4 minutes per side | Mild, tender, delicate |
| New York Strip | Medium | 4 minutes per side | Robust, beefy, slightly chewy |
| Porterhouse | Medium-rare | 5-6 minutes per side | Complex, combines strip and tenderloin |
Essential Equipment Checklist
Before you begin, gather these critical tools that make the difference between good and exceptional results:
- Cast iron or carbon steel skillet - Avoid non-stick pans which can't reach the necessary temperatures
- Instant-read thermometer - USDA Food Safety and Inspection Service recommends using thermometers for accurate doneness (minimum safe temperature for steak is 145°F with 3-minute rest time)
- Tongs - Never pierce steak with a fork which releases precious juices
- Heavy-duty oven mitts - Your skillet handle will become extremely hot
- Metal spatula - For pressing steak gently against the pan
Selecting the Perfect Steak
Not all steaks respond equally well to pan cooking. For optimal results, choose cuts at least 1-1.5 inches thick. Thinner cuts overcook before developing proper crust. The USDA Agricultural Marketing Service notes that "steak thickness directly impacts the temperature gradient between surface and center, affecting both safety and quality outcomes."
Ribeye, New York strip, and filet mignon work exceptionally well in pans due to their fat content and structure. Avoid lean cuts like round steak which dry out quickly during high-heat cooking. When purchasing, look for bright red color, firm texture, and even marbling throughout the cut.
Preparation: The Critical 45 Minutes Before Cooking
Proper preparation separates amateur attempts from professional results. Remove your steak from refrigeration 45 minutes before cooking to bring it to room temperature. This crucial step ensures even cooking throughout the cut. Pat the steak completely dry with paper towels—moisture is the enemy of crust development.
Season generously with coarse salt (about 1 teaspoon per pound) and freshly ground black pepper. Some chefs recommend salting up to 40 minutes before cooking to allow penetration, but never in the 10-15 minutes immediately before cooking when surface moisture returns. For best results, season immediately before placing in the pan.
The Pan Cooking Process: Step-by-Step
Follow these precise steps for perfect results every time:
Step 1: Heat Management
Place your empty skillet over medium-high heat for 5-7 minutes until it reaches 400-450°F. Test readiness by sprinkling a few drops of water—if they dance and evaporate instantly, your pan is ready. This temperature range creates optimal Maillard reaction without burning fats.
Step 2: Oil Selection and Application
Add 1-2 tablespoons of high smoke-point oil (avocado, grapeseed, or clarified butter). Avoid olive oil which smokes at lower temperatures. Swirl to coat the bottom evenly.
Step 3: Searing Technique
Place steak in the pan away from you to avoid oil splatter. Press gently with a spatula for 10 seconds to ensure full contact. Do not move the steak for the first 3 minutes—this allows proper crust development. After 3-4 minutes, check for release; when it lifts easily, flip with tongs.
Step 4: Finishing Touches
After flipping, add aromatics: 2 tablespoons butter, 2 crushed garlic cloves, and fresh thyme or rosemary. Tilt the pan and spoon melted butter continuously over the steak for the final 2 minutes of cooking. This basting technique adds flavor complexity without risking uneven cooking.
Determining Doneness Without Guessing
While touch tests provide general guidance, an instant-read thermometer delivers precision. Insert horizontally into the thickest part:
- Rare: 120-130°F (49-54°C) - cool red center
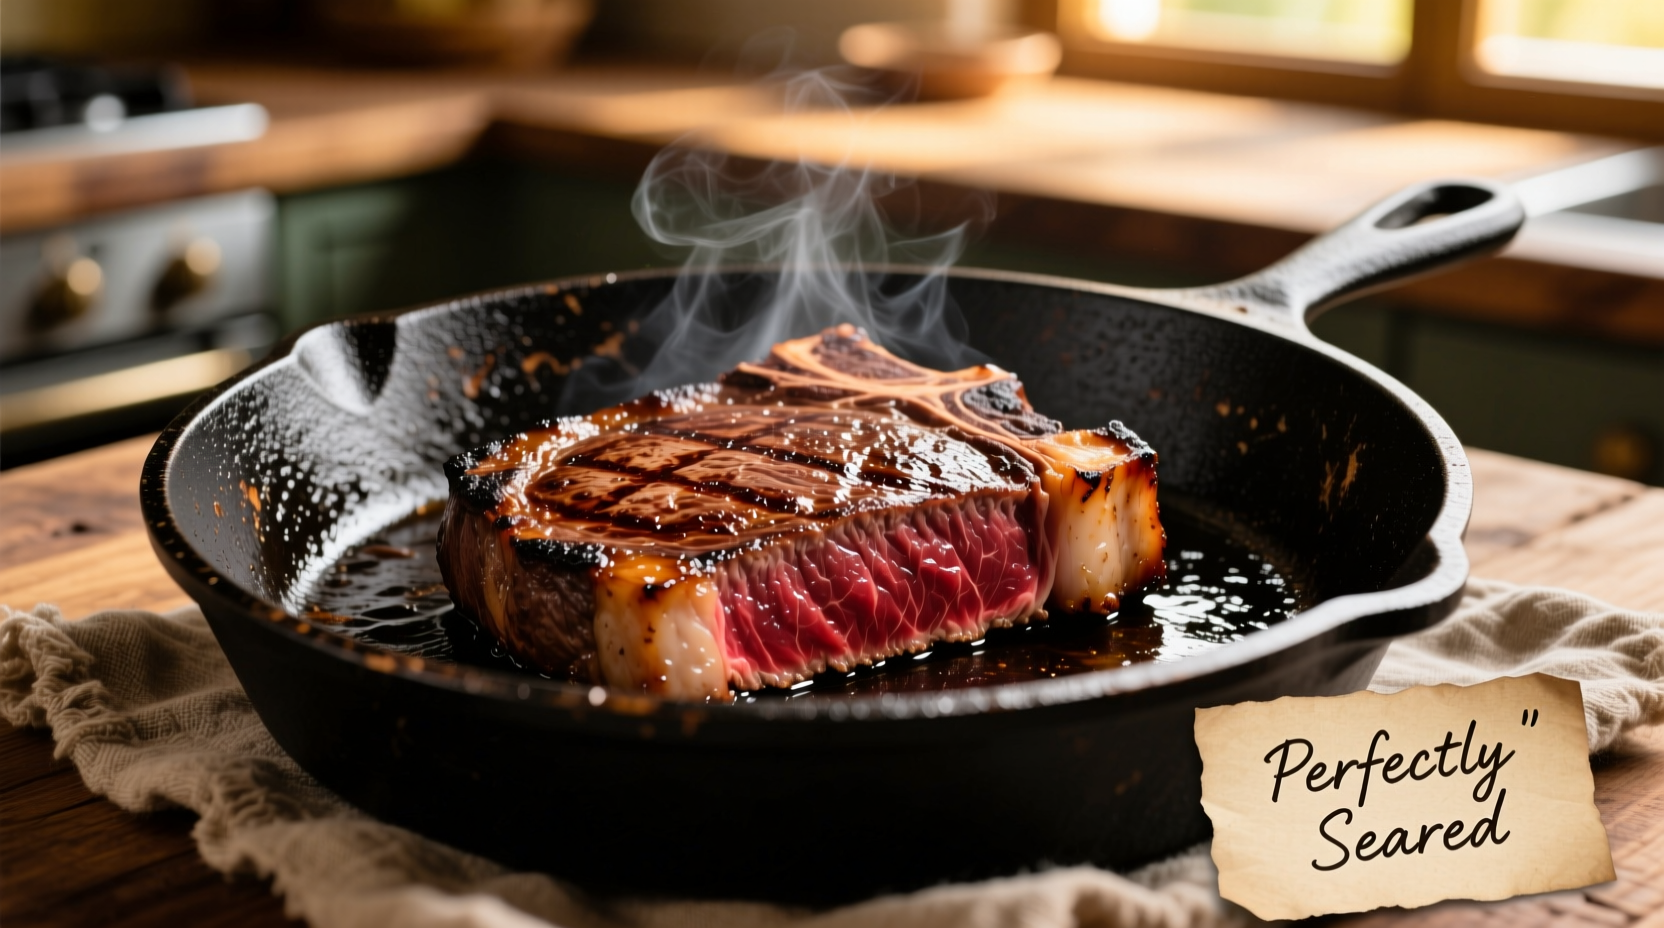
- Medium-rare: 130-135°F (54-57°C) - warm red center (recommended for best flavor/texture)
- Medium: 135-145°F (57-63°C) - warm pink center
- Medium-well: 145-155°F (63-68°C) - slightly pink center
- Well-done: 155°F+ (68°C+) - little to no pink
Remember that temperature will rise 5-10°F during resting. Remove steak from heat 5°F below your target temperature.
Resting: The Non-Negotiable Final Step
Transfer steak to a cutting board or warm plate and tent loosely with foil. Rest for 5-10 minutes (longer for thicker cuts). This critical step allows juices to redistribute throughout the meat. Cutting too soon releases these precious juices onto your plate rather than keeping them in the steak. According to research published in the Journal of Food Science, "resting time significantly impacts moisture retention and perceived tenderness in cooked beef."
Context Boundaries: When Pan Cooking Isn't Ideal
While versatile, pan cooking has limitations. For steaks thicker than 2 inches, finish in a 400°F oven after searing to avoid overcooked exteriors. Extremely lean cuts like flank steak benefit more from marinades and high-heat grilling. Whole prime rib or tomahawk steaks require specialized equipment beyond standard home skillets. Understanding these context boundaries prevents frustration and ensures optimal results for each cut.
Troubleshooting Common Problems
Problem: Steak sticks to the pan
Solution: Your pan wasn't hot enough before adding steak. Wait until water droplets dance before adding meat.
Problem: Excessive smoke
Solution: Turn on your exhaust fan, open windows, and consider using oils with higher smoke points like avocado oil.
Problem: Uneven cooking
Solution: Press thinner edges against the pan with tongs during the final minute of cooking.
Problem: Burnt exterior, raw interior
Solution: Your pan was too hot. Reduce heat slightly and consider finishing thicker cuts in the oven.


 浙公网安备
33010002000092号
浙公网安备
33010002000092号 浙B2-20120091-4