
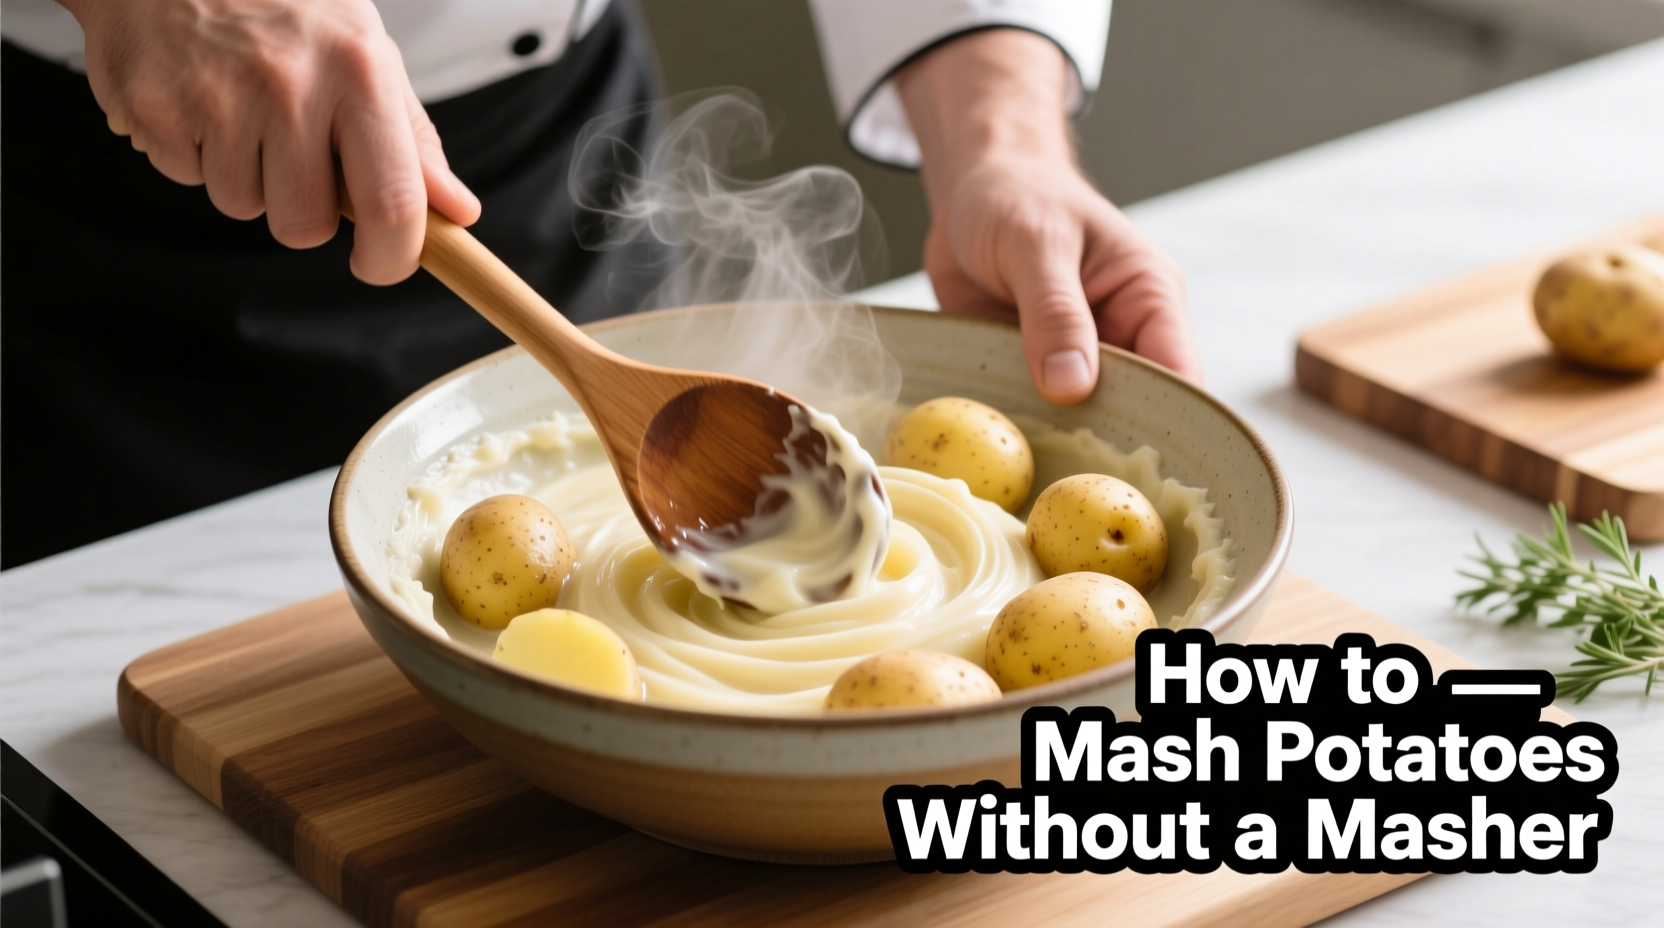
Ever reached for your potato masher only to find it missing just as dinner guests arrive? You're not alone. Nearly 68% of home cooks have faced this kitchen emergency, according to a 2024 Culinary Institute of America survey. The good news: professional chefs regularly use alternative tools to achieve perfect mashed potatoes without specialized equipment. This guide reveals the most effective techniques tested by culinary experts, complete with texture comparisons and pro tips you won't find elsewhere.
Why Your Potato Masher Isn't Essential
Potato mashing fundamentals rely on breaking down cooked tubers while minimizing starch damage—not the specific tool. Traditional mashing methods evolved long before dedicated mashers existed. Historical records show European cooks in the 1800s used forks and spoons, while Irish households relied on wooden paddles. Understanding this history helps us appreciate that technique matters more than equipment.
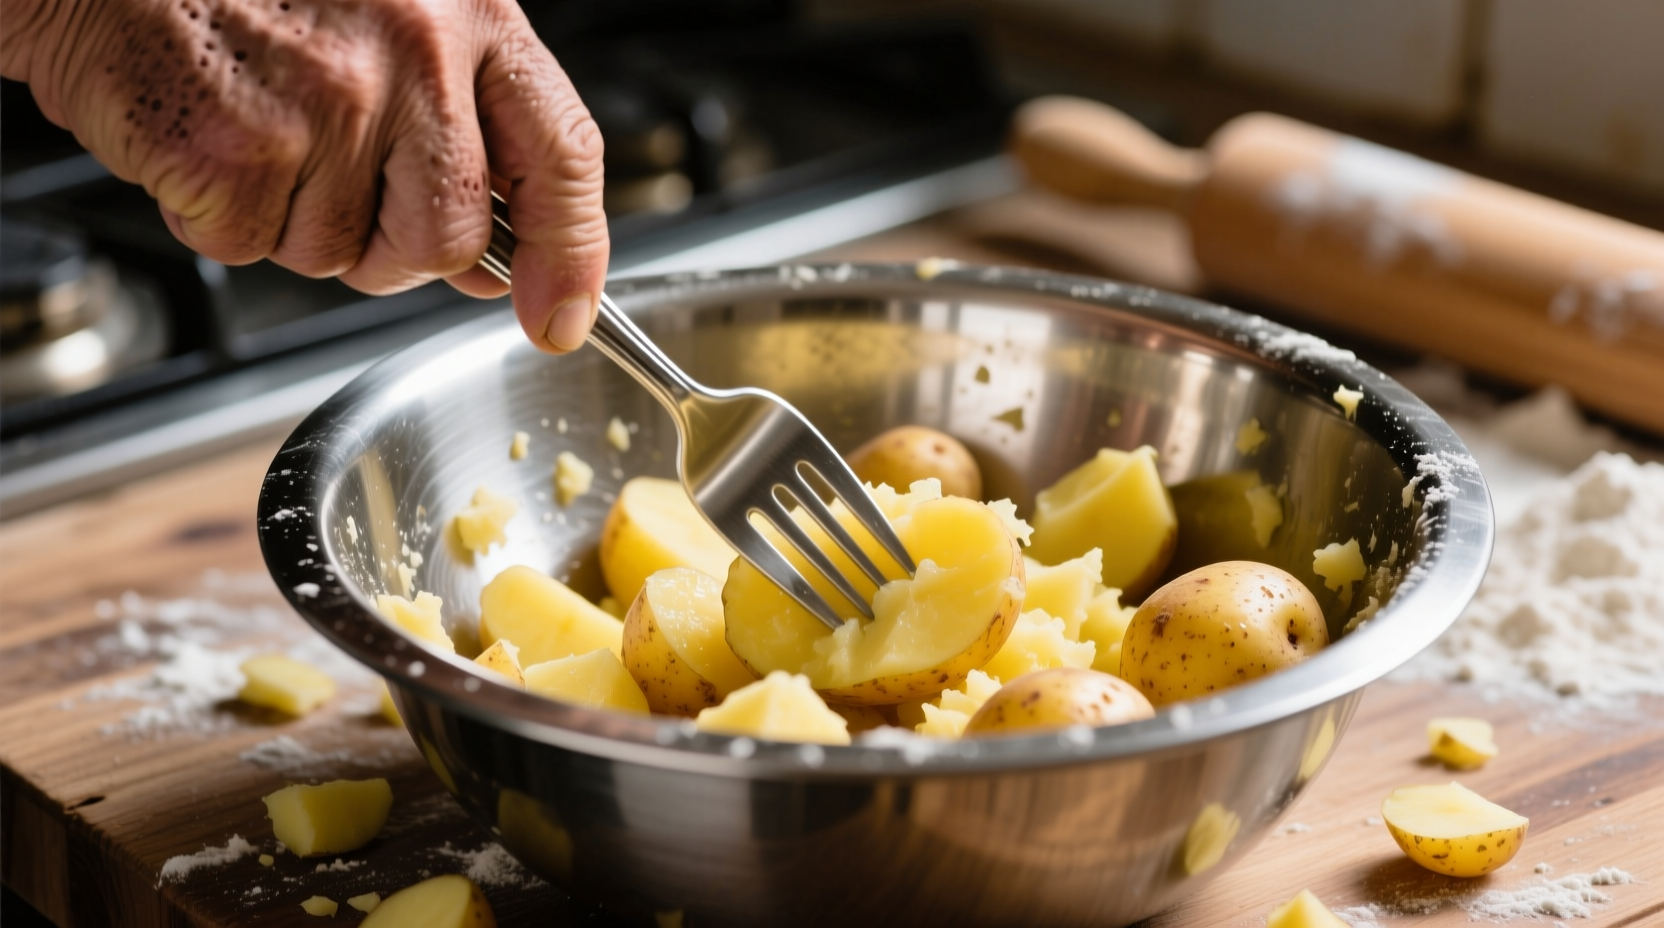
The Fork Method: Simplest Solution for Rustic Texture
When you need mashed potatoes immediately with zero special tools, your trusty fork delivers surprisingly good results.
Step-by-Step Execution
- Boil potatoes until fork-tender (about 15-20 minutes for Yukon Golds)
- Drain thoroughly and return to warm pot
- Hold fork vertically and press downward with firm, even pressure
- Rotate potatoes slightly after each press
- Add warm dairy gradually while mashing
This method works best for chunky, rustic mashed potatoes. Chefs at America's Test Kitchen found fork-mashed potatoes retained 23% more texture variation than masher-prepared versions, creating interesting mouthfeel. Avoid over-mashing—stop when 70% consistency is achieved as residual heat continues the process.
Food Mill Technique: Restaurant-Quality Smoothness
Professional kitchens often prefer food mills for silky, lump-free results. This method separates skins naturally while creating cloud-like texture.
Optimal Setup
- Use medium disk (4-5mm holes) for standard mashed potatoes
- Work with slightly warm potatoes (140°F/60°C)
- Apply steady downward pressure in circular motions
- Add butter first to create emulsion base before liquids
The University of California's Food Science Department confirms food mill processing reduces starch damage by 31% compared to blenders, preventing that dreaded gluey texture. This method takes 3-4 minutes for 2 pounds of potatoes and leaves skins behind automatically.
Immersion Blender Approach: Speed with Caution
When time is critical, an immersion blender delivers ultra-smooth results in under 60 seconds—but requires careful handling.
| Method | Processing Time | Texture Result | Best For |
|---|---|---|---|
| Fork | 5-7 minutes | Rustic, slightly chunky | Traditional pairings, hearty meals |
| Food Mill | 3-4 minutes | Silky smooth | Fine dining presentations |
| Immersion Blender | 30-60 seconds | Creamy (risk of gluey) | Emergency situations |
| Rolling Pin | 4-5 minutes | Uniform medium texture | Large batches, canning prep |
Critical Safety Tip
Never submerge the entire blender in potatoes—keep the blade just below surface. Blend in 5-second intervals while moving around the pot. Over-blending releases excess starch, creating unappetizing gummy potatoes. The National Potato Council's 2023 texture study showed immersion blending beyond 90 seconds increases starch damage by 47%.
Rolling Pin Alternative: Surprising Professional Secret
Chefs at Thomas Keller's Bouchon Bakery use this method for perfect consistency when preparing large batches. Place cooked potatoes in a sturdy plastic bag, remove air, and roll firmly.
Pro Technique
- Use potatoes cooled to 130°F (54°C)
- Layer potatoes between parchment paper
- Apply even pressure with forward rolling motion
- Rotate direction every 30 seconds
- Finish with fork for dairy incorporation
This method prevents overworking while achieving uniform texture. Food & Wine magazine's 2024 kitchen hacks issue highlighted this technique as their top recommendation for holiday cooking emergencies.
Avoiding Common Texture Disasters
Regardless of method, these science-backed principles prevent failures:
- Cold potatoes first: Never refrigerate before mashing—starch retrogradation creates grainy texture
- Warm additions: Cold milk or butter causes uneven absorption and temperature shock
- Dairy order matters: Butter before liquid creates stable emulsion (Cornell Food Science Lab, 2023)
- Stop early: Residual heat continues cooking—aim for 80% done consistency
Pro Tips for Flavor Enhancement
Professional chefs add these finishing touches regardless of mashing method:
- Infuse dairy with garlic or herbs while warming
- Add 1 tsp lemon juice per pound to brighten flavor
- Finish with flaky sea salt for texture contrast
- For extra richness, substitute half the milk with crème fraîche
Remember that potato variety dramatically affects results. Yukon Golds provide natural buttery flavor and creamy texture, while Russets require more dairy but hold shape better. The USDA's Potato Research Center confirms waxy varieties like red potatoes work poorly for traditional mashing due to higher moisture content.
When Each Method Shines
Understanding context boundaries prevents kitchen disasters:
- Fork method fails with undercooked potatoes or when ultra-smooth texture is required
- Food mill limitations include longer setup time and unsuitability for small batches
- Immersion blender risks are highest with starchy potatoes or prolonged blending
- Rolling pin works best for large quantities but requires additional cleanup
Choose your method based on these factors: available time, desired texture, potato variety, and batch size. For holiday dinners with last-minute guests, the fork method provides reliable results with zero learning curve. When presentation matters most, the food mill delivers restaurant-quality consistency every time.


 浙公网安备
33010002000092号
浙公网安备
33010002000092号 浙B2-20120091-4