
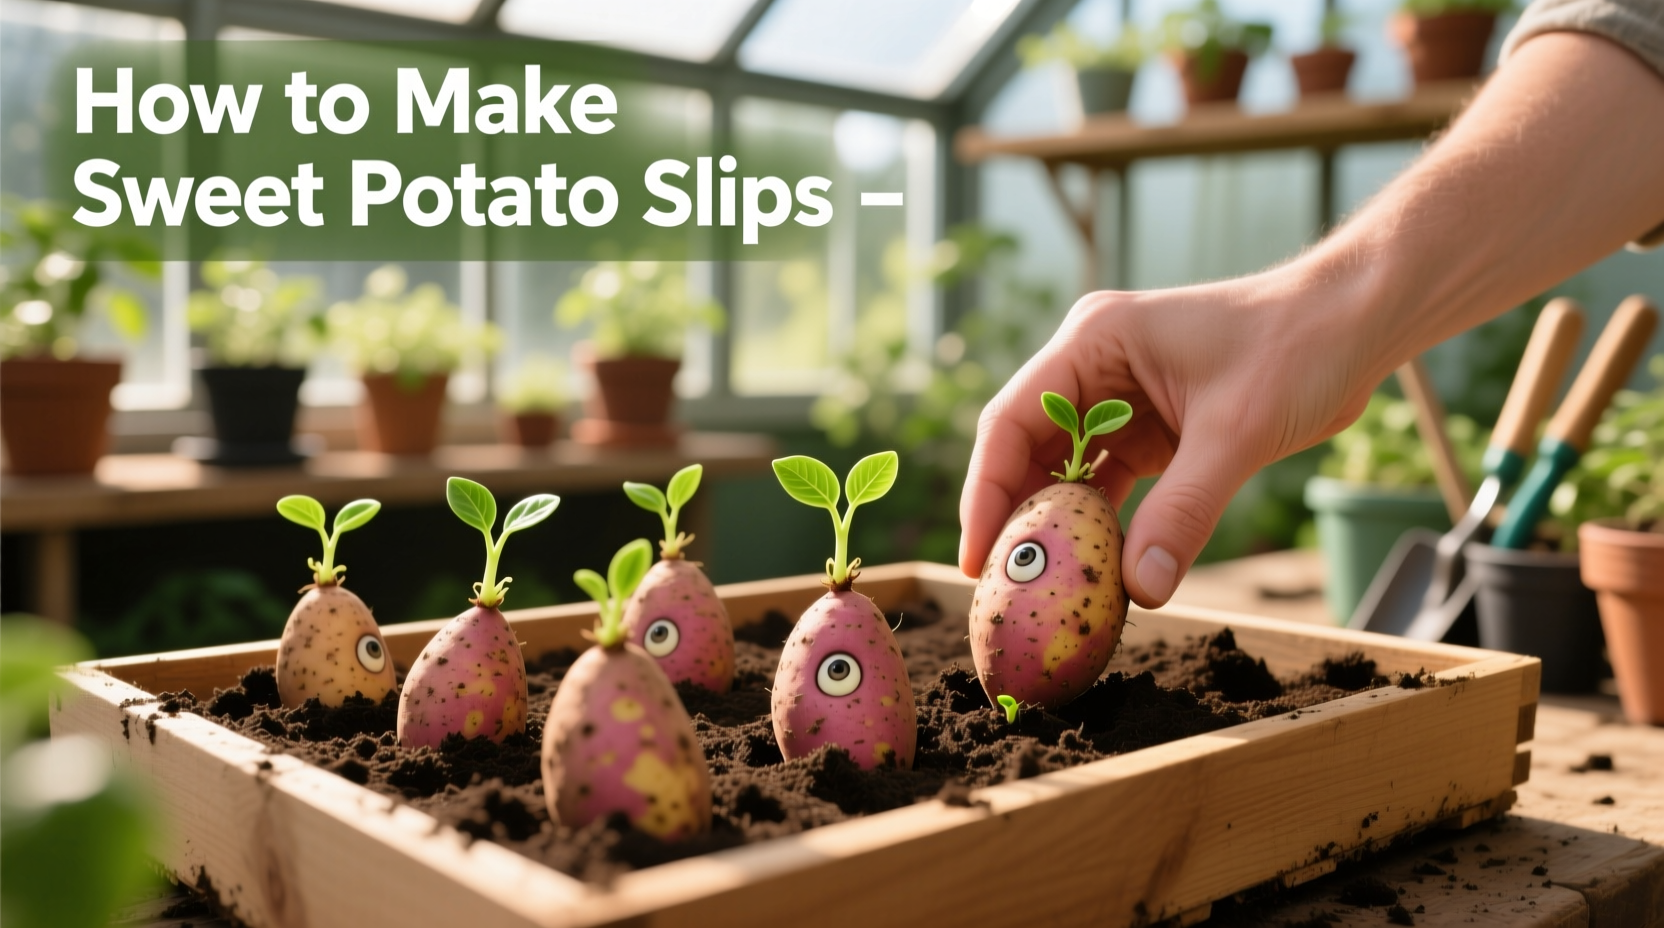
Transform ordinary sweet potatoes into thriving planting slips in just 3-4 weeks with this proven method. You'll need only sweet potatoes, water, toothpicks, and a sunny windowsill to produce healthy slips with a 90%+ success rate for your garden.
Why Making Sweet Potato Slips Beats Buying Starter Plants
Creating your own sweet potato slips (the sprouts that grow from tubers) gives you complete control over variety selection and ensures disease-free planting stock. Unlike store-bought starters that may carry pathogens, home-propagated slips from organic sweet potatoes guarantee a clean start for your garden. This cost-effective method costs pennies per plant compared to $3-$5 per purchased slip.
What You Need to Get Started
Before diving into how to make sweet potato slips, gather these simple supplies:
- Organic sweet potatoes (conventional may be treated to prevent sprouting)
- Clear glass jars or containers (1 per potato)
- Toothpicks (4-6 per potato)
- Filtered or spring water
- Sunny windowsill or grow lights
According to the USDA gardening guidelines, sweet potatoes require warm conditions for successful slip production, making spring the ideal propagation season in most climates.
The Step-by-Step Process for Perfect Sweet Potato Slips
Step 1: Selecting the Right Sweet Potatoes
Choose firm, unblemished tubers with multiple eyes. Varieties like Beauregard, Covington, and Jewel produce the most vigorous slips. Avoid grocery store sweet potatoes labeled "treated" as they won't sprout. Organic sweet potatoes from your local farmers market work best for making sweet potato slips at home.
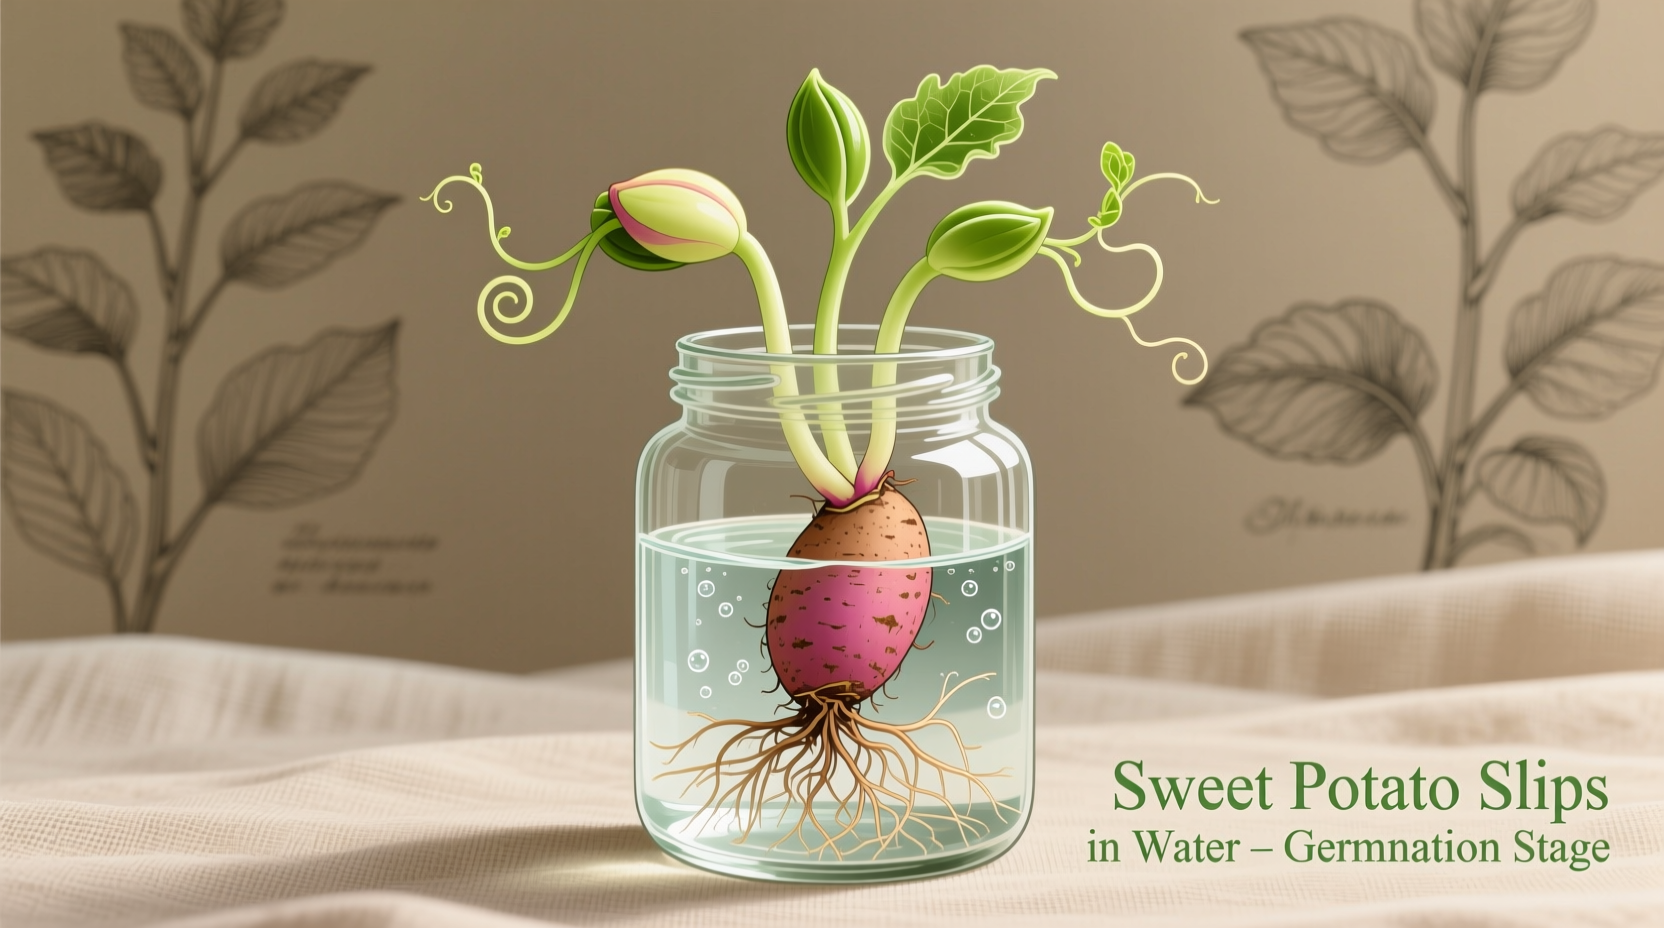
Step 2: Setting Up Your Slip Station
Place toothpicks around the middle of each sweet potato to suspend it in water. Fill jars with enough water to submerge the bottom third of the potato. Position in a warm spot (70-80°F) with bright, indirect light. Change water every 3-4 days to prevent bacterial growth.
| Week | Development Stage | Key Actions |
|---|---|---|
| 1-2 | Roots and small sprouts emerge | Maintain water level, change water regularly |
| 3 | Multiple 2-3 inch sprouts develop | Begin hardening off process |
| 4 | Slips ready for separation | Carefully twist slips from potato |
Step 3: Monitoring Growth and Development
Within 1-2 weeks, you'll notice white roots emerging from the bottom and small sprouts appearing from the eyes. By week 3, multiple 2-3 inch sprouts should be visible. The Cornell University Cooperative Extension recommends waiting until sprouts reach 4-6 inches with several leaves before harvesting slips.
Step 4: Harvesting and Preparing Your Slips
When sprouts reach 6-8 inches with multiple leaves, gently twist them from the potato. Place harvested slips in fresh water for 24-48 hours to develop roots before planting. This critical step in how to grow sweet potato slips ensures better transplant success.
Troubleshooting Common Slip Production Problems
Mold development: Change water more frequently and ensure good air circulation. A small amount of hydrogen peroxide (1 tsp per cup of water) can prevent mold without harming growth.
Slow or no sprouting: Move to a warmer location (75-80°F). Sweet potatoes require consistent warmth for optimal slip production. If after 3 weeks you see no growth, try a different potato.
Yellowing leaves: Indicates nutrient deficiency. Add a small amount of liquid seaweed fertilizer to the water (1/4 strength).
Transplanting Your Sweet Potato Slips Successfully
Wait until after your last frost date when soil temperatures reach at least 65°F. Harden off slips by gradually increasing outdoor exposure over 7 days. Plant slips 12-18 inches apart in well-draining soil with the leaves above ground. Water thoroughly after planting and maintain consistent moisture for the first two weeks.
For best results when making sweet potato slips for planting, choose a location with full sun and slightly acidic soil (pH 5.8-6.2). Sweet potatoes thrive in warm conditions and require 90-120 frost-free days to mature.
When This Method Works Best (and Limitations)
This water propagation method works perfectly for home gardeners in USDA zones 6-11 during spring and early summer. In cooler climates (zones 3-5), start slips indoors 6-8 weeks before your last frost date. The technique becomes less effective in temperatures below 65°F or with non-organic sweet potatoes that have been treated with sprout inhibitors.
Frequently Asked Questions
How long does it take to make sweet potato slips?
Sweet potato slips typically develop in 3-4 weeks under optimal conditions (70-80°F with consistent moisture). You'll see roots forming in 7-10 days, with sprouts emerging shortly after. The slips are ready for harvesting when they reach 6-8 inches with multiple leaves.
Can I use regular grocery store sweet potatoes to make slips?
Organic sweet potatoes work best as many conventional grocery store varieties are treated with sprout inhibitors. If using non-organic potatoes, look for varieties labeled "for propagation" or try multiple potatoes as success rates may be lower.
Do sweet potato slips need full sun during propagation?
During the water propagation phase, sweet potato slips need bright, indirect light rather than direct full sun. A sunny windowsill that receives morning light works perfectly. Too much direct afternoon sun can overheat the water and damage developing roots.
How many slips can I get from one sweet potato?
A single healthy sweet potato can produce 10-20 slips over multiple harvest cycles. After the first harvest, leave the potato in water and it will continue producing new sprouts for several weeks, though subsequent harvests yield fewer slips.
What's the difference between sweet potato slips and seedlings?
Sweet potatoes don't grow from seeds like most vegetables. Slips are sprouts that grow directly from the tuber, while seedlings would come from seeds (which sweet potatoes rarely produce). Slips are genetically identical to the parent potato, ensuring consistent variety characteristics.


 浙公网安备
33010002000092号
浙公网安备
33010002000092号 浙B2-20120091-4