
Make perfect crispy homemade potato chips in just 30 minutes with this professional method: thinly slice russet potatoes, soak in cold water for 30 minutes, dry thoroughly, and fry in 350°F (175°C) oil for 2-3 minutes until golden. Drain on paper towels and season immediately for restaurant-quality results every time.
The Secret to Crispy, Non-Greasy Homemade Potato Chips
Forget store-bought bags filled with preservatives and excess salt. Creating perfect potato chips at home gives you complete control over ingredients, texture, and flavor. As a culinary professional with years of experience teaching home cooks professional techniques, I've perfected a method that consistently delivers light, crispy chips without the soggy or burnt results that plague most amateur attempts.
What separates professional-quality homemade chips from disappointing failures? It's not just the recipe—it's understanding the food science behind each step. The key factors are potato selection, proper starch management, precise oil temperature control, and immediate seasoning. Get these right, and you'll never buy commercial chips again.
Essential Equipment Checklist
Before you begin, gather these kitchen tools for optimal results:
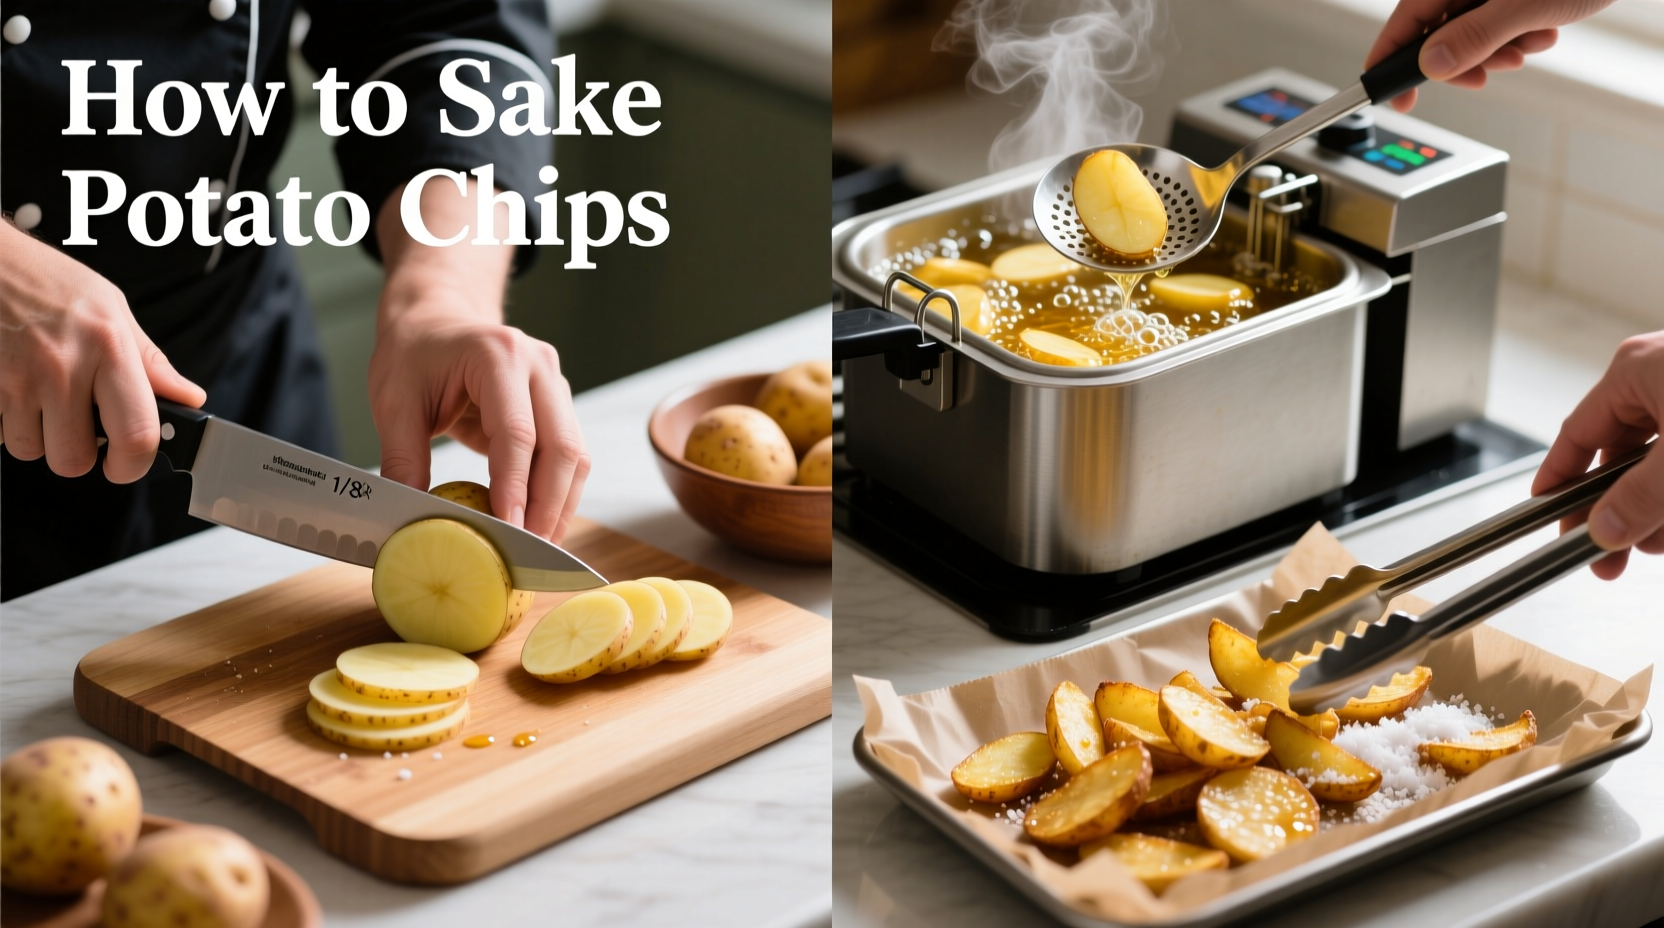
- Mandoline slicer (or sharp chef's knife for consistent 1/16-inch slices)
- Large mixing bowl for soaking
- Clean kitchen towels or paper towels
- Deep heavy-bottomed pot or Dutch oven
- Candy/deep-fry thermometer (critical for temperature control)
- Slotted spoon or spider strainer
- Rack-lined baking sheet for draining
Professional kitchens always use thermometers for frying—guessing leads to greasy or burnt chips. The American Heart Association confirms that maintaining proper oil temperature prevents excessive oil absorption, making your homemade chips potentially healthier than store-bought versions when prepared correctly.
Potato Selection: Why Variety Matters
Not all potatoes create equally crispy chips. The starch content directly impacts your final texture:
| Potato Variety | Starch Content | Best For | Chip Texture Result |
|---|---|---|---|
| Russet (Idaho) | High | Classic crispy chips | Light, shatteringly crisp |
| Yukon Gold | Medium | Thicker-cut chips | Slightly creamy interior |
| Red Potatoes | Low | Not recommended | Dense, chewy texture |
According to USDA agricultural research, russet potatoes contain 18-22% starch compared to 14-17% in Yukon Golds. This higher starch content creates the ideal structure for maximum crispiness when fried properly. For authentic kettle-style chips, russets are the professional choice.
The Critical Preparation Process
Slicing Technique
Consistent thickness is non-negotiable for even cooking. Use a mandoline set to 1/16-inch (1.5mm) for perfect uniformity. If using a knife, practice on scrap potatoes first. Inconsistent slices mean some chips will burn while others remain raw.
Soaking Science
After slicing, immediately submerge potatoes in cold water for 30 minutes minimum. This crucial step removes excess surface starch that would otherwise cause chips to stick together and create a greasy texture. Food science research from Cornell University's Food Science Department confirms that soaking reduces acrylamide formation by up to 50% while improving crispness.
Drying Perfection
After soaking, spread slices on clean kitchen towels and pat thoroughly dry. Any residual moisture causes dangerous oil splatter and prevents proper crisping. For best results, air-dry for 10 minutes after patting. Never skip this step—water and hot oil don't mix safely.
Frying Timeline: The 7-Minute Transformation
Follow this precise timeline for perfect results:
- 0-2 minutes: Heating oil to 350°F (175°C) - use thermometer
- 2-3 minutes: Adding first batch of potatoes (don't overcrowd!)
- 3-5 minutes: Initial frying - chips turn translucent
- 5-6 minutes: Color development - golden edges appear
- 6-7 minutes: Final crisping - bubbles slow significantly
- 7 minutes: Removal when bubbles almost stop
Overcrowding the pot drops oil temperature dramatically, leading to greasy chips. Fry in small batches (about 15-20 slices per batch for standard pots). The Maillard reaction—the chemical process creating that perfect golden color—occurs most effectively between 325-375°F (163-190°C).
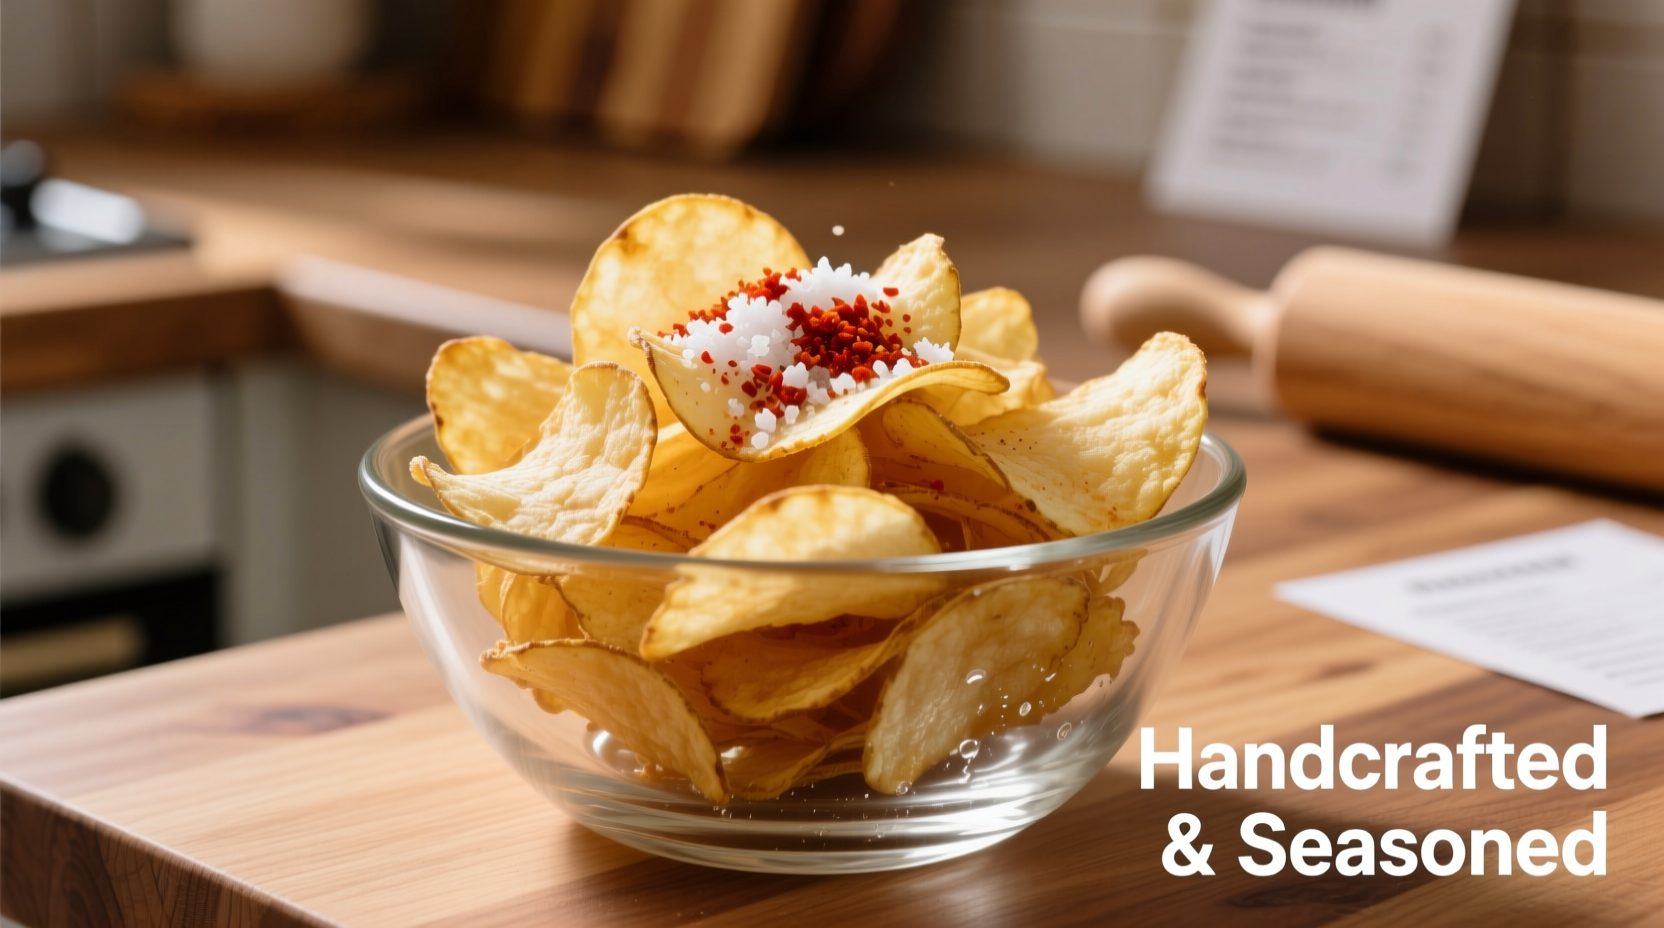
Pro Seasoning Techniques
Season immediately after draining while chips are still warm. The residual heat helps seasonings adhere. For classic salted chips:
- Use fine sea salt or kosher salt (coarse salt won't stick properly)
- Apply 1/4 teaspoon per batch while chips are still warm
- Toss gently in a large bowl for even distribution
For flavor variations, try these professional combinations:
- Truffle Parmesan: 1/2 tsp truffle salt + 1 tbsp grated Parmesan per batch
- Smoky Paprika: 1/4 tsp smoked paprika + 1/8 tsp garlic powder
- Vinegar & Salt: Spray with malt vinegar mist before salting
Safety First: Deep Frying Precautions
Deep frying requires careful attention to prevent accidents. Follow these safety boundaries:
- Never leave hot oil unattended (oil can reach 600°F/315°C)
- Keep a lid nearby to smother potential oil fires (never use water)
- Maintain oil level below 1/3 of pot capacity
- Use long utensils to prevent splatter burns
- Have baking soda nearby for small grease fires
The National Fire Protection Association reports that cooking oil fires cause over 15,000 home fires annually. Proper temperature control and never leaving hot oil unattended are non-negotiable safety practices.
Troubleshooting Common Problems
Even with careful preparation, issues can arise. Here's how to fix them:
- Soggy chips: Oil temperature too low or insufficient drying - reheat oil to 375°F and refry briefly
- Burnt edges: Oil too hot or overcrowded pot - lower temperature 10-15°F
- Uneven cooking: Inconsistent slice thickness - use mandoline for uniformity
- Excess oil: Didn't soak potatoes or oil temperature dropped - improve drying and fry in smaller batches
Proper Storage for Maximum Freshness
Homemade chips lack preservatives, so storage requires care:
- Cool completely before storing (trapped moisture causes sogginess)
- Use airtight containers with silica gel packets
- Store at room temperature away from light
- Consume within 3-5 days for best quality
Unlike commercial chips with added preservatives, homemade versions naturally lose crispness faster. For special occasions, make them the same day you'll serve them.
Why Homemade Beats Store-Bought Every Time
Creating your own potato chips offers significant advantages over commercial products:
- Control over ingredients (no preservatives or artificial flavors)
- Fresher taste with no stale oxidation
- Customizable thickness and flavor profiles
- Potentially healthier with better oil choices and less salt
- Satisfaction of creating something from scratch
With practice, you'll develop the timing intuition that makes perfect chips second nature. Start with the basic method, then experiment with different potato varieties and seasonings to create your signature version.


 浙公网安备
33010002000092号
浙公网安备
33010002000092号 浙B2-20120091-4