
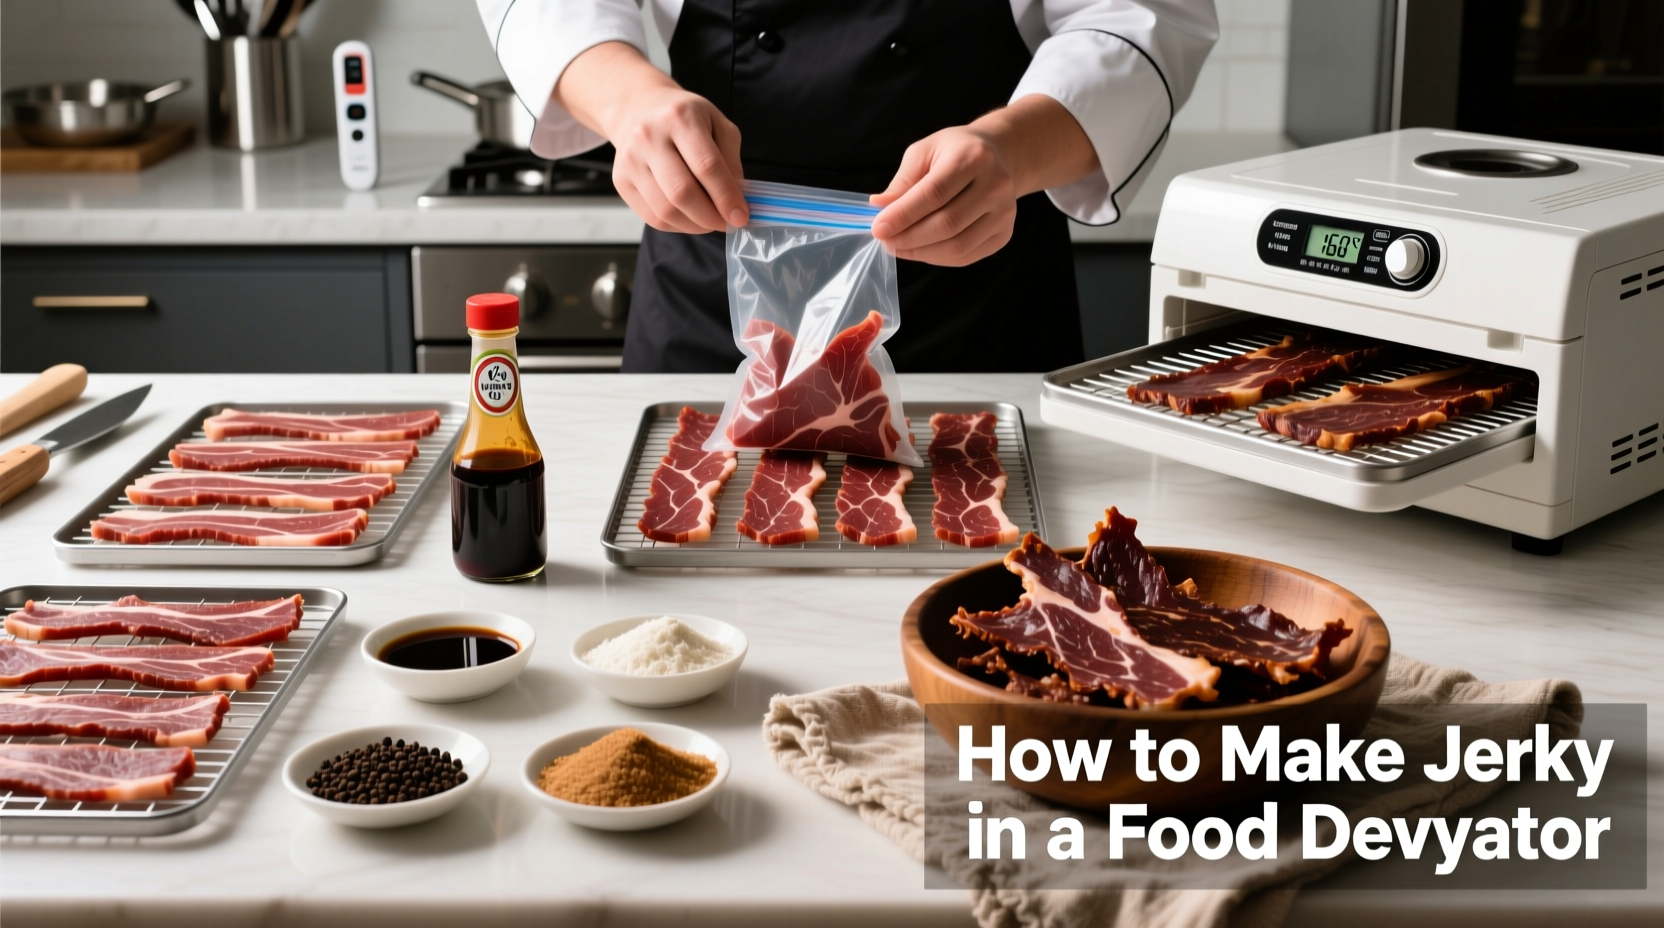
Transforming raw meat into shelf-stable, protein-packed jerky requires precise temperature control and timing. A food dehydrator provides the consistent low-heat environment essential for safe dehydration while preserving flavor. This comprehensive guide walks through each critical step using USDA Food Safety and Inspection Service protocols to ensure your homemade jerky meets food safety standards while delivering restaurant-quality results.
Why Your Dehydrator Method Matters for Food Safety
Improperly prepared jerky causes thousands of foodborne illness cases annually. The USDA recommends heating meat to 160°F (165°F for poultry) before dehydration to destroy harmful pathogens. Unlike oven methods that risk uneven heating, food dehydrators maintain precise temperatures throughout the drying process. This controlled environment reduces water activity to 0.70 or lower - the threshold where bacteria cannot multiply.
| Meat Type | Recommended Thickness | Dehydration Time | Visual Doneness Indicator |
|---|---|---|---|
| Beef (eye of round) | 1/8-1/4 inch | 5-7 hours | Bends without cracking |
| Turkey breast | 1/8 inch | 4-6 hours | Translucent appearance |
| Salmon | 1/4 inch | 6-8 hours | Peels in layers |
Your Jerky Preparation Checklist
Successful jerky starts long before the dehydrator turns on. Professional meat processors follow these preparation protocols to ensure consistent results:
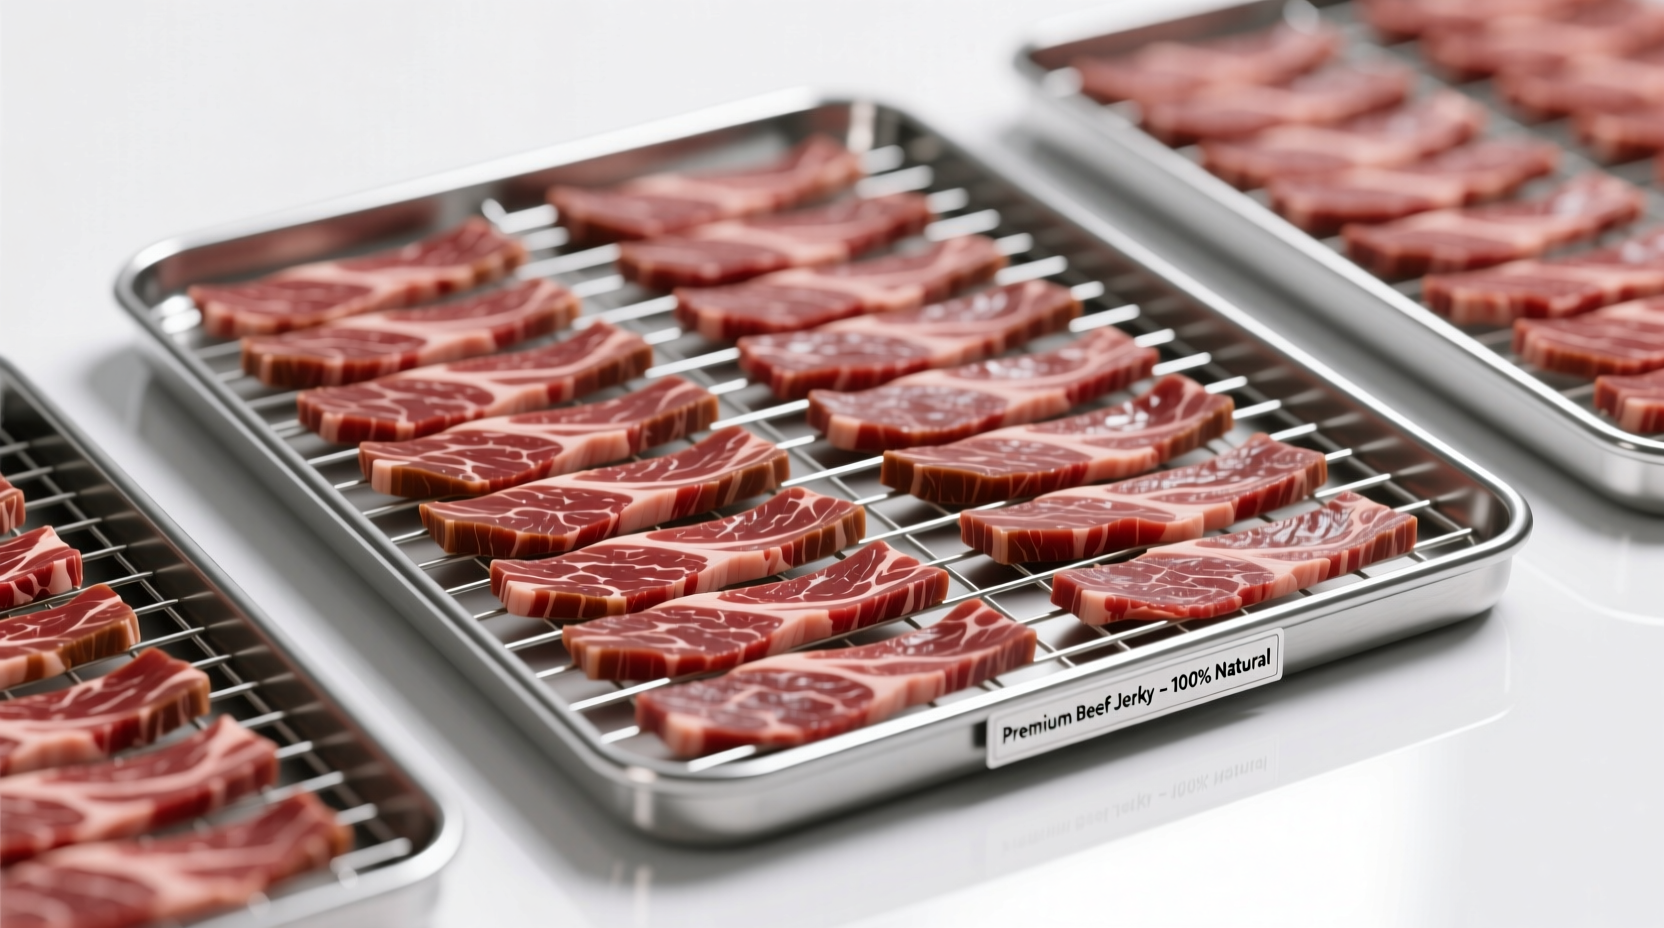
Meat Selection and Preparation
- Choose lean cuts with minimal marbling (fat doesn't dehydrate properly and causes spoilage)
- Slice against the grain for tender jerky or with the grain for chewier texture
- Uniform thickness is critical - use a meat slicer or freeze meat for 60 minutes for cleaner cuts
- Pre-freeze meat for 1-2 hours to facilitate precise slicing
Marinating for Flavor and Safety
Marination serves dual purposes: flavor development and acid-based pathogen reduction. The National Center for Home Food Preservation recommends including acidic components like vinegar or citrus juice in marinades. For optimal results:
- Marinate for 4-24 hours in refrigerator (never at room temperature)
- Maintain 40°F or below during marination
- Discard used marinade - never reuse
- Include 1-2 tablespoons of liquid smoke per pound for authentic flavor
Step-by-Step Dehydration Process
Pre-Dehydration Pathogen Elimination
Skipping this critical step risks foodborne illness. Modern food science has evolved from traditional dehydration methods that relied solely on drying time:
- Preheat dehydrator to 165°F
- Arrange marinated strips on trays without overlapping
- Heat meat to 160°F internal temperature (165°F for poultry) using a calibrated instant-read thermometer
- Maintain this temperature for at least 10 minutes before reducing to drying temperature
This two-stage process follows USDA guidelines for destroying E. coli and Salmonella while preserving texture. Home dehydrators with adjustable thermostats make this protocol achievable without specialized equipment.
Drying Phase: Precision Timing and Monitoring
After the initial heating phase, reduce temperature to 130-140°F for the drying phase. Monitor these critical indicators:
- Texture test: Properly dried jerky bends and cracks slightly but doesn't snap
- Visual inspection: No moisture beads when bent
- Cool-down test: Let a piece cool for 1 minute - it should remain pliable
Dehydration time varies based on meat thickness, humidity, and dehydrator model. Never rely solely on timing - always perform physical doneness tests. Over-drying creates brittle, unpleasant jerky while under-drying risks spoilage.
Storage and Shelf Life Optimization
Proper storage determines how long your jerky remains safe to eat. The University of Minnesota Extension confirms that correctly prepared jerky stored in airtight containers:
- Stays fresh for 1-2 months at room temperature
- Maintains quality for 6-12 months in the freezer
- Requires refrigeration after opening if consumed over multiple days
Include oxygen absorbers in storage containers to extend shelf life. Never store jerky in direct sunlight or near heat sources, which accelerate spoilage. Always inspect for mold or off odors before consumption - when in doubt, throw it out.
Troubleshooting Common Jerky Problems
| Problem | Most Likely Cause | Professional Solution |
|---|---|---|
| Jerky too tough | Over-drying or slicing with the grain | Reduce drying time by 30-60 minutes; slice against the grain next batch |
| Jerky too moist | Insufficient drying time or humidity issues | Return to dehydrator for additional 30-60 minutes; ensure proper air circulation |
| Uneven drying | Inconsistent thickness or overcrowded trays | Rotate trays hourly; maintain uniform slice thickness |
| Bitter flavor | Excessive curing salt or smoke flavoring | Reduce sodium nitrite to 1/4 teaspoon per 5 pounds meat |
Advanced Techniques for Gourmet Results
Professional jerky makers use these methods to elevate flavor profiles while maintaining safety standards:
- Temperature ramping: Start at 145°F for 2 hours, then reduce to 135°F for remaining time
- Mid-process flipping: Rotate strips after first 2 hours for even drying
- Flavor layering: Apply dry rub after initial heating phase for better adhesion
- Humidity control: Place a small bowl of water in dehydrator for first hour to prevent case hardening
Remember that jerky continues to dry slightly after removal from the dehydrator. Remove strips when they're slightly more pliable than your desired final texture. Let them rest in a paper bag for 1-2 hours to equalize moisture before storage.


 浙公网安备
33010002000092号
浙公网安备
33010002000092号 浙B2-20120091-4