
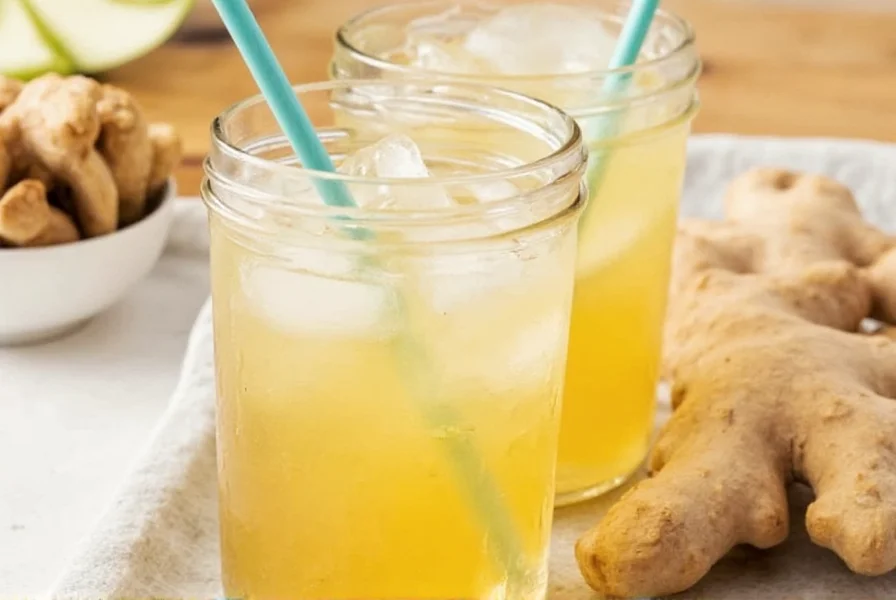
Yes, you can make ginger ale at home using fresh ginger root, sugar, water, and optionally a fermentation starter like yeast or ginger bug for traditional fermented ginger ale. The process takes 2-5 days depending on the method, yielding a naturally carbonated beverage with no artificial preservatives or colors.
Creating homemade ginger ale offers a refreshing alternative to store-bought versions filled with artificial ingredients. Whether you're seeking digestive benefits, a natural soda option, or simply want to craft your own beverages, this guide provides everything you need to make perfect ginger ale from scratch. Unlike commercial varieties that often contain high fructose corn syrup and artificial flavors, homemade ginger ale lets you control the ingredients and spice level to match your preferences.
The Traditional Ginger Ale Recipe
For authentic, naturally carbonated ginger ale with subtle effervescence, the fermented method produces superior flavor and texture. This approach requires slightly more time but delivers complex flavors you can't achieve with quick methods.
| Ingredient | Amount | Notes |
|---|---|---|
| Fresh ginger root | 1 cup, grated | Peel with spoon for minimal waste |
| Filtered water | 4 cups + 2 quarts | Chlorine-free for proper fermentation |
| Organic cane sugar | ¾ cup | Adjust to taste preference |
| Lemon juice | 2 tablespoons | Freshly squeezed preferred |
| Ginger bug or yeast | ¼ cup or ⅛ tsp | For fermentation (optional for non-alcoholic) |
Step-by-Step Ginger Ale Preparation
Follow these detailed instructions for perfect ginger ale every time. This method produces a naturally carbonated beverage with balanced spice and sweetness.
- Prepare ginger syrup: Combine 1 cup grated ginger, 4 cups water, and ¾ cup sugar in a saucepan. Bring to a gentle simmer (do not boil vigorously), then remove from heat after 10 minutes. Let steep for 1 hour.
- Strain mixture: Pour through a fine-mesh sieve, pressing ginger pulp to extract maximum flavor. Discard solids and let liquid cool to room temperature.
- Add fermentation starter: For traditional fermented ginger ale, stir in ¼ cup ginger bug or ⅛ tsp champagne yeast. For non-alcoholic version, skip this step and proceed to bottling with lemon juice.
- Bottle: Pour mixture into clean glass bottles with tight-sealing lids, leaving 1-2 inches of headspace. Plastic bottles work well for monitoring carbonation.
- Ferment: Store at room temperature away from direct sunlight. Check daily - traditional ginger ale typically carbonates in 2-5 days. Shake gently to check carbonation level.
- Refrigerate: Once desired carbonation is reached, refrigerate to slow fermentation. Consume within 2 weeks for best flavor.

Creating a Ginger Bug Starter
For authentic fermented ginger ale without commercial yeast, a ginger bug provides natural fermentation. This wild yeast culture develops complex flavors while maintaining safety.
Combine 2 tablespoons grated ginger, 2 tablespoons sugar, and 1 cup filtered water in a clean jar. Stir daily and feed with additional 1 tablespoon ginger and sugar each day. After 5-7 days, when bubbles form consistently, your ginger bug is ready to use. Store in the refrigerator between uses, feeding weekly.
Safety Considerations for Home Fermentation
While making ginger ale at home is generally safe, proper technique prevents issues. Always use clean equipment and filtered water to avoid contamination. When using plastic bottles, release pressure daily to prevent over-pressurization. Discard any batch with mold, off smells, or unusual colors. The ideal fermentation temperature range is 68-75°F (20-24°C) - too warm encourages unwanted bacteria.
Troubleshooting Common Ginger Ale Issues
Not carbonated: Extend fermentation time or ensure proper headspace in bottles. Temperature below 65°F slows fermentation significantly.
Too spicy: Reduce ginger quantity in next batch or strain mixture through cheesecloth for smoother flavor.
Too sweet: Allow additional fermentation time for yeast to consume more sugar, or reduce sugar in initial recipe.
Vinegar taste: Indicates over-fermentation. Refrigerate immediately and consume sooner next time.
Variations to Customize Your Ginger Ale
Once you've mastered the basic recipe, experiment with these popular variations:
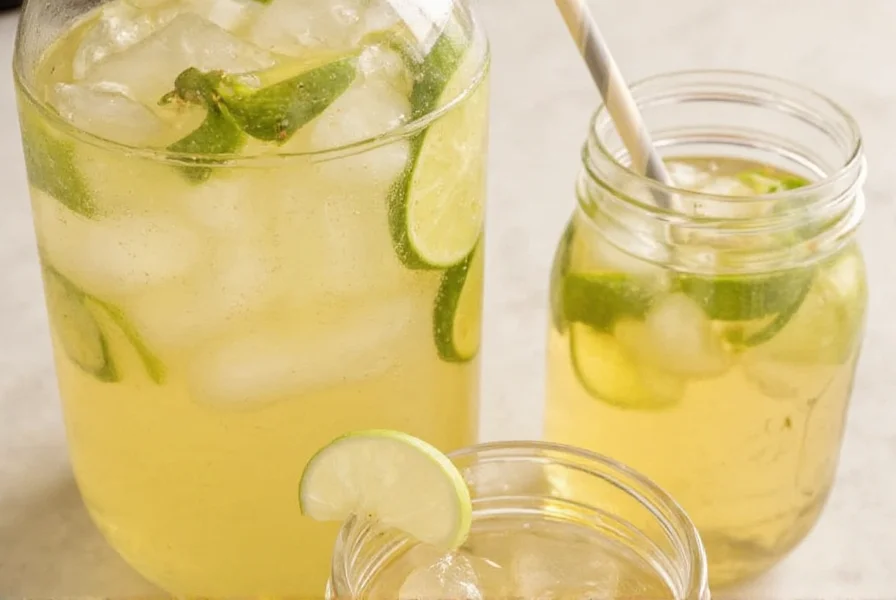
- Lemon-ginger fusion: Add zest of 2 lemons during syrup preparation for citrus notes
- Turmeric boost: Include 1 tablespoon grated turmeric for anti-inflammatory benefits
- Mint refreshment: Steep 10 fresh mint leaves during cooling phase
- Spiced version: Add 2 cinnamon sticks and 4 whole cloves during simmering
- Non-alcoholic quick method: Skip fermentation, add carbonated water to cooled ginger syrup
Storing and Serving Homemade Ginger Ale
Refrigeration slows but doesn't stop fermentation, so consume within 2 weeks for optimal flavor and safety. Serve chilled over ice with a lemon wedge. For cocktail applications, the traditional fermented version works beautifully in Moscow Mules or Dark and Stormies. The non-alcoholic version makes an excellent base for mocktails or simply enjoyed on its own.
When opening fermented ginger ale, do so over a sink as pressure may cause foaming. Gently pour to minimize disturbing sediment at the bottom of the bottle. For clearer presentation, carefully decant into another container, leaving sediment behind.


 浙公网安备
33010002000092号
浙公网安备
33010002000092号 浙B2-20120091-4