
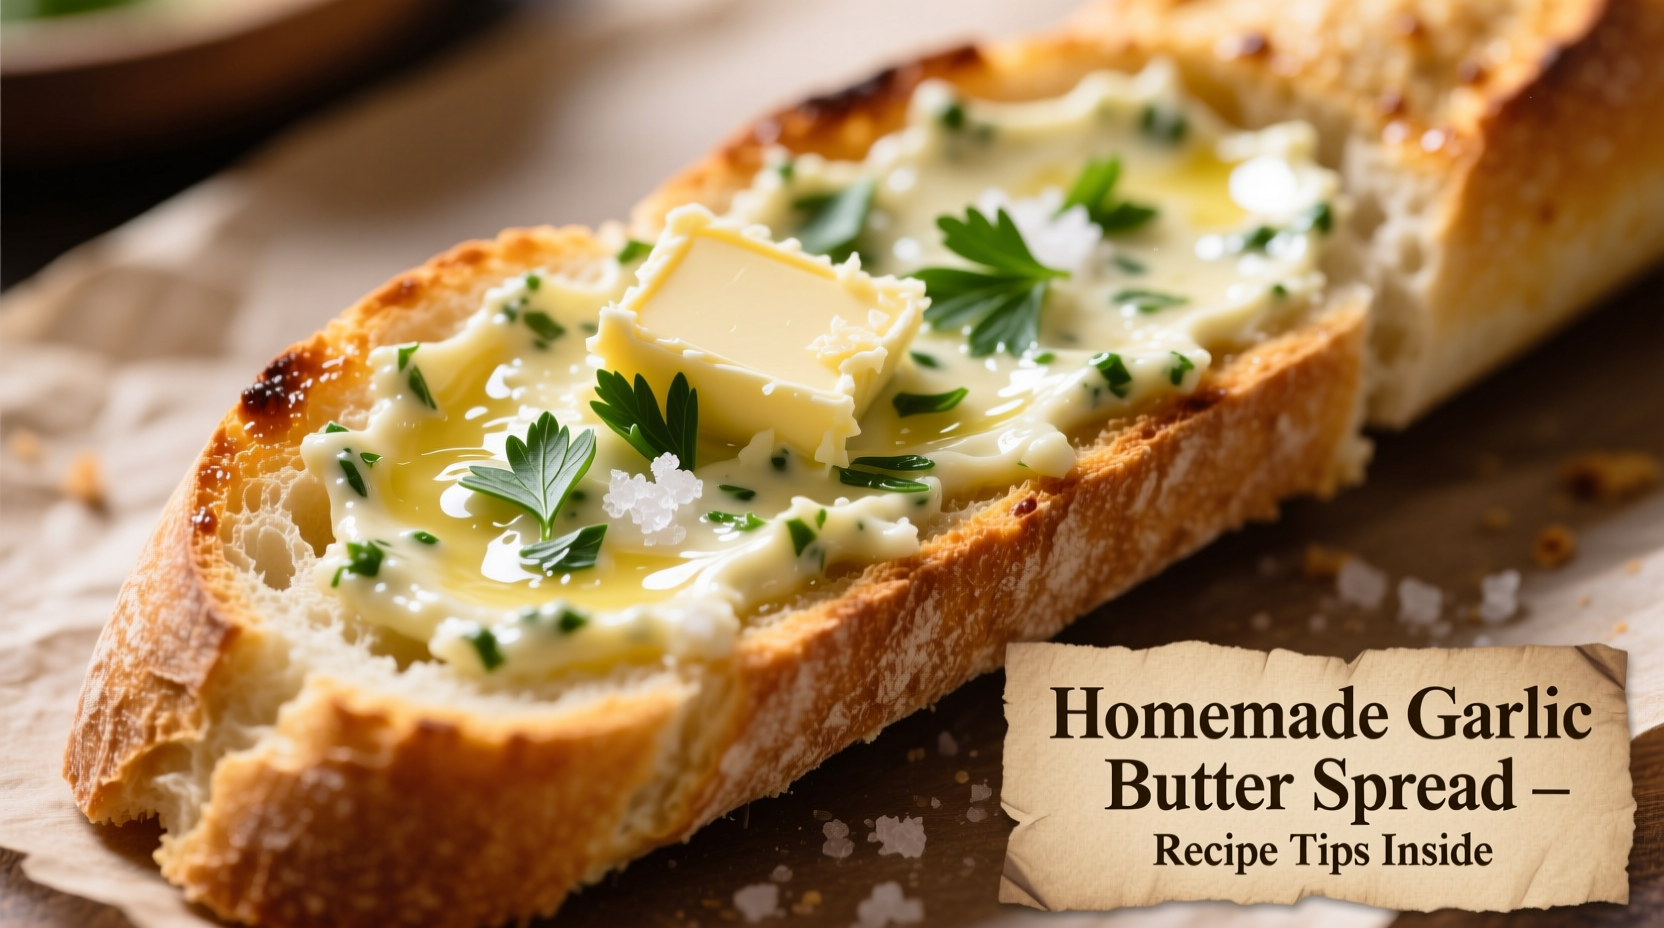
Garlic bread spread transforms ordinary loaves into aromatic delights with minimal effort. Whether you're preparing a quick weeknight side or impressing guests at a dinner party, this versatile condiment elevates simple bread through the magic of fresh garlic and quality ingredients. Professional chefs rely on this foundational spread for its reliability and adaptability across countless culinary applications.
Essential Ingredients for Perfect Garlic Bread Spread
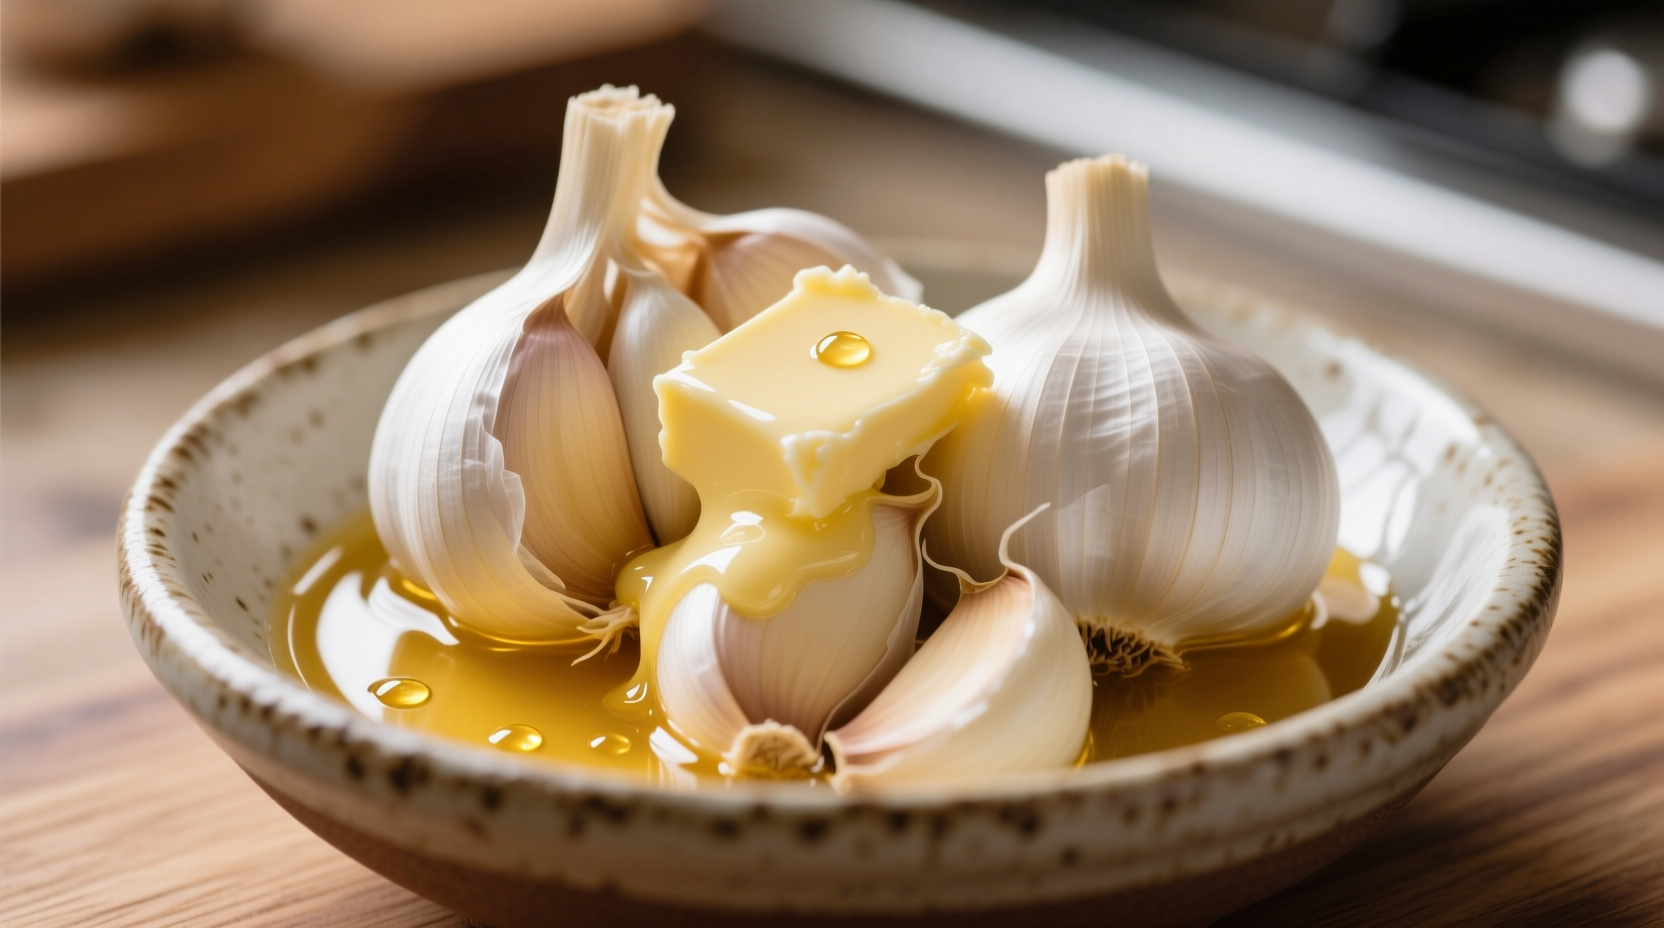
The foundation of exceptional garlic bread spread lies in ingredient quality and precise ratios. Using fresh rather than powdered garlic creates a more complex flavor profile that develops beautifully when heated.
| Ingredient | Measurement | Preparation Method |
|---|---|---|
| Unsalted butter | 1 cup (2 sticks) | Room temperature |
| Fresh garlic | 6-8 cloves | Finely minced |
| Fresh parsley | 3 tablespoons | Finely chopped |
| Grated Parmesan | 2 tablespoons | Freshly grated |
| Salt | 1/2 teaspoon | To taste |
According to the U.S. Food and Drug Administration's food safety guidelines, proper ingredient handling prevents cross-contamination. Always use separate cutting boards for garlic and other ingredients, and ensure butter reaches room temperature safely by leaving it out no longer than two hours.
Step-by-Step Preparation Process
Follow these professional techniques to create garlic bread spread with balanced flavor and perfect texture:
- Prepare the garlic - Mince cloves finely using a sharp knife rather than a press, which can create bitter compounds through oxidation
- Combine ingredients - In a medium bowl, mix softened butter, garlic, parsley, Parmesan, salt, and optional red pepper flakes
- Whip thoroughly - Use a fork or small whisk to incorporate air, creating a light, spreadable consistency
- Rest the mixture - Cover and refrigerate for at least 30 minutes to allow flavors to meld
- Final texture check - Before using, ensure spread reaches room temperature for easy application
Application Techniques for Maximum Flavor
How you apply your garlic bread spread significantly impacts the final result. Professional bakers recommend these methods:
- Slicing approach - For baguettes, slice partially through the bread at 1-inch intervals, then spread mixture into each cut
- Top-only method - For softer breads, spread only on top surface before broiling to prevent sogginess
- Temperature control - Bake at 375°F (190°C) for 10-12 minutes until golden but not burnt
- Broiler finish - For extra crispness, broil for final 1-2 minutes while watching carefully
Storage Guidelines and Shelf Life
Proper storage maintains both food safety and flavor quality. The USDA Food Safety and Inspection Service recommends these guidelines for homemade garlic butter:
- Refrigerated: Store in airtight container for up to 1 week
- Freezer: Portion into ice cube trays, then transfer to freezer bags for up to 3 months
- Never leave garlic butter at room temperature for more than 2 hours
- Always use clean utensils when handling to prevent contamination
Popular Variations to Customize Your Spread
Adapt this basic recipe to match different culinary traditions and preferences:
- Mediterranean style - Add 1 teaspoon lemon zest and 1/2 teaspoon dried oregano
- Spicy arrabbiata - Incorporate 1/4 teaspoon crushed red pepper and 1/2 teaspoon smoked paprika
- Cheesy version - Increase Parmesan to 1/4 cup and add 2 tablespoons shredded mozzarella
- Herb garden blend - Mix equal parts parsley, basil, and chives for complex herbal notes
Troubleshooting Common Issues
Address these frequent garlic bread spread challenges with professional solutions:
- Bitter garlic flavor - Use fresh garlic and avoid pressing; mince by hand and let rest 10 minutes before mixing
- Spread too hard - Ensure butter reaches proper room temperature (65-70°F) before mixing
- Burnt garlic - Reduce oven temperature and cover bread loosely with foil during baking
- Uneven distribution - Use piping bag for precise application between bread slices
Historical Context of Garlic Bread
Garlic bread spread evolved from ancient Mediterranean traditions where olive oil and garlic were rubbed on bread as a basic seasoning. The modern butter-based version emerged in mid-20th century America as Italian immigrants adapted their recipes using locally available ingredients. According to culinary historians at the National Food Safety Information Center, the shift from olive oil to butter created a richer texture that appealed to American palates while maintaining the essential garlic flavor profile.
When This Spread Works Best
Understanding context boundaries ensures optimal results. This garlic bread spread performs exceptionally well with:
- Crisp baguettes and artisan breads with sturdy structure
- As a finishing touch for grilled meats and seafood
- As a base for bruschetta toppings
- With tomato-based pasta dishes where garlic complements the sauce
Avoid using this spread with delicate breads like brioche that may become soggy, or with dishes featuring competing strong flavors like blue cheese that overwhelm the garlic notes.


 浙公网安备
33010002000092号
浙公网安备
33010002000092号 浙B2-20120091-4