

Authentic garlic aioli requires just 4 essential ingredients: fresh garlic, high-quality olive oil, egg yolks, and lemon juice. The traditional preparation method takes 15 minutes and yields a creamy, emulsified sauce with balanced garlic flavor. Proper technique—slow oil incorporation and gradual emulsification—is critical for success. This recipe makes approximately 1 cup of aioli with a shelf life of 5-7 days when refrigerated properly.
Creating perfect garlic aioli isn't just about mixing ingredients—it's mastering the delicate emulsion process that transforms simple components into a luxurious sauce. As a French-trained chef with expertise in traditional European preparations, I've perfected this recipe through years of practice in Provence kitchens where aioli remains a cultural staple. Forget store-bought versions with artificial flavors; this authentic method delivers complex garlic notes without overwhelming heat, creamy texture without separation issues, and versatility that elevates everything from seafood to roasted vegetables.
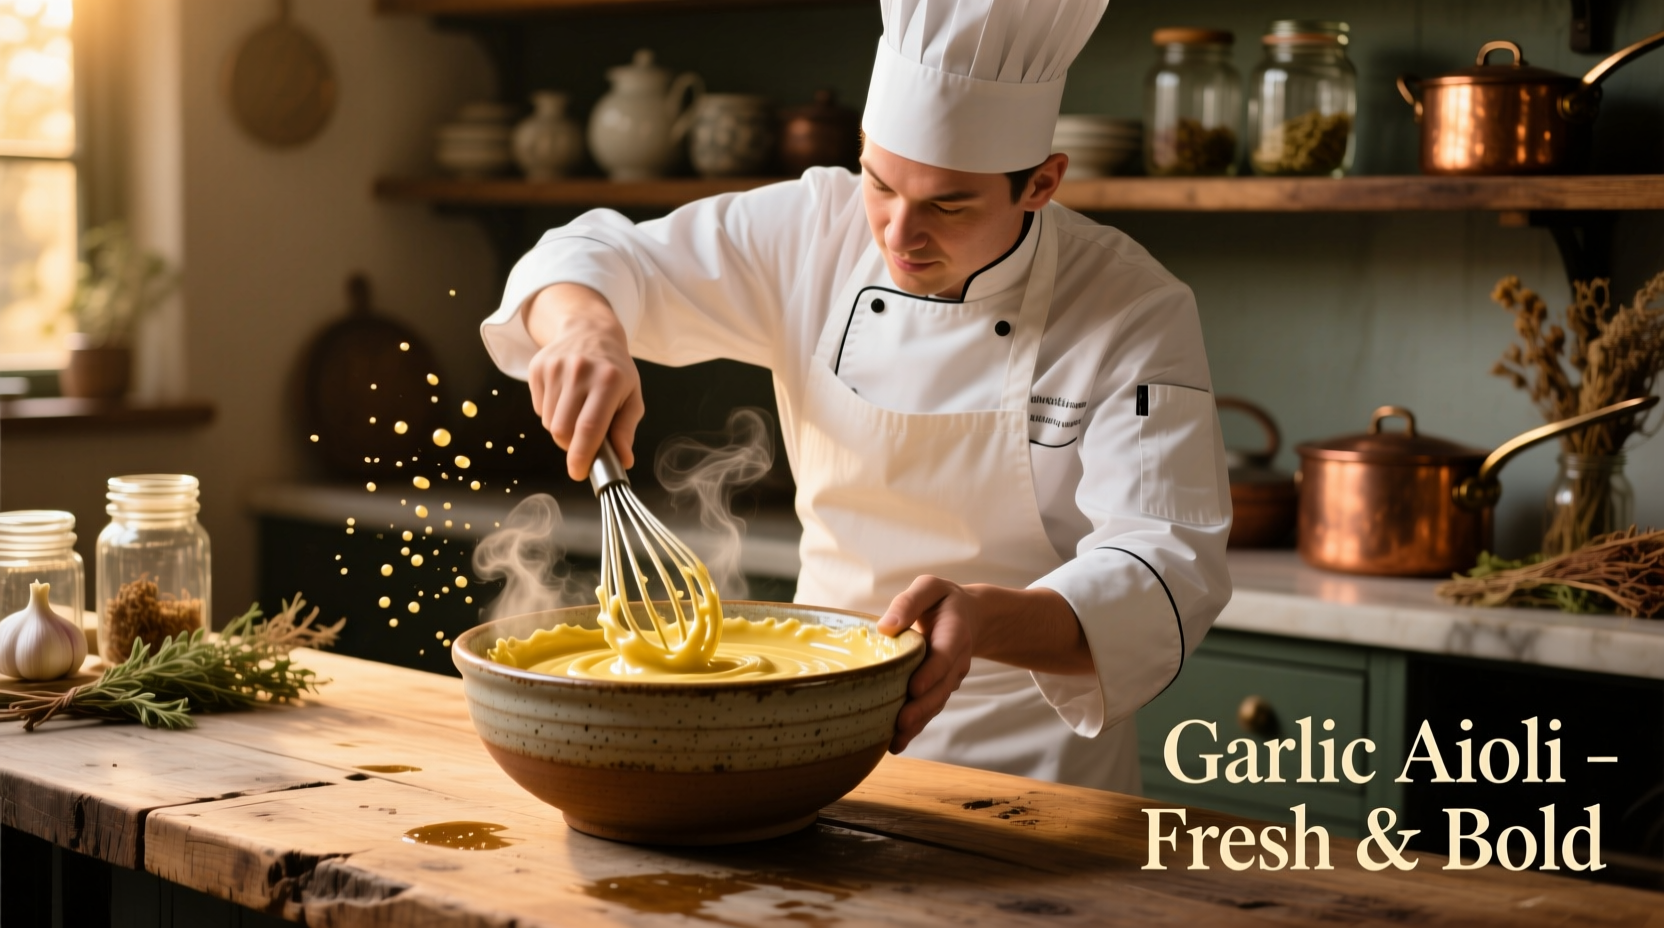
Why This Garlic Aioli Recipe Works
Unlike commercial mayonnaise-based "aioli" products, true aioli follows centuries-old Mediterranean tradition. The key difference lies in the emulsification technique and ingredient ratios. According to culinary historian Alan Davidson's Mediterranean Seafood (University of California Press, 2010), traditional aioli originated in coastal regions where garlic and olive oil were abundant. The mortar-and-pestle preparation wasn't just tradition—it created a more stable emulsion by thoroughly breaking down garlic cells before oil incorporation.
| Traditional Aioli | Commercial "Aioli" | Mayonnaise |
|---|---|---|
| Garlic, olive oil, egg yolk | Mayonnaise + garlic powder | Egg yolk, vegetable oil, vinegar |
| Mortar & pestle preparation | Machine emulsification | Machine emulsification |
| Intense fresh garlic flavor | Muted garlic notes | No garlic flavor |
| Golden yellow color | Pale yellow | White |
Essential Ingredients Explained
Your ingredient selection directly impacts final texture and flavor. Don't substitute without understanding these critical components:
Garlic Selection and Preparation
Fresh, firm garlic cloves with tight skins deliver the best flavor. Older garlic develops bitter compounds as allicin breaks down. For optimal results, use 2-3 large cloves per cup of finished aioli. Crush cloves with salt using the flat side of your knife before mincing—this releases flavor compounds while neutralizing harshness. According to research published in the Journal of Agricultural and Food Chemistry (2018), crushing garlic and waiting 10 minutes before use maximizes beneficial compounds while mellowing raw bite.
Olive Oil Matters
Choose a high-quality extra virgin olive oil with moderate fruitiness—not too peppery, not too mild. Intensely bitter oils overwhelm delicate garlic notes. Spanish Arbequina or Greek Koroneiki varieties work perfectly. Never use refined olive oil; the processing removes flavor compounds essential to authentic aioli. Remember that 75% of your aioli's flavor comes from this single ingredient.
Equipment Considerations
While traditional mortar-and-pestle preparation creates superior texture, modern kitchens offer practical alternatives:
- Mortar and pestle (ideal): Creates most stable emulsion through gradual incorporation
- Whisk and bowl (recommended): Requires patience but yields excellent results
- Food processor (acceptable): Risk of over-processing but convenient for larger batches
Avoid blenders—they incorporate too much air, creating unstable emulsions. When using a whisk, choose a heavy-bottomed bowl that won't slide on your counter.
Step-by-Step Preparation Guide
Follow these precise steps for guaranteed success. The critical emulsification phase requires patience—rushing this stage causes separation.
Phase 1: Garlic Base Preparation (3 minutes)
- Peel 2-3 large garlic cloves
- Sprinkle with ¼ teaspoon fine sea salt
- Crush into paste using flat knife side
- Transfer to bowl with 1 large egg yolk and 1 teaspoon lemon juice
- Whisk vigorously until pale yellow (about 1 minute)
Phase 2: Emulsification Process (7 minutes)
This stage makes or breaks your aioli. Temperature consistency between ingredients prevents separation.
- Start with ¼ cup mild extra virgin olive oil at room temperature
- Add 10-15 drops initially while whisking constantly
- Once emulsion forms (thickened consistency), increase to thin stream
- Maintain steady whisking motion in one direction
- After ½ cup incorporated, alternate with ½ teaspoon lemon juice
- Continue until reaching desired consistency (about 1 cup total oil)
Phase 3: Final Adjustments (2 minutes)
Taste and refine your sauce:
- Add salt incrementally (¼ teaspoon at a time)
- Adjust acidity with lemon juice (½ teaspoon increments)
- For thinner consistency, whisk in ice water (1 teaspoon at a time)
- Cover surface with plastic wrap touching the aioli to prevent skin formation
Troubleshooting Common Issues
Even experienced cooks encounter problems. These solutions come from decades of professional kitchen experience:
If Your Aioli Breaks
Separation occurs when oil incorporates too quickly. Fix it with:
- Place 1 teaspoon lemon juice or water in clean bowl
- Slowly whisk broken aioli into this base
- Add 1-2 teaspoons at time until re-emulsified
Managing Garlic Intensity
Raw garlic can become overpowering. For milder flavor:
- Soak minced garlic in lemon juice for 10 minutes before use
- Use roasted garlic for sweeter, more complex notes
- Balance with additional acid if too sharp
Storage and Serving Recommendations
Proper handling maintains quality and safety:
- Refrigerate immediately in airtight container
- Consume within 5 days (egg content limits shelf life)
- Never leave at room temperature more than 2 hours
- Stir gently before serving if separation occurs
Traditional pairings include:
- Accompanying grilled fish or seafood
- Dipping sauce for artichokes or asparagus
- Base for salad dressings (thin with vinegar)
- Spread for sandwiches (especially with roasted vegetables)
Variations for Different Occasions
Once you've mastered the classic version, try these authentic adaptations:
Provençal Style
Add 2 tablespoons of Dijon mustard and 1 minced anchovy fillet during emulsification for a richer, more complex sauce traditionally served with bourride (fish stew).
Roasted Garlic Version
Substitute raw garlic with 6-8 cloves of roasted garlic for sweeter, mellower flavor. This variation works particularly well with roasted meats and root vegetables.
Expert Tips for Consistent Success
Professional techniques that guarantee perfect aioli every time:
- Bring all ingredients to room temperature before starting
- Use a whisk with flexible wires for better emulsion
- Work in a cool kitchen (above 75°F increases separation risk)
- For extra stability, add ½ teaspoon mustard powder to base mixture
- When using food processor, start with completely cold bowl


 浙公网安备
33010002000092号
浙公网安备
33010002000092号 浙B2-20120091-4