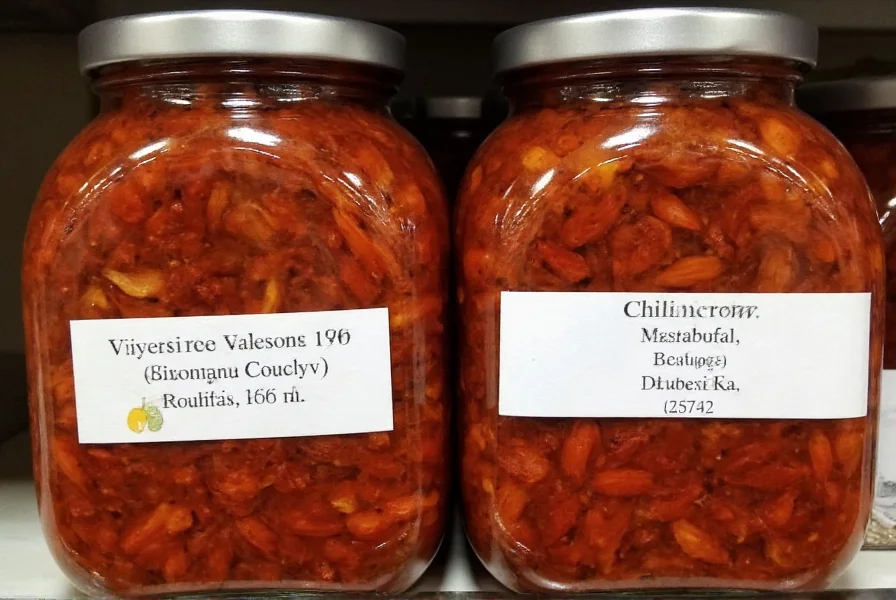
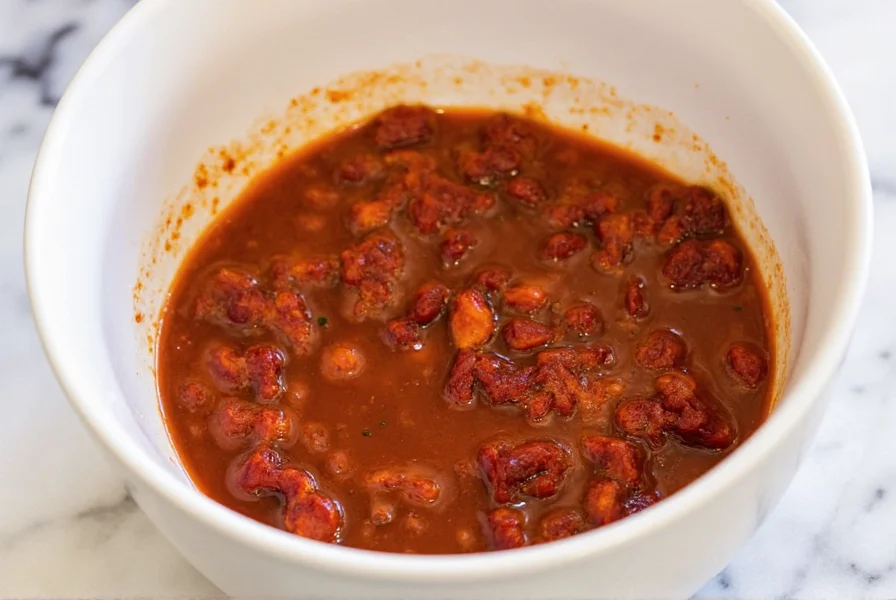
To make authentic chili crisp at home, combine 1 cup vegetable oil with 1½ cups dried chilies, 3 star anise, 4 cloves garlic, 2 tbsp Sichuan peppercorns, and 1 tbsp ginger. Heat oil to 250°F (121°C), pour slowly over spice mixture, then let steep 24 hours. Strain and store in airtight containers. This traditional Chinese condiment requires precise oil temperature control and quality ingredients for optimal flavor and shelf stability.
Chili crisp has evolved from a regional Chinese condiment to a global pantry staple, but nothing compares to homemade versions. Commercial products often contain preservatives and lack the nuanced flavor layers achievable through careful preparation. This guide reveals the authentic technique perfected over generations in Sichuan province, focusing on ingredient quality, precise temperature control, and proper steeping time to create a complex, aromatic oil with balanced heat and umami.
The Essential Components of Authentic Chili Crisp
Understanding each ingredient's role transforms chili crisp from a simple hot oil into a sophisticated flavor enhancer. Unlike store-bought versions that rely on artificial flavorings, authentic homemade chili crisp builds complexity through carefully selected components:
| Ingredient | Function | Quality Indicators | Substitution Notes |
|---|---|---|---|
| Refined vegetable oil | Neutral carrier that extracts flavors without overpowering | Light color, no strong aroma | Avoid olive oil (low smoke point); peanut oil acceptable |
| Dried chilies (Facing Heaven variety) | Provides heat and fruitiness | Bright red color, pliable texture | Arbol chilies work but lack complexity |
| Sichuan peppercorns | Creates signature mouth-numbing sensation | Purple-red hue, strong citrus aroma | Regular peppercorns won't replicate the effect |
| Fried shallots/garlic | Adds sweetness and depth | Golden brown, crisp texture | Fresh produces better flavor than powdered |
Equipment Requirements for Perfect Chili Crisp
While basic kitchen tools suffice, specific equipment ensures consistent results when learning how to make chili crisp from scratch. A candy thermometer proves essential for monitoring oil temperature—critical for extracting flavors without burning. Glass or ceramic mixing bowls withstand the hot oil better than plastic. Fine-mesh strainers (at least 0.5mm weave) separate solids effectively. Dark glass jars with tight seals preserve freshness by blocking light.
Step-by-Step Preparation Guide
Follow this detailed process for the best homemade chili crisp recipe that captures authentic Sichuan flavors:
- Prepare ingredients: Toast 1 tbsp Sichuan peppercorns and 3 star anise in dry pan over medium heat for 2 minutes until fragrant. Cool completely. Finely chop 4 garlic cloves and 1 tbsp fresh ginger.
- Heat oil properly: Combine 1 cup refined vegetable oil with 1½ cups dried chilies (stemmed and broken) in saucepan. Heat slowly to 250°F (121°C), monitoring with thermometer. This precise chili crisp oil temperature guide prevents scorching.
- Layer flavors: Remove oil from heat. Wait 2 minutes, then add toasted spices, garlic, and ginger. The brief cooling period prevents immediate burning of delicate aromatics.
- Steep correctly: Cover and let mixture steep at room temperature for 24 hours. This extended contact time extracts maximum flavor compounds without degradation.
- Strain and store: Filter through fine-mesh strainer lined with cheesecloth. Press solids gently to extract remaining oil. Transfer to sterilized jars, leaving 1-inch headspace.
Troubleshooting Common Issues
Even experienced makers encounter challenges with how to make chili crisp without fermentation problems. Address these frequent issues:
- Oil separation: Occurs when water content from fresh ingredients remains. Solution: Ensure all fresh components (garlic, ginger) are thoroughly dried before use.
- Bitter flavor: Results from overheating oil. Prevention: Never exceed 275°F (135°C) and allow oil to cool slightly before adding aromatics.
- Short shelf life: Caused by improper sterilization. Fix: Heat jars in boiling water for 10 minutes before filling and ensure headspace remains during storage.
Storage Guidelines and Shelf Life
Understanding how long does homemade chili crisp last ensures both safety and optimal flavor. Properly prepared and stored chili crisp maintains quality for 3-4 months at room temperature. Refrigeration extends shelf life to 6 months but may cause temporary cloudiness (resolves at room temperature). Always use clean, dry utensils when serving to prevent contamination. Discard if you notice mold, off odors, or significant color changes.

Creative Culinary Applications
Move beyond basic dipping with these innovative uses for your authentic chili crisp ingredients creation:
- Stir 1 tablespoon into ramen broth during the last minute of cooking
- Marinate tofu or chicken by combining equal parts chili crisp and soy sauce
- Enhance roasted vegetables by tossing with 2 teaspoons before serving
- Create instant dipping sauce by mixing with honey and rice vinegar
- Add depth to salad dressings by replacing half the oil with chili crisp
Regional Variations Worth Exploring
While the Sichuan version remains most popular, regional Chinese variations offer distinct flavor profiles. Guizhou chili crisp incorporates fermented soybeans for umami depth. Yunnan style features wild mushrooms and more pronounced numbing spice. For those exploring traditional Chinese chili crisp recipe adaptations, consider these authentic modifications:
- Add 1 tbsp fermented black beans for coastal Chinese variation
- Include 2 dried shrimp for Southeastern coastal flavor profile
- Substitute 25% of chilies with dried tangerine peel for aromatic complexity
- Incorporate 1 tsp mushroom powder for vegetarian umami boost
Frequently Asked Questions
Can I make chili crisp without a thermometer?
While a thermometer ensures precision, experienced cooks can use the wooden spoon test: dip a wooden spoon handle into the oil. When small bubbles form steadily around the spoon (not violently), the oil has reached the ideal 250°F temperature for pouring over spices. This method requires practice to master.
Why does my homemade chili crisp taste bitter?
Bitterness typically results from overheating the oil or burning the spices. The critical temperature range is 240-260°F (115-127°C). Exceeding 275°F causes chilies to scorch. Always remove oil from heat and wait 2 minutes before adding delicate ingredients like garlic and ginger to prevent burning.
How can I adjust the heat level in chili crisp?
Control heat by selecting different chili varieties. For milder versions, use 50% Facing Heaven chilies and 50% milder Tibetan chilies. For extra heat, add a small amount of Bhut Jolokia powder (1/4 tsp per cup of oil). Remember that heat perception increases over the first 48 hours of steeping, so adjust conservatively.
Is it safe to store chili crisp at room temperature?
Yes, properly prepared chili crisp with sufficient oil content (minimum 70% oil by volume) and no fresh ingredients with high water content can be safely stored at room temperature for 3-4 months. The high oil content creates an anaerobic environment that prevents bacterial growth. Always use sterilized containers and clean utensils when handling.
What's the difference between chili crisp and chili oil?
Chili crisp contains solid ingredients suspended in oil (chilies, garlic, shallots), creating texture and multiple flavor dimensions. Chili oil is simply oil infused with chili flavor, strained clear. Authentic chili crisp requires careful layering of ingredients at specific temperatures to achieve its characteristic crunchy texture and complex flavor profile that evolves with each use.


 浙公网安备
33010002000092号
 浙B2-20120091-4