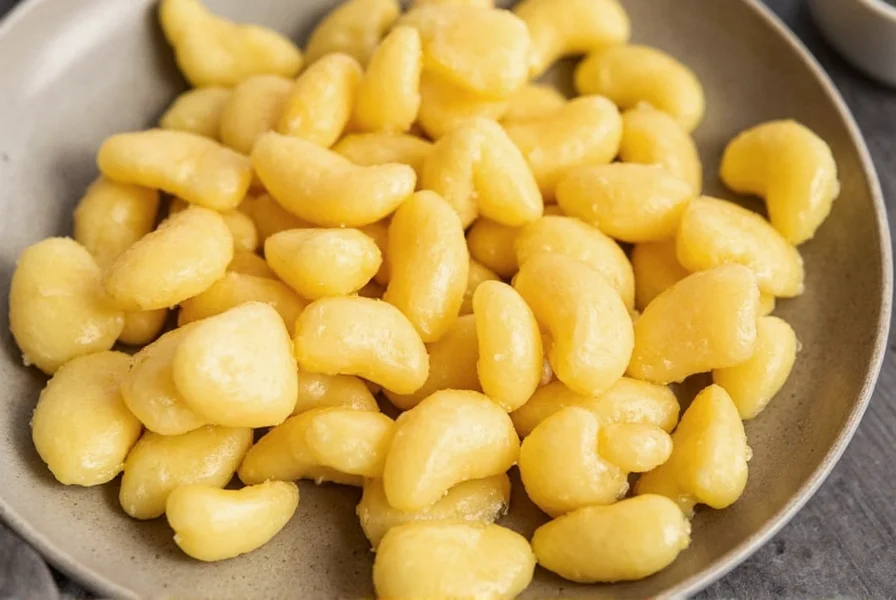
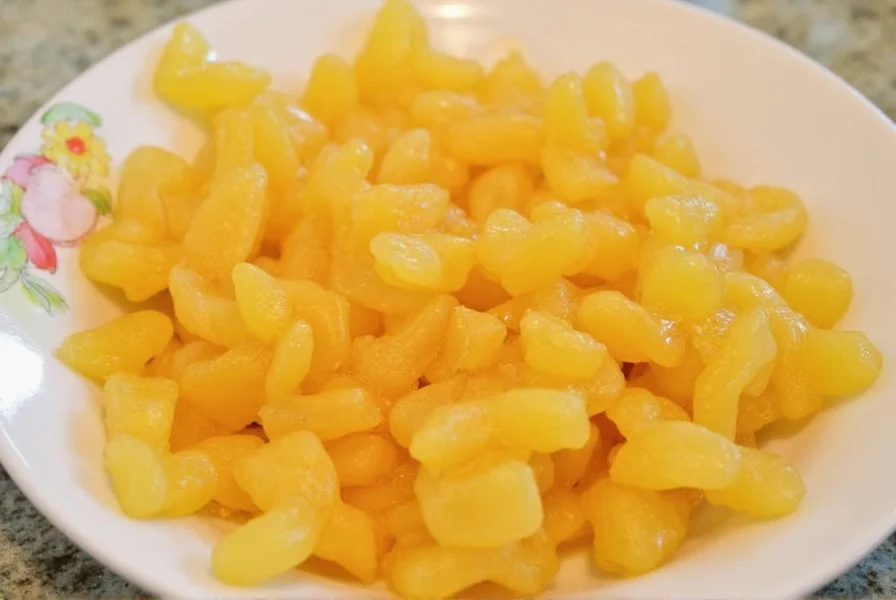
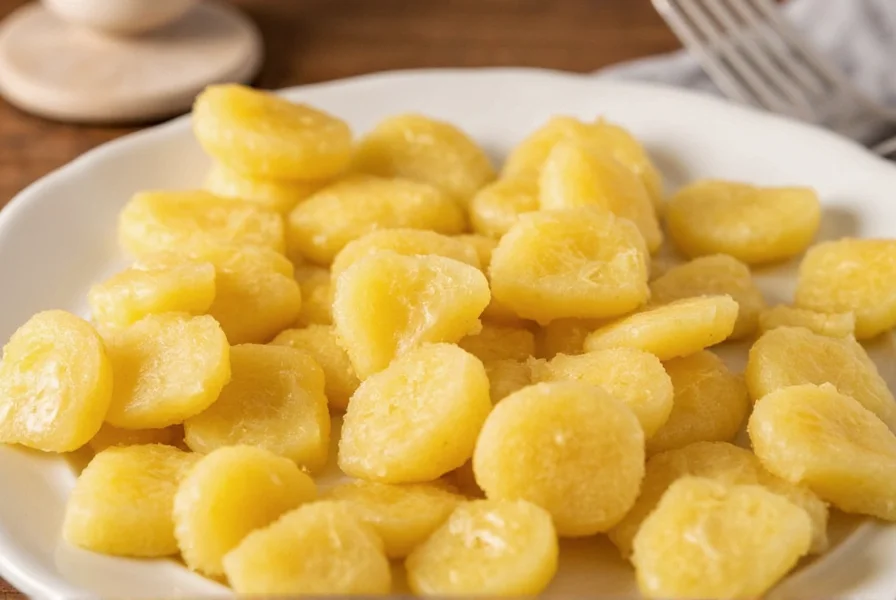
Making homemade candied ginger offers a superior alternative to store-bought versions, allowing you to control ingredients and customize sweetness levels. This traditional preservation method transforms sharp, pungent ginger into a sweet-spicy treat perfect for snacking, baking, or gifting. Unlike commercial products that often contain preservatives and artificial flavors, your homemade version will feature pure, vibrant ginger flavor with no additives.
Why Make Your Own Candied Ginger
Creating candied ginger from scratch provides several advantages over purchasing pre-made versions. You determine the sugar-to-ginger ratio, select organic ingredients, and avoid the corn syrup and sulfites commonly found in store-bought options. The process preserves ginger's natural digestive benefits while mellowing its intense heat. Many home cooks discover that homemade candied ginger has a more complex flavor profile and tender texture compared to mass-produced alternatives.
Essential Ingredients and Equipment
The beauty of this traditional candied ginger recipe lies in its simplicity. You need only a few pantry staples and basic kitchen tools to create this versatile ingredient.
| Ingredient | Quantity | Notes |
|---|---|---|
| Fresh ginger root | 1 pound (450g) | Select firm, smooth rhizomes with taut skin |
| Granulated sugar | 2 cups (400g) | Plus 1 cup for coating finished pieces |
| Water | 1 cup (240ml) | For initial syrup; additional for blanching |
| Lemon juice | 1 tablespoon | Optional for brightness and color retention |
Equipment needed: Sharp vegetable peeler, mandoline or sharp knife, medium saucepan with lid, slotted spoon, baking sheets, parchment paper, airtight containers.
Step-by-Step Preparation Guide
Follow these detailed instructions for perfect candied ginger every time. This traditional candied ginger preparation method ensures optimal texture and flavor development.
1. Prepare the Ginger
Wash 1 pound of fresh ginger thoroughly under cold water. Using a vegetable peeler or spoon, carefully remove the skin without taking too much flesh. Slice ginger crosswise into 1/8-inch thick pieces for even cooking. Thinner slices create more delicate candied ginger, while thicker cuts yield chewier results.
2. Blanch the Ginger (Optional but Recommended)
Place sliced ginger in a saucepan and cover with cold water. Bring to a boil, then drain and repeat this process two more times. This crucial step for how to preserve ginger properly reduces excessive heat while maintaining ginger's characteristic flavor. After the final blanch, drain thoroughly.
3. Create the Sugar Syrup
In a clean saucepan, combine 2 cups sugar and 1 cup water. Add 1 tablespoon lemon juice if using. Bring to a gentle simmer over medium heat, stirring until sugar dissolves completely. Avoid boiling vigorously, which can cause crystallization.
4. Simmer the Ginger
Add blanched ginger slices to the syrup, ensuring they're submerged. Reduce heat to low, cover, and simmer for 30-40 minutes until ginger becomes translucent and tender when pierced with a fork. Check periodically and stir gently to prevent sticking. The syrup will thicken considerably during this process.
5. Drain and Dry
Using a slotted spoon, transfer ginger pieces to a wire rack set over parchment paper. Allow excess syrup to drip off for 15-20 minutes. Reserve the remaining syrup for other culinary uses like glazes or beverages.
6. Sugar Coating
Place 1 cup granulated sugar in a shallow bowl. While ginger pieces are still slightly tacky, roll them individually in sugar until completely coated. For extra crunch, you can double-coat by allowing the first layer to set for 10 minutes before applying a second coating.
7. Final Drying Process
Arrange coated ginger pieces on parchment-lined baking sheets, ensuring they don't touch. Let them air-dry at room temperature for 24-48 hours until no longer sticky to the touch. For faster drying, use a food dehydrator at 135°F (57°C) for 4-6 hours.
Troubleshooting Common Issues
Even experienced cooks encounter challenges when learning how to candy fresh ginger root. Here's how to address frequent problems:
- Crystallized syrup: If sugar crystals form during cooking, add 1-2 tablespoons of water and gently stir until dissolved. Avoid stirring too vigorously once syrup reaches temperature.
- Too spicy: Increase blanching steps to 4-5 times to further reduce ginger's heat while maintaining flavor.
- Too soft: Extend drying time or increase dehydrator temperature slightly. Humidity affects drying time significantly.
- Too hard: Reduce simmering time by 5-10 minutes. Ginger continues to firm as it dries.
Storage Recommendations
Proper storage ensures your homemade candied ginger maintains optimal texture and flavor. Place completely dried pieces in airtight containers with parchment between layers. Store in a cool, dark place for up to 3 months. For extended shelf life up to 1 year, refrigerate in glass containers. Avoid plastic containers which can impart flavors.
Interestingly, candied ginger improves in flavor after 2 weeks of storage as the ginger and sugar fully integrate. This maturation period creates a more balanced sweet-spicy profile that many connoisseurs prefer.
Creative Uses for Homemade Candied Ginger
Your freshly made candied ginger serves purposes beyond snacking. Incorporate it into:
- Chop finely and add to cookie or scone dough
- Grind into powder for spice blends or hot chocolate
- Create ginger-infused simple syrup for cocktails
- Add to fruit salads for a sweet-spicy contrast
- Pair with dark chocolate for gourmet treats
- Use in marinades for Asian-inspired dishes
Variation Options
Once you've mastered the basic technique for making candied ginger, experiment with these adaptations:
- Lemon-ginger: Add lemon zest to the syrup for citrus notes
- Spiced: Include a cinnamon stick or star anise in the syrup
- Less sweet: Reduce sugar to 1.5 cups for a more ginger-forward flavor
- Crystallized: After initial drying, simmer again in fresh syrup for extra crunch
- Alcohol-infused: Soak finished pieces in bourbon or rum for gourmet applications
These variations demonstrate the versatility of this ginger preservation technique while maintaining the integrity of the traditional candied ginger preparation method.
Final Thoughts on Perfect Candied Ginger
Creating exceptional candied ginger requires attention to detail but rewards with superior flavor and texture compared to commercial products. The key to success lies in proper blanching, controlled simmering, and adequate drying time. By following this comprehensive guide for how to make candied ginger, you'll produce a versatile ingredient that enhances both sweet and savory dishes while providing the digestive benefits of fresh ginger in a convenient, shelf-stable form.

Remember that patience yields the best results—allowing your candied ginger to mature for two weeks creates a more harmonious flavor profile than consuming it immediately. This traditional preservation method transforms a simple root into a culinary treasure that showcases the art of ginger preservation techniques at their finest.


 浙公网安备
33010002000092号
 浙B2-20120091-4