
Understanding Potato Eyes and Their Growing Potential
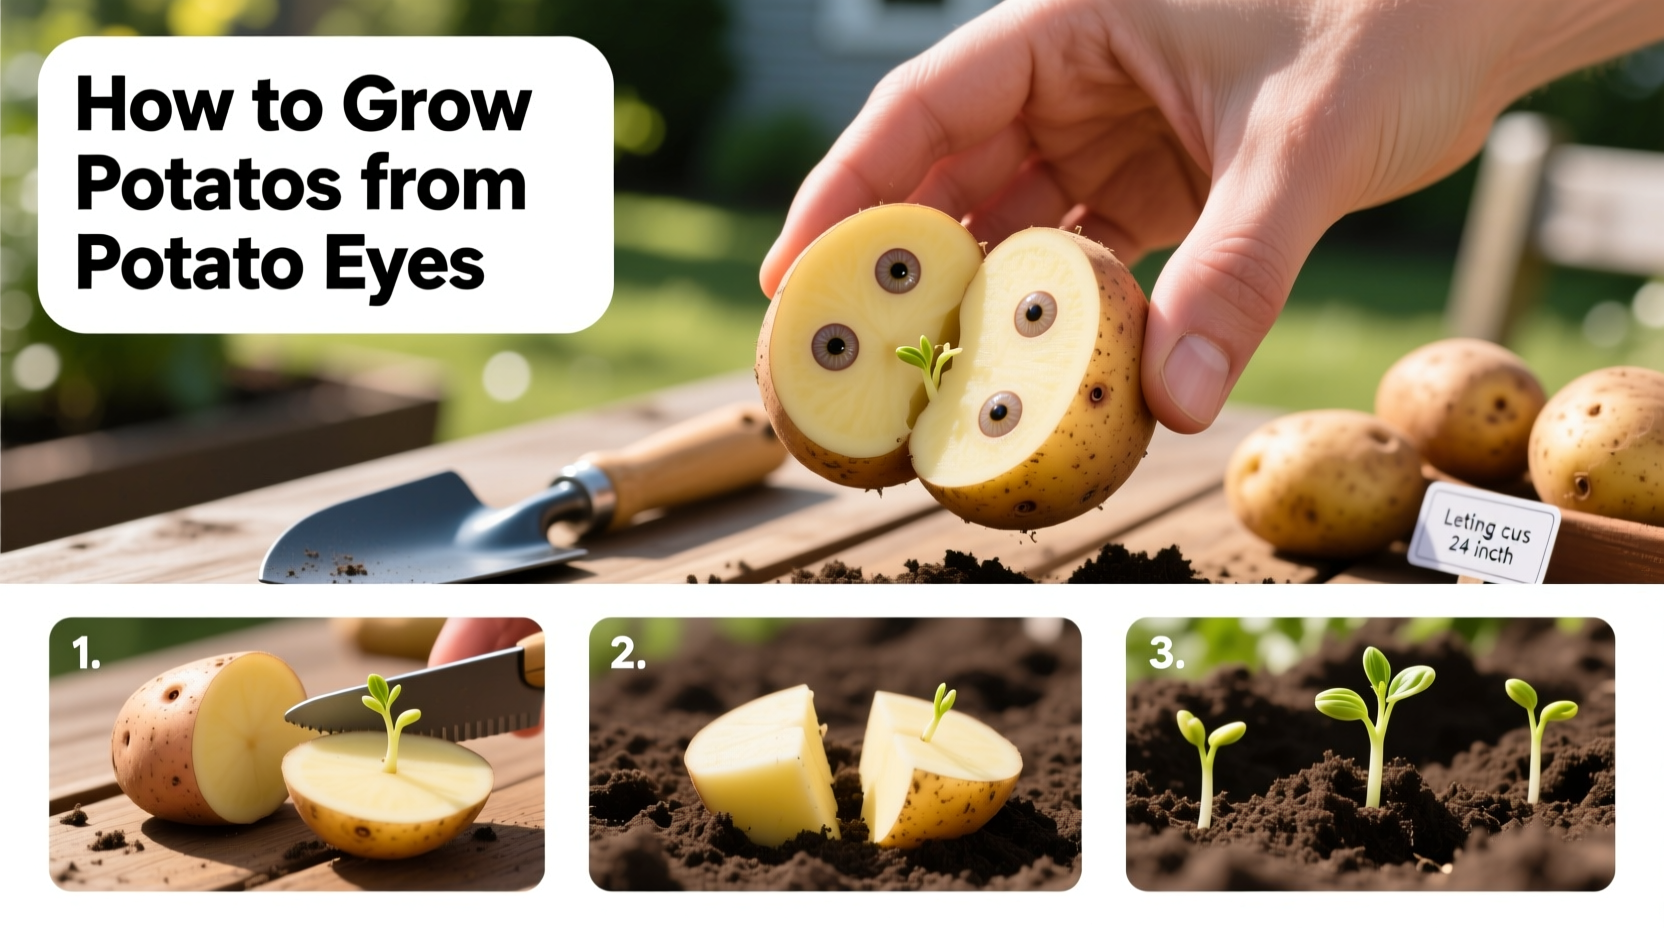
Potato eyes are the small indentations on a potato's surface where sprouts emerge. These sprouts contain meristematic tissue capable of developing into complete potato plants. Contrary to popular belief, you shouldn't plant whole sprouted grocery store potatoes, as they may carry diseases or have been treated with sprout inhibitors. Instead, use certified disease-free seed potatoes specifically grown for planting.
When selecting potatoes for eye propagation, choose varieties known for reliable sprouting. Russet Burbank and Yukon Gold typically perform well for home growers. Allow seed potatoes to chit (pre-sprout) for 2-3 weeks in a cool, bright location before planting. This process strengthens sprouts and improves yield potential by up to 25%, according to agricultural studies from University of Minnesota Extension.
Preparing Your Potato Eyes for Planting Success
Proper preparation significantly increases your success rate when growing potatoes from eyes. Follow these critical steps:
- Cutting technique: For larger seed potatoes (2+ inches), cut sections containing 1-2 healthy eyes each, ensuring each piece has approximately 1.5-2 ounces of potato mass
- Curing process: Allow cut pieces to dry for 24-48 hours in a humid environment (85-90% humidity) to form protective calluses
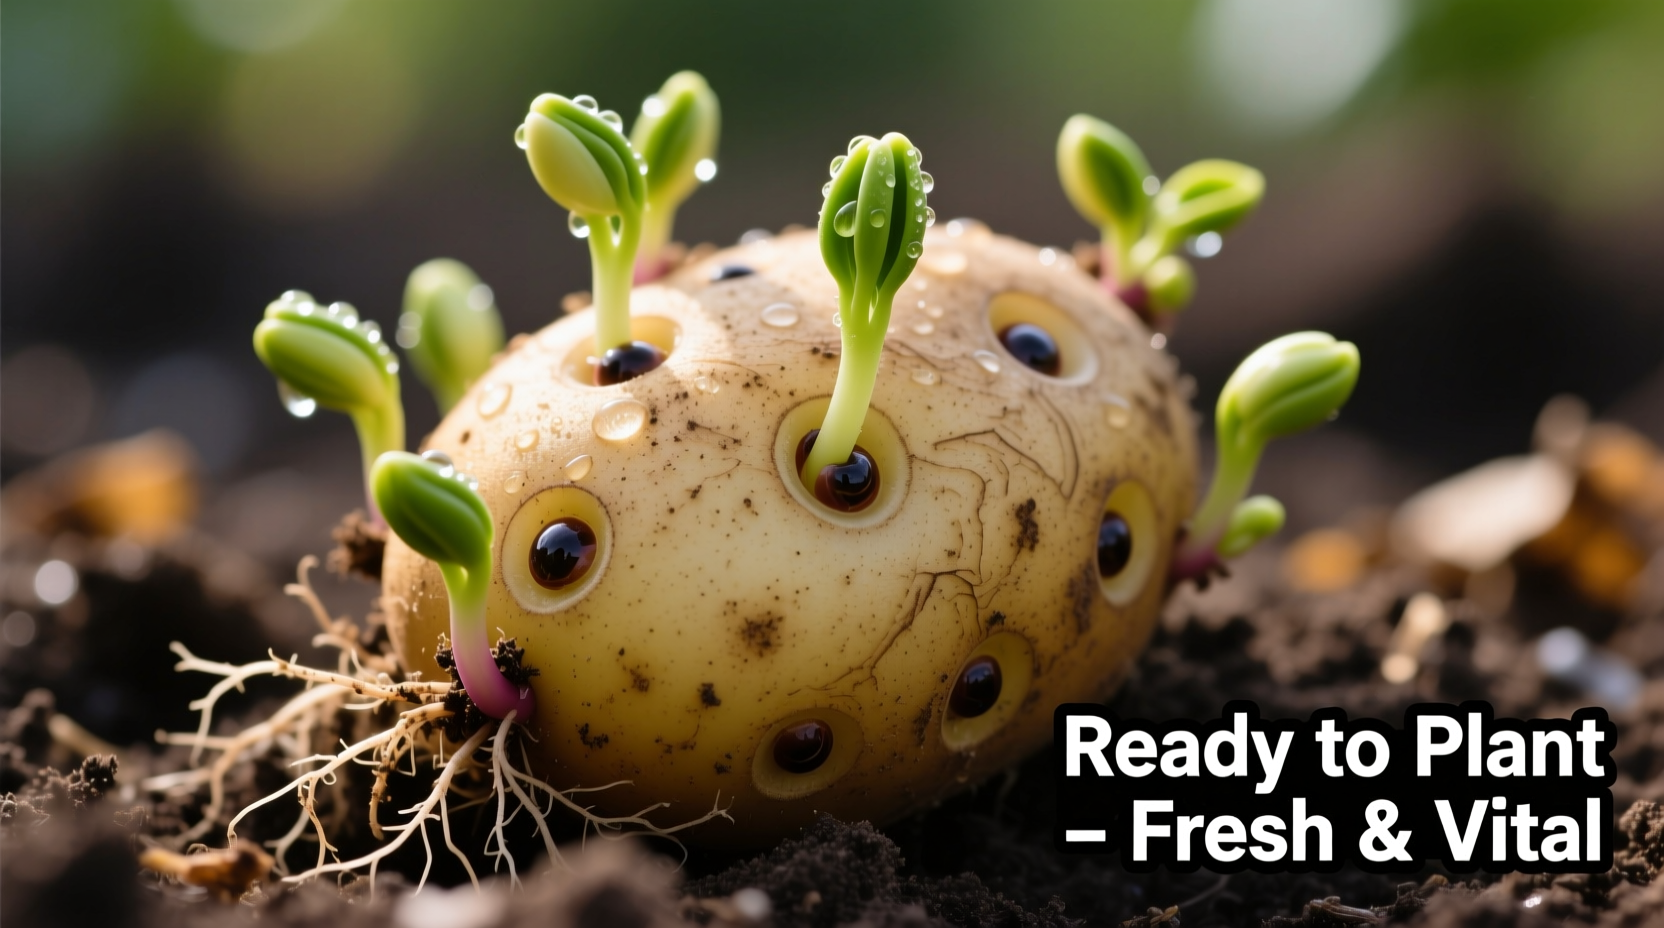
- Sprout quality: Ideal sprouts are thick, green, and 0.5-1 inch long—avoid planting with long, white, fragile sprouts
Skipping the curing step increases rot risk by 40-60% in moist soils, as documented by Oregon State University Extension research. This critical preparation phase creates a protective barrier against soil pathogens while allowing the eyes to develop sufficient energy reserves.
Creating the Ideal Growing Environment
Successful potato cultivation depends on proper soil conditions and timing. Potatoes thrive in loose, well-draining soil with a slightly acidic pH between 5.0 and 6.0. Before planting, amend your garden bed with 3-4 inches of compost and work it into the top 8-12 inches of soil.
| Soil Characteristic | Optimal Range | Problem Indicators |
|---|---|---|
| pH Level | 5.0-6.0 | Scab lesions above pH 5.2 |
| Soil Temperature | 45-55°F (7-13°C) | Delayed sprouting below 40°F |
| Moisture Content | Consistently moist | Cracked tubers from uneven watering |
Plant potatoes 2-4 weeks before your last expected frost date when soil temperatures reach at least 45°F (7°C). In warmer climates, plant in early spring or late summer for fall harvest. Raised beds work exceptionally well for potato cultivation, providing better drainage and easier hilling.
Planting Your Potato Eyes: Depth and Spacing Guidelines
Proper planting depth and spacing directly impact your potato yield and quality. Follow these research-backed recommendations:
- Planting depth: Place seed pieces 3-4 inches deep in heavy soils, 4-6 inches deep in sandy soils
- Row spacing: Maintain 24-36 inches between rows for adequate air circulation
- In-row spacing: Space seed pieces 12-15 inches apart to prevent overcrowding
As plants emerge and reach 6-8 inches tall, begin hilling—mounding soil around the base of plants to cover all but the top leaves. Repeat hilling every 2-3 weeks until plants flower. This critical practice prevents greening of tubers (which produces toxic solanine) and encourages additional tuber formation along the buried stem.
Watering and Nutrient Management for Maximum Yield
Consistent moisture management proves more crucial than fertilizer for successful potato growth. Potatoes require 1-2 inches of water weekly, with increased needs during tuber formation (when plants begin flowering). Use these watering guidelines:
- Maintain even soil moisture—avoid both drought stress and waterlogging
- Reduce watering 2 weeks before harvest to toughen skins for storage
- Water early in the day to allow foliage to dry before evening
For fertilization, apply a balanced 10-10-10 fertilizer at planting time, then switch to a low-nitrogen, high-potassium formula when plants begin flowering. Excessive nitrogen promotes leafy growth at the expense of tuber development. According to Cornell University's agricultural research, properly timed potassium application can increase marketable yield by 15-20%.
Common Pests and Disease Prevention Strategies
Potatoes face several common threats that can devastate your crop if unaddressed. Implement these preventative measures:
- Potato beetles: Hand-pick adults and larvae; use floating row covers early in season
- Blights: Rotate crops annually; avoid overhead watering; remove infected foliage immediately
- Scab: Maintain proper soil pH (below 5.2); use certified seed potatoes; avoid fresh manure
Organic growers have found success with neem oil applications for pest control and compost tea for disease prevention. Remember that crop rotation is your most effective defense—never plant potatoes in the same location two years in a row, as recommended by University of Wisconsin Extension.
Harvesting and Storing Your Homegrown Potatoes
Timing your harvest correctly ensures maximum flavor and storage potential. For new potatoes, harvest 2-3 weeks after plants flower. For storage potatoes, wait until foliage yellows and dies back naturally—typically 90-120 days after planting depending on variety.
When harvesting, carefully dig around plants with a fork to avoid piercing tubers. Allow potatoes to cure in a cool, dark, humid location (50-60°F, 85-95% humidity) for 10-14 days before storage. Properly cured potatoes develop thicker skins that resist decay.
Store potatoes in a dark location at 45-50°F with high humidity (90-95%). Never store potatoes with apples, as ethylene gas from apples promotes sprouting. Under ideal conditions, properly stored potatoes remain viable for 4-6 months.
Troubleshooting Common Potato Growing Problems
Even experienced gardeners encounter challenges when growing potatoes. Here's how to address frequent issues:
- Green tubers: Caused by light exposure—hill more frequently and ensure complete coverage
- Hollow heart: Results from rapid growth followed by drought—maintain consistent moisture
- Knobby growth: Indicates inconsistent watering or nutrient imbalances
- Poor yield: Often due to overcrowding, insufficient hilling, or improper soil pH
Remember that potatoes naturally produce solanine when exposed to light—this toxic compound causes the green discoloration. While small green spots can be cut away, extensively greened potatoes should be discarded.
Timeline of Potato Growth Stages
Understanding the potato growth cycle helps you provide appropriate care at each stage:
- Days 0-14: Sprout development (chitting phase)
- Days 14-30: Emergence and early leaf development
- Days 30-60: Vegetative growth and first hilling
- Days 60-90: Tuber initiation and bulking phase
- Days 90-120: Maturation and vine senescence
This timeline varies based on potato variety (early, mid, or late season) and growing conditions. Early varieties mature in 70-90 days, while late-season varieties require 110-130 days.


 浙公网安备
33010002000092号
浙公网安备
33010002000092号 浙B2-20120091-4