Understanding Potato Eyes: The Starting Point for Growth
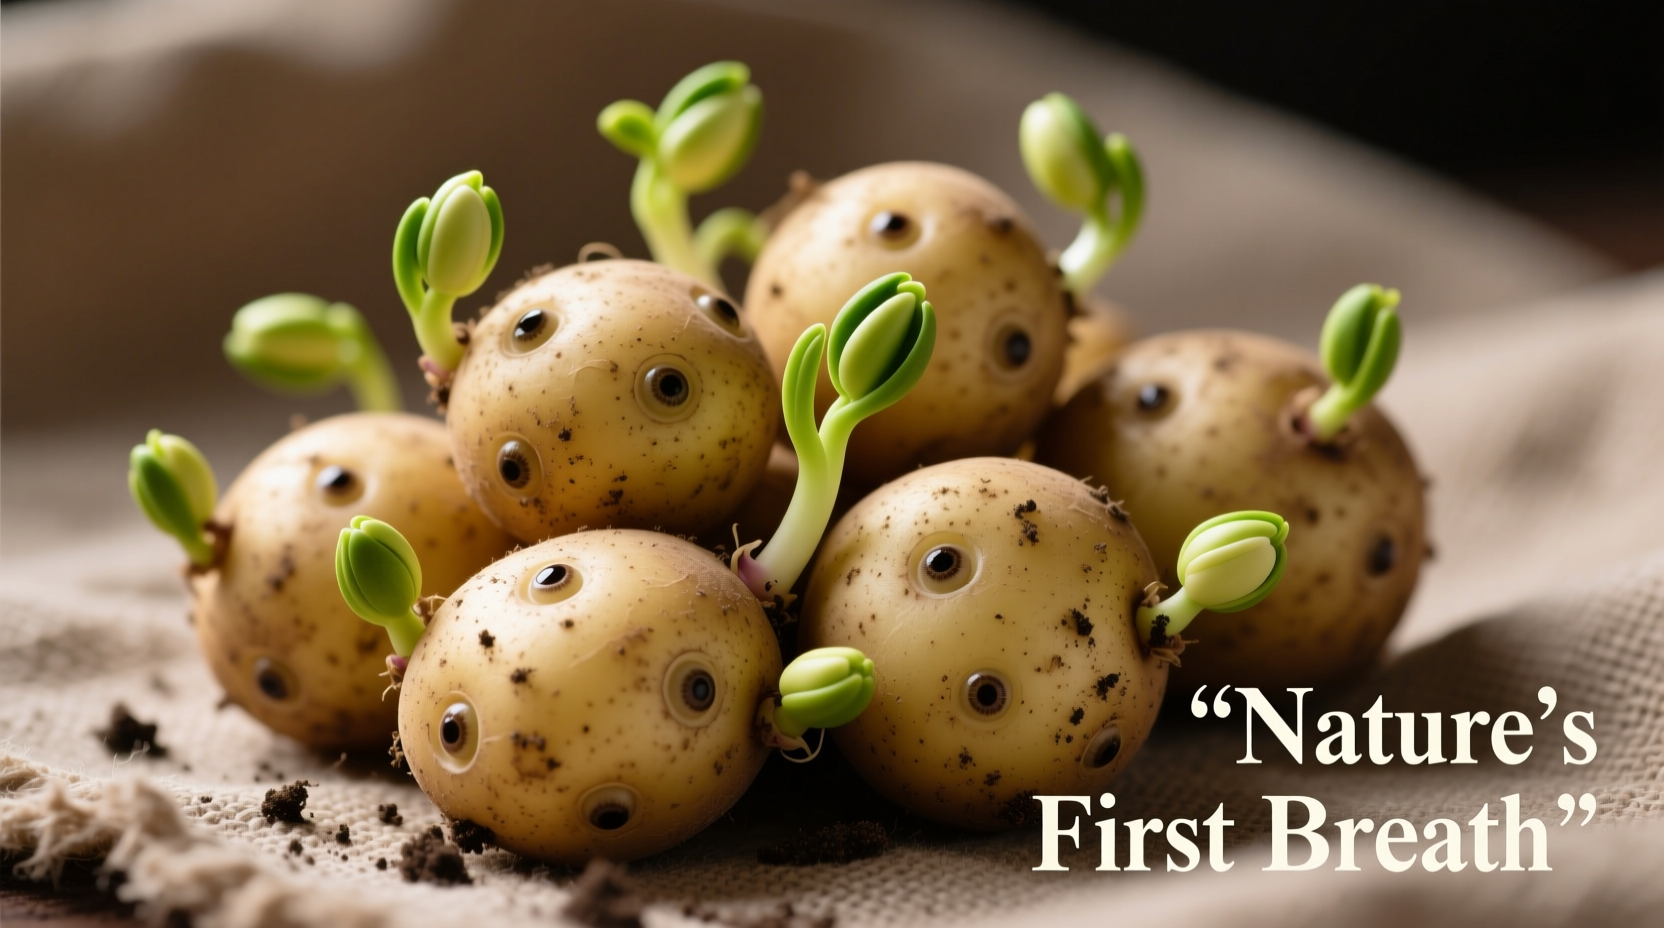
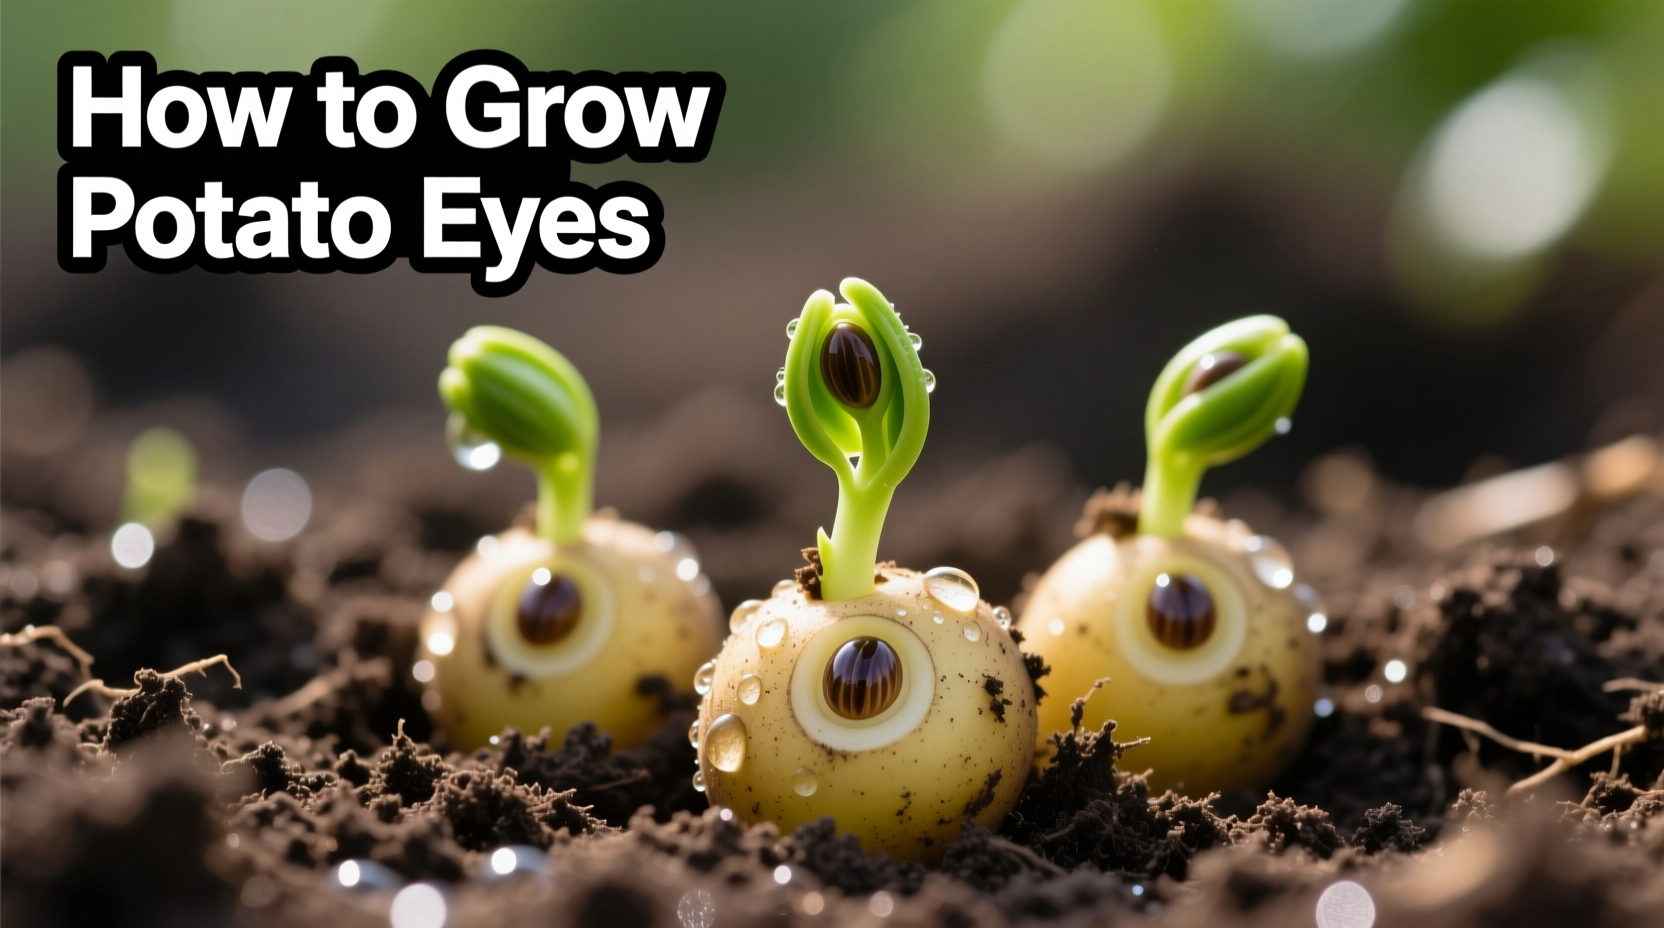
Many gardeners misunderstand what "potato eyes" actually are. These aren't separate entities you cultivate, but rather the dormant buds naturally present on potato tubers. Each eye contains meristematic tissue capable of developing into a new potato plant when conditions are right. When you see sprouts emerging from these points, that's the potato preparing for growth—a process you can optimize with proper technique.
The Science Behind Successful Potato Sprouting
Potatoes are modified stems called tubers, storing energy for new plant development. The eyes contain auxins and cytokinins—plant hormones that trigger growth when environmental conditions improve. Research from the USDA Agricultural Research Service shows that properly sprouted potatoes yield 20-30% more than unsprouted counterparts due to earlier root establishment.
| Stage | Timeframe | Key Development |
|---|---|---|
| Dormancy break | Days 1-7 | Eyes swell, small sprouts emerge |
| Active sprouting | Days 7-14 | Sprouts grow 1-2 inches, develop root initials |
| Planting readiness | Days 14-21 | Strong green sprouts, visible root buds |
Step-by-Step Guide to Preparing Potatoes for Planting
1. Selecting Quality Seed Potatoes
Choose certified disease-free seed potatoes from reputable suppliers. Avoid supermarket potatoes, which often contain sprout inhibitors. According to Cornell University's College of Agriculture and Life Sciences, heirloom varieties like Yukon Gold sprout more vigorously than commercial varieties.
2. The Chitting Process: Optimizing Eye Development
Place seed potatoes in an egg carton or tray with eyes facing up in a cool (60-70°F), bright location for 2-3 weeks. This process, called chitting, encourages strong sprout development before planting. Properly chitted potatoes develop short, sturdy sprouts rather than long, weak ones that break easily during planting.

3. Preparing for Planting: Critical Timing Factors
Plant chitted potatoes 2-4 weeks before your last expected frost date. The University of California Cooperative Extension recommends planting when soil temperature reaches at least 45°F at 4-inch depth. For optimal results, ensure each piece has 1-2 healthy eyes if cutting larger potatoes.
4. Planting Technique for Maximum Yield
Dig trenches 3-4 inches deep, placing potatoes eyes-up with 12-15 inches between plants. Cover with 3 inches of soil initially, then hill soil around stems as plants grow. This technique protects developing tubers from sun exposure while encouraging additional root formation along the stem.
Avoiding Common Potato Growing Mistakes
Gardeners often make these critical errors that compromise eye development and plant health:
- Planting too early in cold, wet soil causing rot (ideal soil temp: 50°F+)
- Using sprout-inhibited potatoes from grocery stores
- Overwatering during sprouting phase leading to tuber rot
- Insufficient hilling exposing tubers to sunlight causing greening
Monitoring Growth and Harvest Timing
Watch for these key indicators of proper development:
- Flowering signals tuber formation has begun
- Foliage yellowing indicates maturity (80-100 days depending on variety)
- Gently feel soil for tuber size before harvesting
Harvest "new potatoes" 2-3 weeks after flowering for tender skin, or wait until foliage dies back completely for storage varieties.
Advanced Tips for Organic Potato Cultivation
For gardeners seeking chemical-free methods:
- Rotate crops annually to prevent disease buildup
- Use straw mulch to maintain consistent soil moisture
- Add crushed eggshells to planting trenches for calcium
- Plant companion flowers like marigolds to deter pests naturally


 浙公网安备
33010002000092号
 浙B2-20120091-4