
Why Growing Peppers from Seeds Beats Buying Seedlings
While purchasing established pepper plants seems convenient, starting from seeds offers significant advantages most gardeners overlook. You gain access to 300+ unique varieties unavailable at nurseries, from sweet banana peppers to fiery ghost peppers. Seed-starting also creates stronger root systems since plants aren't stressed by transplant shock. Most importantly, you control the entire growing process—avoiding neonicotinoid pesticides commonly used on store-bought seedlings that harm beneficial insects.
Your Pepper Seed Success Timeline
Understanding the pepper growth journey prevents common beginner mistakes. This realistic timeline accounts for both fast and slow varieties:
| Stage | Timeframe | Critical Actions |
|---|---|---|
| Seed sowing | 8-10 weeks pre-last frost | Use heat mat for consistent 80°F soil temperature |
| Germination | 7-21 days | Maintain 70-85% humidity with dome cover |
| True leaves | 3-4 weeks after germination | Begin fertilizing with half-strength liquid seaweed |
| Hardening off | 10-14 days before transplant | Gradually increase outdoor exposure daily |
| Harvest | 60-90 days after transplant | Pick when firm and fully colored for best flavor |
Choosing Your Pepper Varieties Wisely
Not all peppers grow equally well from seed. Consider these factors when selecting varieties:
- Germination difficulty: Bell peppers sprout reliably (85% success rate), while super-hots like Carolina Reapers require extra warmth and patience (40-60% success)
- Days to maturity: Sweet banana peppers mature in 60 days; habaneros need 90+ days
- Climate suitability: Thin-walled varieties like shishitos thrive in cooler climates; thick-walled bells need consistent heat
According to USDA agricultural research, pepper germination rates drop significantly below 70°F soil temperature. Using a heat mat maintains the ideal 75-85°F range, improving success rates by up to 40% compared to room temperature planting.
Step-by-Step Seed Starting Process
Preparation Phase (Weeks 8-10 Before Last Frost)
Gather these essential supplies:
- Peat pots or 3-4" plastic containers with drainage holes
- Seed starting mix (never garden soil)
- Heat mat with thermostat
- Full-spectrum grow lights (12-16 hours daily)
- Small spray bottle for misting
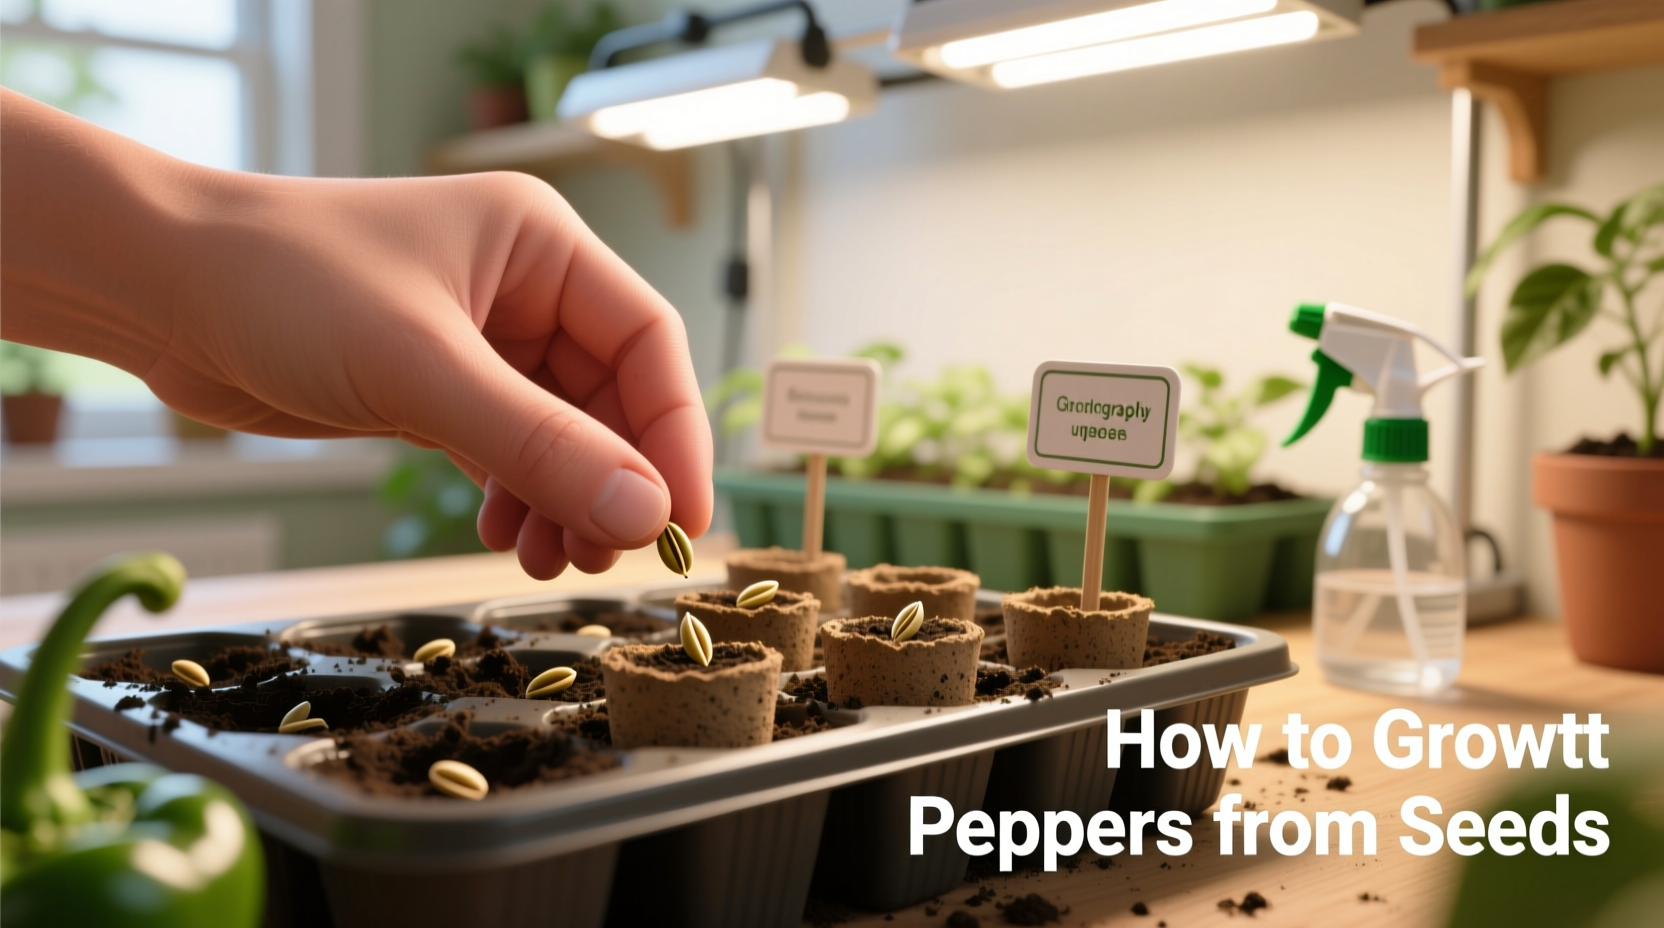
Sowing Your Seeds (The Critical First Step)
- Filling containers with moist seed starting mix, leaving ½" space at top
- Planting 2 seeds ¼" deep per container
- Misting soil surface and covering with humidity dome
- Placing on heat mat set to 80°F (27°C)
- Checking daily for moisture (never let dry out)
Pro tip: Soak seeds in hydrogen peroxide solution (1 tsp per cup water) for 15 minutes before planting to improve germination rates by breaking down the hard seed coat.
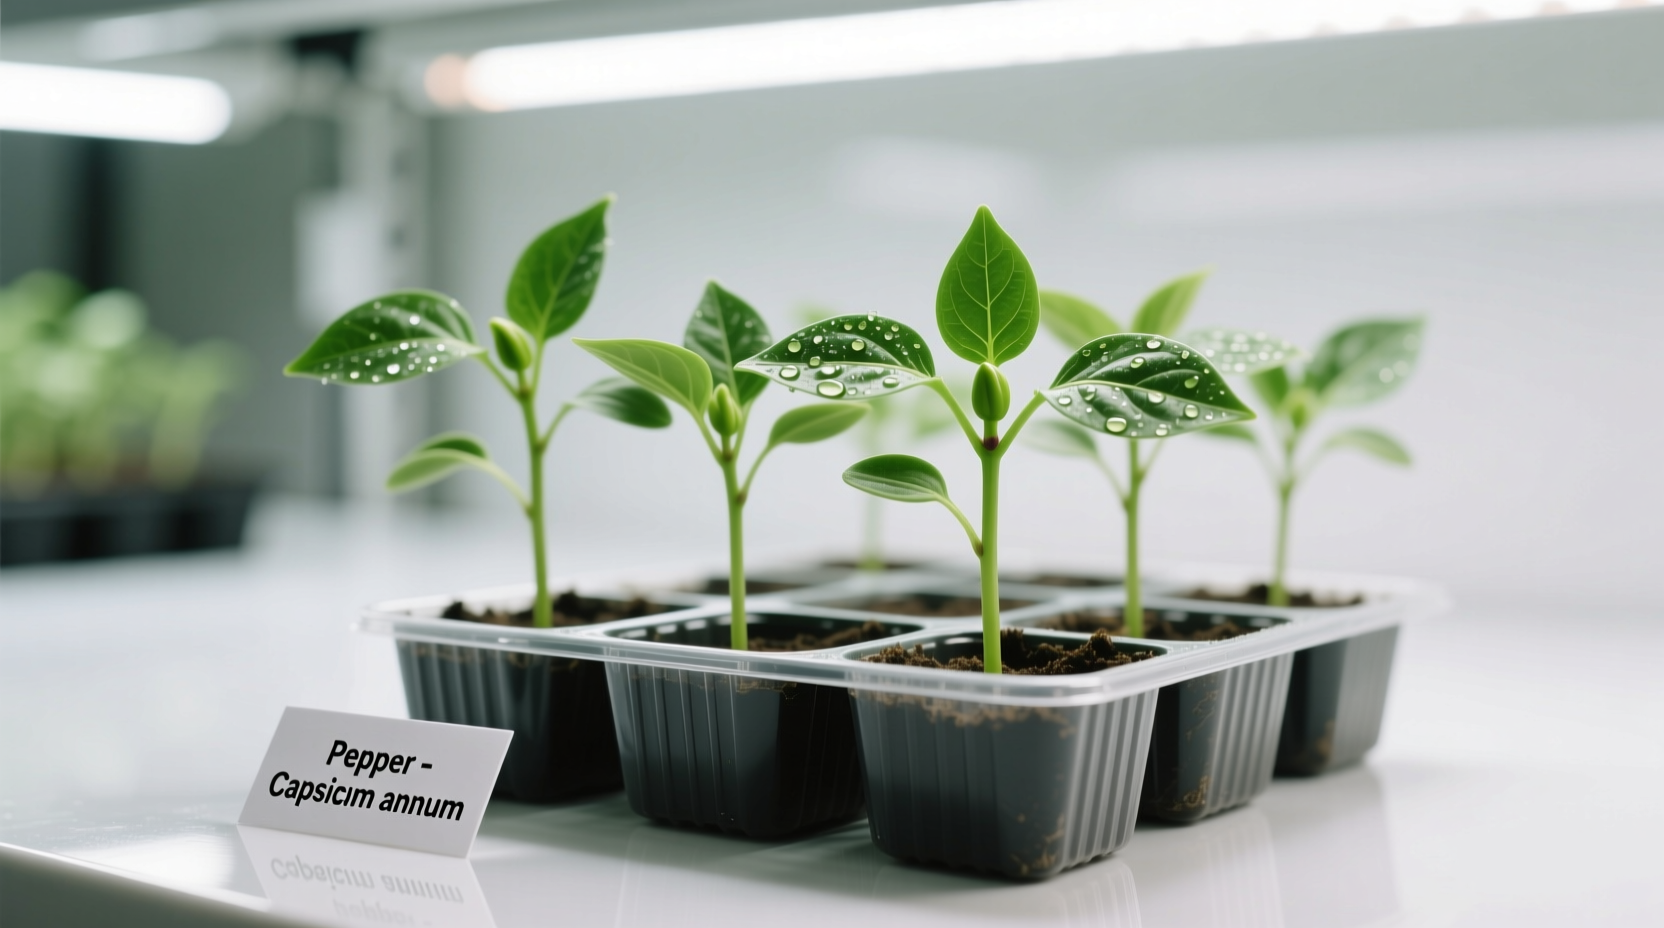
Nurturing Seedlings (Weeks 6-8)
Once sprouted, adjust your care routine:
- Remove humidity dome immediately after sprouts appear
- Position grow lights 2-3" above plants, raising as they grow
- Water only when top inch of soil feels dry
- Begin weekly feedings with half-strength fish emulsion
- Thin to strongest plant per container using scissors
Watch for leggy seedlings—a sign of insufficient light. The University of California Cooperative Extension confirms that pepper seedlings stretched beyond 3x their pot height rarely recover full productivity.
Transplanting Without Trauma
Timing your outdoor transition correctly prevents setbacks:
Hardening Off Process
Begin 10-14 days before planned transplant date:
- Days 1-2: 1-2 hours of morning shade
- Days 3-4: 3-4 hours including gentle sun
- Days 5-7: All day in partial sun
- Days 8-10: Full sun exposure
- Nights: Bring indoors if below 55°F (13°C)
Planting in Your Garden
- Choose location with 6-8 hours of direct sun
- Amend soil with 2" compost and balanced organic fertilizer
- Dig hole slightly larger than root ball
- Bury up to first set of leaves to encourage root growth
- Water thoroughly with seaweed solution
- Apply 2-3" straw mulch to retain moisture
Regional Growing Considerations
Pepper growing success varies dramatically by climate zone:
- Cool climates (Zones 3-5): Focus on early varieties like 'Lunchbox' peppers; use black plastic mulch to warm soil; consider raised beds
- Moderate climates (Zones 6-7): Most varieties succeed; start seeds 10 weeks pre-frost; use row covers during cool snaps
- Warm climates (Zones 8-11): Can grow longer-season varieties; provide afternoon shade in extreme heat; watch for blossom drop above 90°F (32°C)
According to Cornell University's vegetable growing guide, peppers require minimum soil temperatures of 65°F (18°C) for root development. In northern regions, planting near south-facing walls can create microclimates 5-10°F warmer than surrounding areas.
Troubleshooting Common Problems
Germination Issues
- No sprouts after 21 days: Seeds likely too old or temperature too low—replant with fresh seeds on heat mat
- Damping off (collapsing seedlings): Caused by fungal infection—improve air circulation, avoid overwatering, use cinnamon as natural fungicide
Growth Problems
- Blossom drop: Temperatures above 90°F or below 60°F—provide shade cloth or row covers as needed
- Yellow leaves: Could indicate nitrogen deficiency or overwatering—test soil before amending
- Small fruit: Insufficient pollination—gently shake plants during flowering or introduce bumblebees
Harvesting for Maximum Flavor
Peppers reach peak flavor when fully matured on the plant. Watch for these signs:
- Color change from green to final color (red, yellow, purple, etc.)
- Firm, glossy skin with slight give when squeezed
- Distinctive aroma specific to the variety
Cut peppers from plants using sharp scissors rather than pulling to avoid damaging branches. Most varieties produce multiple harvests throughout the season. Store unwashed peppers in crisper drawer for 2-3 weeks.


 浙公网安备
33010002000092号
浙公网安备
33010002000092号 浙B2-20120091-4