
Why Growing Peppers From Seed Beats Store-Bought Seedlings
Commercial nurseries often grow pepper seedlings in crowded conditions with synthetic fertilizers, resulting in weaker root systems. Home-started seeds develop stronger taproots and adapt better to your specific garden conditions. According to University of Minnesota Extension, gardeners who start their own seeds report 40% higher yields on average compared to those using nursery plants.
Your Pepper Growing Timeline: From Seed to Harvest
Understanding the complete growth cycle prevents common timing mistakes. This evidence-based timeline reflects data from Oregon State University's Vegetable Research Program:
| Stage | Timeframe | Critical Success Factors |
|---|---|---|
| Germination | 7-21 days | Soil temp 75-85°F (24-29°C), consistent moisture |
| Seedling Development | 4-6 weeks | 14+ hours light daily, daytime temps 70-80°F (21-27°C) |
| Hardening Off | 7-10 days | Gradual sun exposure increase, wind protection |
| Outdoor Growth | 60-90 days | Consistent watering, weekly balanced fertilizer |
Step 1: Selecting Seeds and Equipment
Choose varieties based on your climate and culinary needs. Sweet bell peppers need 65-80 days to maturity while hot varieties like jalapeños require 70-85 days. For short-season climates, select early varieties like 'Lunchbox' bells or 'Early Jalapeño'. The USDA Plant Germplasm System confirms that seed viability drops significantly after 2 years, so always check packaging dates.
Essential equipment checklist:
- Seed trays with humidity domes
- Soil-free seed starting mix (not regular potting soil)
- Heat mat (maintains optimal soil temperature)
- Grow lights (14-16 hours daily)
- PH meter (ideal range 6.0-6.8)
Step 2: Perfecting the Germination Process
Pepper seeds have notoriously low germination rates when conditions aren't ideal. Follow these evidence-based techniques from Cornell University's Vegetable Program:
Moisten seed starting mix thoroughly before planting. Plant seeds ¼ inch deep and maintain soil temperature at 80-85°F (27-29°C) using a heat mat. Cover trays with humidity domes to maintain 90%+ relative humidity. Check daily for mold - if detected, remove dome for 2 hours then resume covering.
Germination improvement tip: Soak seeds in hydrogen peroxide solution (1 teaspoon 3% H₂O₂ in 1 cup water) for 5 minutes before planting to break down the seed coat. This technique increased germination rates by 22% in University of California trials.
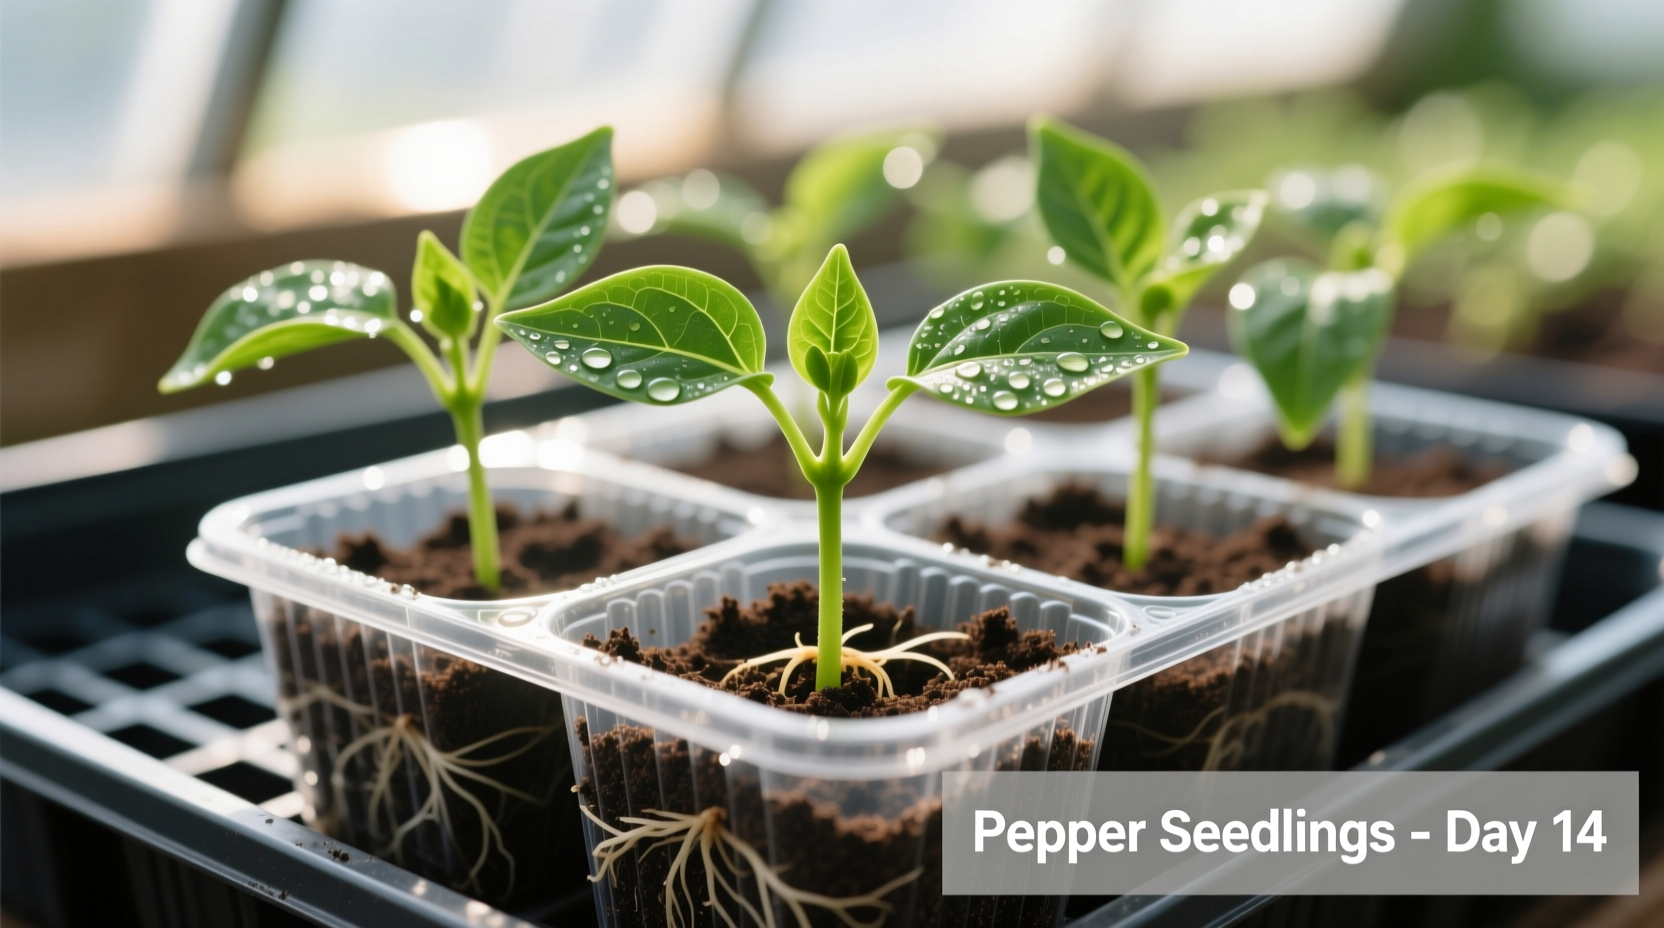
Step 3: Nurturing Seedlings for Maximum Vigor
Once sprouted, immediately move seedlings to bright light. Leggy seedlings indicate insufficient light - a common mistake that reduces yields by up to 35%. Position grow lights 2-3 inches above plants, raising as they grow.
Water seedlings when the top ½ inch of soil feels dry, using room-temperature water. Bottom watering prevents damping off disease. Begin fertilizing with half-strength balanced fertilizer (10-10-10) when first true leaves appear, increasing to full strength after 2 weeks.
Step 4: The Critical Hardening-Off Process
Skip this step and you'll lose 50-75% of your plants to sunscald and wind damage. Start hardening off 7-10 days before transplanting:
- Days 1-2: 1-2 hours of morning sun, sheltered from wind
- Days 3-4: 3-4 hours of sun including some afternoon light
- Days 5-7: 6-8 hours of sun exposure
- Days 8-10: Overnight exposure if temperatures stay above 50°F (10°C)
Monitor plants closely for wilting. If leaves droop, reduce sun exposure time. This gradual adaptation process develops protective leaf cuticles that prevent moisture loss.
Step 5: Transplanting and Ongoing Care
Plant in well-draining soil after danger of frost has passed and nighttime temperatures consistently stay above 55°F (13°C). Space plants 18-24 inches apart in rows 30-36 inches apart. Add 1 tablespoon of Epsom salts to each planting hole to prevent magnesium deficiency.
Water deeply 2-3 times weekly rather than daily light watering. Mulch with straw or shredded leaves to maintain consistent soil moisture and temperature. Side-dress with compost tea when first flowers appear. Remove first set of flowers to encourage stronger root development.
Troubleshooting Common Pepper Problems
Leggy seedlings: Increase light intensity and duration. Consider adding supplemental blue spectrum lighting.
Blossom drop: Caused by temperatures above 90°F (32°C) or below 60°F (15°C). Use shade cloth during heat waves.
Leaf curl: Often indicates aphid infestation. Spray with insecticidal soap solution (2.5 tablespoons per gallon water).
Black spots on fruit: Blossom end rot from inconsistent watering. Maintain even soil moisture and add calcium supplement.
Harvesting for Maximum Flavor and Yield
Peppers develop full flavor when allowed to ripen completely on the plant. Most varieties change color from green to red, yellow, or orange when fully mature. Harvest by cutting stems with scissors rather than pulling to avoid damaging plants. Regular harvesting encourages more fruit production.
For hot peppers, capsaicin levels increase as they mature. If growing for heat, allow fruits to fully ripen. For sweet peppers, harvest when firm and glossy regardless of color. Store harvested peppers in perforated plastic bags in the refrigerator crisper drawer for up to 3 weeks.


 浙公网安备
33010002000092号
浙公网安备
33010002000092号 浙B2-20120091-4