
Growing ginger indoors offers a rewarding way to cultivate this versatile spice year-round, even without outdoor garden space. Unlike outdoor cultivation which requires tropical conditions, indoor growing gives you control over the environment while producing fresh, chemical-free ginger for cooking and medicinal uses. This comprehensive guide provides proven techniques for successfully growing ginger in your home, based on horticultural best practices and years of indoor gardening experience.
Why Grow Ginger Indoors?
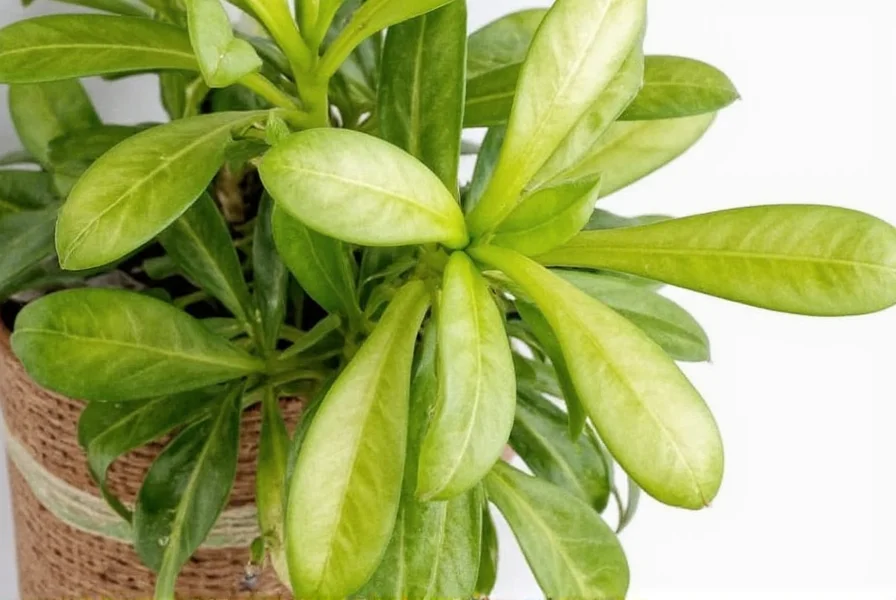
Indoor ginger cultivation solves several challenges faced by home growers. You're not limited by climate zones, can protect plants from pests, and maintain optimal humidity levels year-round. Freshly harvested ginger contains higher concentrations of gingerol—the compound responsible for its health benefits—compared to store-bought alternatives that may be weeks old. Plus, growing ginger in pots indoors creates an attractive tropical-looking houseplant with lush green foliage that enhances your living space.
Essential Materials for Indoor Ginger Growing
Selecting the right components forms the foundation for successful growing ginger in pots indoors. Don't compromise on these critical elements:
| Component | Specific Requirements | Why It Matters |
|---|---|---|
| Ginger Root | Organic (non-irradiated), plump with visible eye buds | Irradiated grocery store ginger won't sprout; eye buds indicate active growth potential |
| Container | 12-16 inch wide, 8-10 inch deep, multiple drainage holes | Ginger grows horizontally; shallow but wide containers accommodate rhizome spread |
| Soil Mix | 2:1 ratio of potting soil to perlite/compost | Requires excellent drainage while retaining moisture; standard potting mix compacts too easily |
| Light | 4-6 hours indirect sunlight or 14-16 hours grow light | Direct sun scorches leaves; insufficient light produces weak growth |
Step-by-Step Indoor Ginger Growing Process
1. Preparing Your Ginger Root
Start with a fresh, organic ginger root showing multiple growth buds (the small bumps on the surface). Soak the root in lukewarm water for 2-4 hours to stimulate growth. Cut the root into 1-2 inch pieces, ensuring each section has at least one healthy bud. Allow cut surfaces to dry for 24 hours to prevent rot after planting—this crucial step in indoor ginger plant care tips prevents common fungal issues.
2. Planting Your Ginger
Fill your container with 2-3 inches of your soil mix. Place ginger pieces horizontally with buds facing up, spacing them 6-8 inches apart. Cover with 1-2 inches of soil. Water thoroughly until it drains from the bottom, then place in a warm location (75°F/24°C) away from direct sunlight while sprouts develop. This initial planting phase determines your success with growing ginger from grocery store root.
3. Ongoing Care Requirements
Once sprouts appear (typically 2-4 weeks), move your ginger to a location with bright, indirect light. Maintain consistent moisture—the soil should feel like a damp sponge, never soggy. During active growth (spring through summer), apply a balanced liquid fertilizer every 4-6 weeks. Increase humidity by placing the pot on a pebble tray with water or using a humidifier, especially during winter heating seasons. Proper indoor ginger plant watering schedule prevents the most common failure point for beginners.
4. Growth Timeline and Monitoring
Ginger follows a predictable growth pattern when given proper care:
- Weeks 1-4: Sprouting phase—keep soil consistently moist but not wet
- Months 2-4: Leaf development—increase light exposure gradually
- Months 5-8: Rhizome formation—reduce watering slightly to encourage bulb development
- Months 8-10: Maturation—leaves may yellow as energy shifts to rhizomes
Troubleshooting Common Indoor Ginger Problems
Even with careful attention to ideal soil mix for indoor ginger, problems may arise. Here's how to address them:
Yellowing Leaves
Cause: Overwatering or nutrient deficiency
Solution: Allow top inch of soil to dry between waterings; apply balanced fertilizer if new growth appears pale
Rhizome Rot
Cause: Poor drainage or excessive moisture
Solution: Repot immediately in fresh, well-draining mix; trim affected areas; reduce watering frequency
Slow or Stunted Growth
Cause: Insufficient light, cool temperatures, or depleted nutrients
Solution: Move to brighter location (but avoid direct sun), maintain 71-75°F (22-24°C), and fertilize monthly during growing season

Harvesting Your Indoor Ginger
You can harvest ginger at different stages depending on your needs. For how to harvest ginger from indoor plant without killing it, follow these guidelines:
- Young ginger (4-6 months): Gently dig around the edge of the pot and harvest small sections, leaving most rhizomes to continue growing
- Mature ginger (8-10 months): When leaves yellow and die back, stop watering for 1-2 weeks, then carefully remove entire rhizome cluster
After harvesting, clean rhizomes and allow to air dry for 24 hours before storing in a cool, dark place. Fresh ginger keeps for 2-3 weeks at room temperature or up to 3 months refrigerated. Never wash ginger before storage, as excess moisture promotes mold.
Extending Your Ginger Harvest
For continuous harvest, leave one-third of the rhizome cluster in the pot after harvesting mature ginger. Refresh the soil with compost and restart the growing cycle. This method of growing ginger in pots indoors creates a perpetual harvest system where you always have fresh ginger available while maintaining your plant.


 浙公网安备
33010002000092号
浙公网安备
33010002000092号 浙B2-20120091-4