
Growing garlic from cloves is one of the simplest and most rewarding gardening projects you can undertake. Unlike many vegetables that require starting from seed, garlic grows directly from individual cloves separated from a bulb. This method produces robust, flavorful bulbs perfect for culinary use and future planting. Whether you're working with a small backyard plot or container gardening on a balcony, garlic adapts well to various growing conditions when given proper care.
Why Grow Garlic from Cloves Instead of Seeds?
While garlic does produce flower stalks (scapes) with bulbils that can grow into plants, most home gardeners prefer planting cloves for several practical reasons:
- Cloves produce full-sized bulbs in a single growing season, while bulbils take 2-3 years
- Preserves the exact characteristics of the parent garlic variety
- Higher success rate for beginners compared to growing from bulbils
- Immediate harvest potential within 8-9 months
Choosing the Right Garlic Variety for Your Climate
Understanding your climate zone is essential when selecting garlic varieties. The two main types have different cold requirements:
| Garlic Type | Cold Requirement | Best Regions | Flavor Profile |
|---|---|---|---|
| Hardneck (Ophioscorodon) | Requires 4-8 weeks below 40°F (4°C) | Northern climates, zones 3-7 | Stronger, more complex flavor; produces edible scapes |
| Softneck (Allium sativum) | Minimal cold requirement | Southern climates, zones 7-10 | Milder flavor; longer storage life; braiding varieties |
For most home gardeners in temperate regions, hardneck varieties like 'Music,' 'German Extra Hardy,' or 'Spanish Roja' provide excellent results with robust flavors. If you live in a warmer climate with mild winters, softneck varieties such as 'California Early' or 'Inchelium Red' will perform better.
Timing Your Garlic Planting for Maximum Yield
The best time to plant garlic cloves depends on your climate but generally follows these guidelines:
- Fall planting (preferred for most regions): 4-6 weeks before your first expected fall frost date, typically late September through November in northern zones
- Spring planting: As soon as soil can be worked, usually March or April in northern zones
Fall planting produces larger bulbs because garlic develops root systems during winter and begins vigorous top growth immediately in spring. The cold period triggers proper bulb formation—a process called vernalization. In zones 6 and colder, fall planting is strongly recommended for best results.
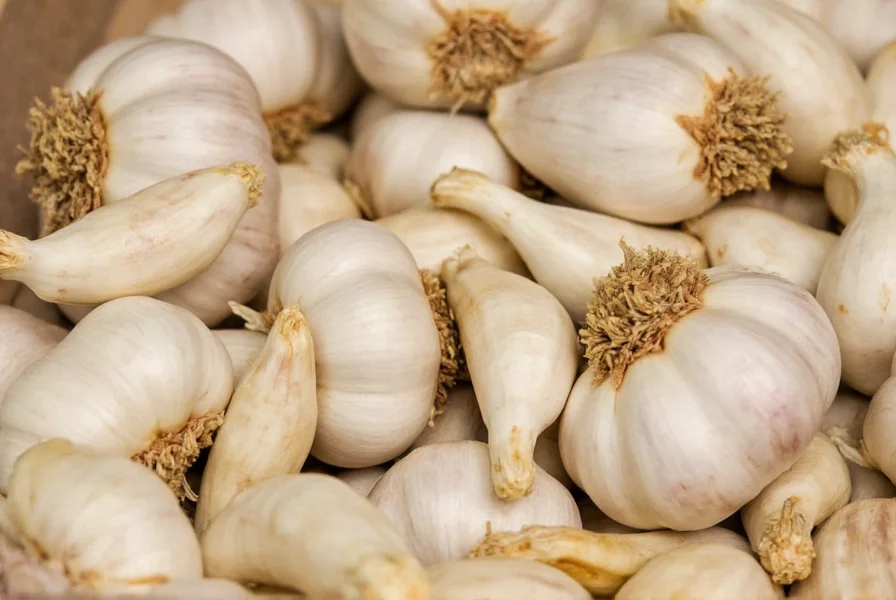
Selecting Quality Garlic Cloves for Planting
Don't use grocery store garlic for planting—most has been treated to prevent sprouting and may carry diseases. Instead:
- Source cloves from local farmers markets, seed catalogs, or reputable online growers
- Choose the largest, healthiest cloves from bulbs (larger cloves produce larger bulbs)
- Look for firm cloves with intact papery skins and no signs of mold or damage
- Separate cloves from bulbs 1-2 days before planting to prevent drying out
Preparing Soil for Optimal Garlic Growth
Garlic thrives in well-drained, fertile soil with these characteristics:
- pH between 6.0-7.5 (slightly acidic to neutral)
- Amended with 2-3 inches of compost or well-rotted manure
- Loose texture to accommodate bulb development
- Avoid heavy clay soils that retain too much moisture
Prepare your garden bed 1-2 weeks before planting by loosening soil to a depth of 8-12 inches. Incorporate organic matter to improve drainage and fertility. Raised beds work exceptionally well for garlic cultivation, especially in areas with heavy spring rains.
Step-by-Step Garlic Planting Instructions
Follow these precise steps for successful garlic planting:
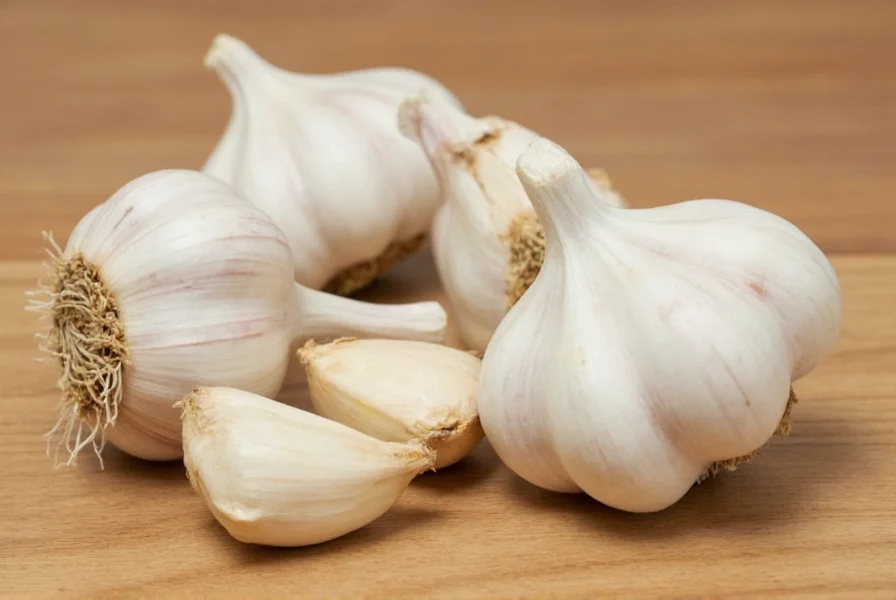
- Separate cloves from bulbs carefully, keeping the papery husk intact
- Place cloves in planting hole with pointy end up and flat root end down
- Plant at proper depth: 2 inches deep in colder zones (mulch heavily), 1-1.5 inches in milder climates
- Space cloves 4-6 inches apart in rows 12-18 inches apart
- Cover with soil and gently firm the surface
- Water thoroughly after planting if soil is dry
- Apply 3-6 inches of organic mulch (straw, leaves, or shredded paper)
Proper garlic clove spacing recommendations prevent competition for nutrients and allow bulbs to reach full size. Overcrowding results in smaller bulbs. When planting in containers, use pots at least 8 inches deep with drainage holes and follow the same spacing guidelines.
Caring for Garlic Throughout the Growing Season
Consistent care ensures healthy garlic development:
- Watering: Provide 1 inch of water weekly during active growth (spring), reducing irrigation 2-3 weeks before harvest
- Weeding: Keep area weed-free; garlic has shallow roots that compete poorly with weeds
- Fertilizing: Apply balanced organic fertilizer when shoots emerge and again in early spring
- Scaping: For hardneck varieties, remove flower stalks when they curl (redirects energy to bulb development)
Watch for yellowing leaves in late spring/early summer—that's your signal that harvest time approaches. Stop watering when about half the leaves turn brown to begin the curing process.
Harvesting and Curing Your Garlic Bulbs
Timing your harvest correctly affects storage life:
- Harvest when 30-50% of leaves have turned brown (usually late June to August depending on planting date)
- Loosen soil with a garden fork before lifting bulbs to avoid damage
- Cure bulbs in a warm, dry, shaded area with good air circulation for 2-3 weeks
- Trim roots and tops after curing, leaving 1-2 inches of stem
- Store in mesh bags or braids in a cool, dry place (60-65°F with 60-70% humidity)
Troubleshooting Common Garlic Growing Problems
Address these frequent issues for better harvests:
- Rotting cloves: Usually caused by poorly draining soil or excessive moisture—improve drainage and reduce watering
- Small bulbs: Results from overcrowding, poor soil fertility, or planting small cloves—use larger cloves and proper spacing
- Yellowing leaves: Could indicate nitrogen deficiency or overwatering—adjust fertilization and irrigation
- Pest damage
Frequently Asked Questions
Can I grow garlic from grocery store cloves?
While possible, it's not recommended. Most grocery store garlic is treated with sprout inhibitors and may carry diseases that affect your garden. For best results, use certified disease-free seed garlic from reputable growers who specialize in varieties suited to your climate zone.
How deep should I plant garlic cloves?
Plant garlic cloves 2 inches deep in colder climates (zones 1-5) to protect from extreme winter temperatures, and 1-1.5 inches deep in milder climates (zones 6+). Always plant with the pointy end facing up. In very cold regions, apply 4-6 inches of mulch after planting for additional winter protection.
Why are my garlic bulbs so small?
Small garlic bulbs typically result from overcrowding, poor soil fertility, planting small cloves, or harvesting too early. Ensure proper spacing (4-6 inches between cloves), amend soil with compost before planting, select the largest cloves for planting, and wait until 30-50% of leaves have turned brown before harvesting for maximum bulb size.
When should I remove garlic scapes?
Remove hardneck garlic scapes when they form their first complete curl (usually late spring). Cutting them off redirects the plant's energy to bulb development, resulting in 20-30% larger bulbs. Scapes are edible and delicious in stir-fries, pesto, or as grilled vegetables.


 浙公网安备
33010002000092号
浙公网安备
33010002000092号 浙B2-20120091-4