
Yes, you can grow a potato plant from a regular potato in 12-16 weeks using simple household items. This complete guide reveals the exact steps to transform store-bought potatoes into thriving plants, including optimal sprouting conditions, planting depth, watering schedule, and harvesting techniques that yield 5-10x more potatoes than store varieties.
Have you ever wondered what happens when potatoes sprout in your pantry? That's nature's signal that you've got everything needed to grow your own potato crop. Growing potatoes from potatoes—technically called "seed potatoes"—is one of the most rewarding beginner gardening projects. Unlike many vegetables that require seeds or seedlings, potatoes reproduce vegetatively through their tubers, making them exceptionally easy to cultivate with minimal equipment.
| Growth Stage | Timeline | Key Development |
|---|---|---|
| Sprouting (Chitting) | 2-4 weeks | Strong green shoots emerge from eyes |
| Planting to Emergence | 2-3 weeks | Stems break soil surface |
| Vegetative Growth | 4-6 weeks | Foliage development and root expansion |
| Tuber Formation | 3-4 weeks | Actual potatoes begin developing |
| Maturity | 12-16 weeks | Foliage yellows, tubers reach full size |
What You'll Need to Start Growing
Before diving into the process, gather these essential items. You likely already have most at home:
- Seed potatoes: Organic potatoes work best (non-organic often contain sprout inhibitors). Russets, Yukon Golds, or red potatoes are ideal for beginners
- Containers: 5-gallon buckets, grow bags, or garden beds (minimum 12" depth)
- Soil mix: 60% potting soil, 30% compost, 10% perlite for drainage
- Watering can with fine spray attachment
- Straw or mulch for hilling (optional but recommended)
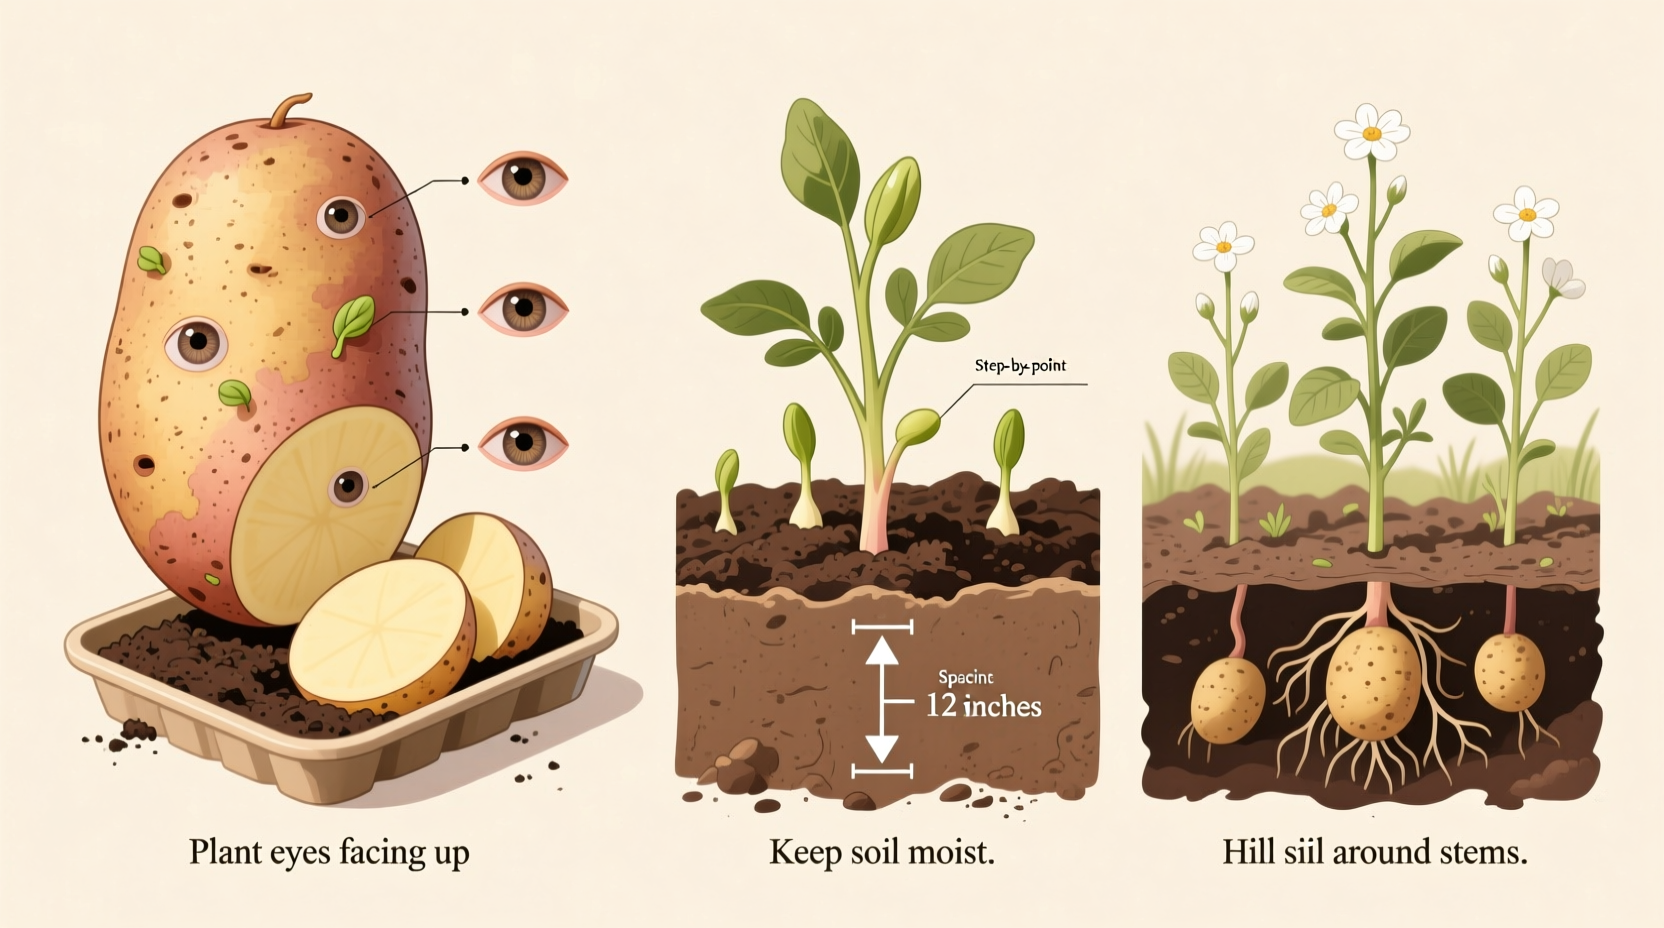
Step 1: Preparing Your Seed Potatoes
The critical first phase—called "chitting"—determines your entire harvest's success. University agricultural extensions consistently identify proper sprouting as the #1 factor in potato yield.
Place potatoes in a single layer on a tray near a bright window (indirect sunlight). Maintain temperatures between 60-70°F (15-21°C). Within 2-4 weeks, you'll see:
- Thick, green sprouts emerging from "eyes"
- Ruby-red base where sprouts connect to tuber
- Firm texture (discard any soft or moldy potatoes)
Pro tip from Cornell University's gardening program: Cut larger potatoes into pieces with 1-2 eyes each 24 hours before planting. This allows cut surfaces to callous, preventing rot while accelerating growth. Smaller potatoes (walnut-sized) can be planted whole.
Step 2: Planting for Maximum Yield
Timing matters more than most beginners realize. According to USDA agricultural data, planting when soil reaches 45°F (7°C) at 4" depth triggers optimal root development. Here's the precise planting sequence:
- Fill container 1/3 full with soil mix
- Place potatoes sprout-side up, 12" apart
- Cover with 3-4" of soil
- Water thoroughly until moist (not soggy)
- As shoots reach 6", add more soil until 2" of foliage remains visible
This "hilling" process—repeated every 2 weeks—is crucial. It prevents tubers from turning green (which produces toxic solanine) while encouraging additional root formation along buried stems. The University of Minnesota Extension reports this technique increases yields by up to 40% compared to flat planting.
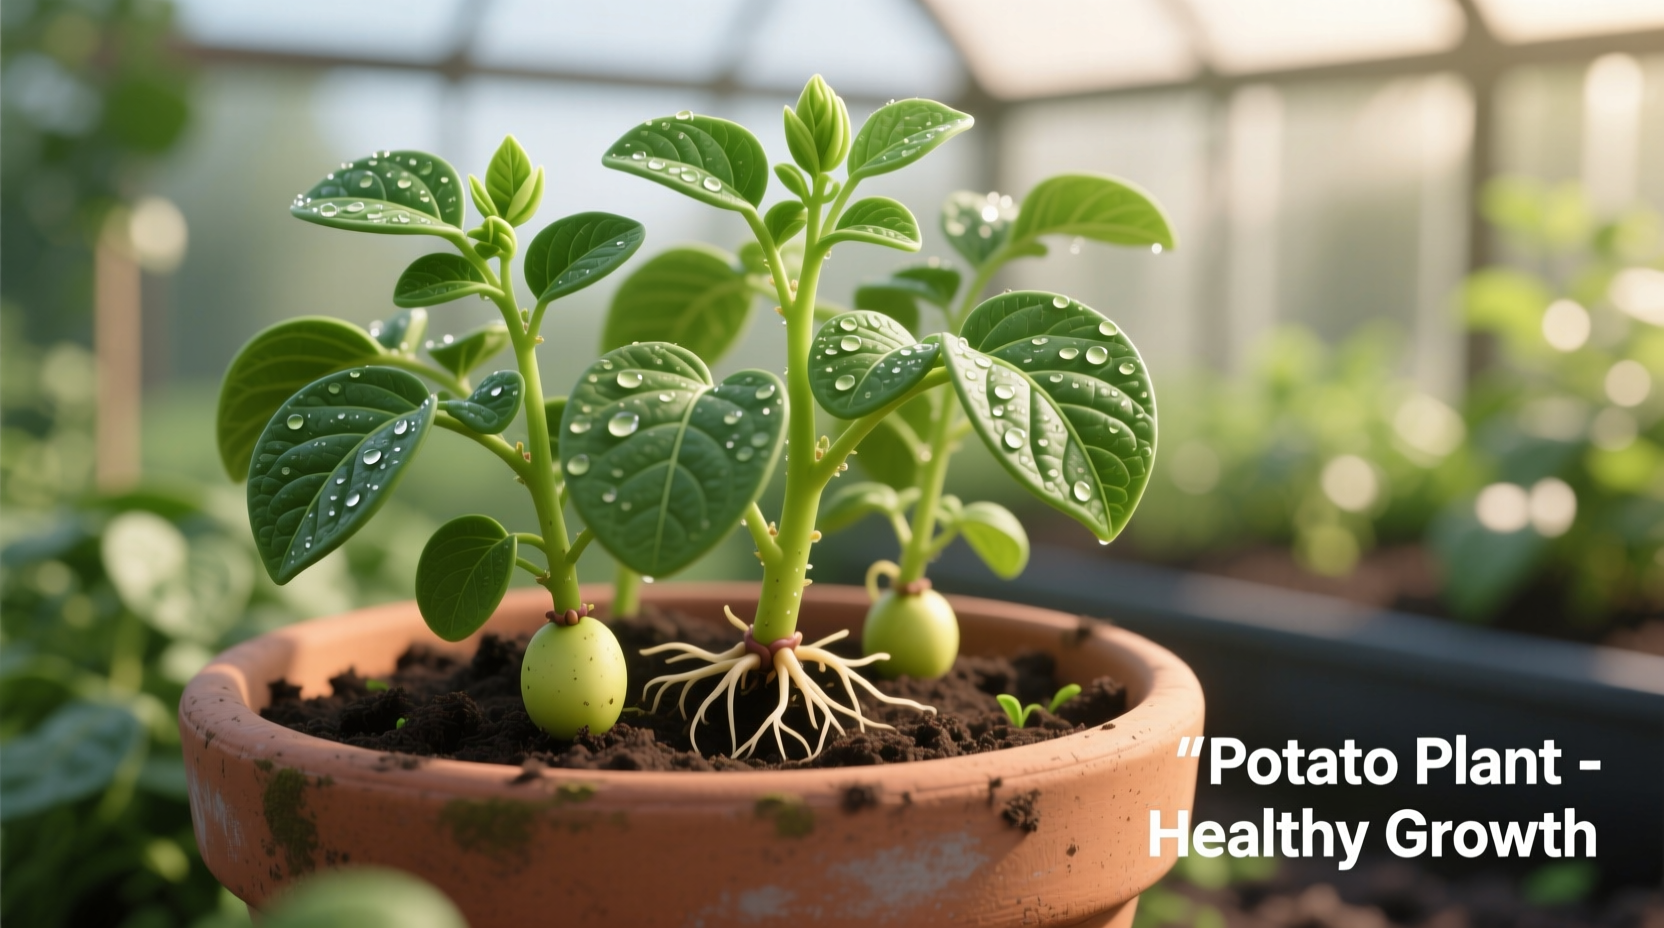
Step 3: Daily Care Routine That Works
Unlike many vegetables, potatoes thrive on consistent care rather than intensive maintenance. Follow this simple daily checklist:
- Morning: Check soil moisture—top 1" should feel dry before watering
- Midday: Inspect for pests (flea beetles love young potato plants)
- Evening: Water deeply if needed (1-2 inches per week total)
Watering science: Potatoes need 1-2 inches of water weekly, but consistency is key. Fluctuating moisture causes hollow heart disorder—a condition where tubers develop cavities. The Royal Horticultural Society's trials show plants receiving regular, deep watering produced 27% fewer defective tubers than those with irregular watering.
When Things Go Wrong (And How to Fix Them)
Even experienced gardeners encounter these common potato growing challenges. Here's how to diagnose and solve them:
| Symptom | Most Likely Cause | Solution |
|---|---|---|
| Yellowing lower leaves | Normal maturation process | No action needed—harvest approaching |
| Black spots on tubers | Common scab (soil bacteria) | Maintain consistent moisture; avoid alkaline soil |
| Holes in leaves | Flea beetles or Colorado potato beetles | Hand-pick pests; use floating row covers |
| Small, misshapen potatoes | Inconsistent watering or overcrowding | Water regularly; ensure proper spacing |
Harvesting: Timing Is Everything
Most beginners harvest too early or too late. Here's how to determine perfect harvest timing:
- New potatoes: Harvest 7-8 weeks after planting when flowers appear (small, tender potatoes)
- Main crop: Wait until foliage yellows and dies back completely (12-16 weeks)
Gently dig around plants with a garden fork, being careful not to pierce tubers. Cure harvested potatoes in a dark, well-ventilated area at 50-60°F (10-15°C) for 2 weeks before storage. Properly cured potatoes can last 6-8 months in cool, dark conditions.
Why This Method Works: The Botanical Science
Potatoes (Solanum tuberosum) are modified stems called tubers, not roots. Each "eye" contains meristematic tissue capable of developing into a complete plant. When you plant a potato piece with an eye, that tissue generates:
- Stolons (underground stems) that form new tubers
- Adventitious roots for water/nutrient uptake
- Photosynthetic foliage above ground
This vegetative propagation preserves the exact genetic characteristics of the parent plant—unlike seed-grown potatoes which produce variable results. The USDA Agricultural Research Service confirms this cloning process maintains desirable traits like disease resistance and flavor profile across generations.
Limitations and When to Avoid This Method
While growing potatoes from potatoes works well for home gardeners, understand these important limitations:
- Disease accumulation: Store-bought potatoes may carry viruses that build up over generations (use certified seed potatoes for long-term growing)
- Climate constraints: Requires minimum 90 frost-free days (not suitable for extremely short seasons without season extension)
- Soil requirements: Needs loose, well-drained soil—clay soils require significant amendment
For best results in challenging conditions, the University of California Master Gardeners recommend starting potatoes indoors 4-6 weeks before last frost date, then transplanting hardened-off plants outdoors.


 浙公网安备
33010002000092号
浙公网安备
33010002000092号 浙B2-20120091-4