
There's nothing quite like harvesting your own homegrown potatoes—earthy, flavorful, and free from questionable chemicals. Whether you're working with a sprawling backyard or just a few containers on your balcony, growing potatoes is surprisingly accessible for beginners. This guide delivers the precise steps you need to transform seed potatoes into a bountiful harvest, drawing from agricultural best practices validated by university extension programs.
Understanding Potato Growth Requirements
Potatoes (Solanum tuberosum) thrive in cool-season conditions and require specific environmental factors for optimal development. Unlike many vegetables, potatoes grow underground as modified stems called tubers, making their cultivation process unique. The key to success lies in understanding their growth cycle and providing appropriate care at each stage.
| Stage | Duration | Critical Requirements |
|---|---|---|
| Germination | 10-21 days | Soil temperature 45-55°F (7-13°C), consistent moisture |
| Vegetative Growth | 30-50 days | Full sun, regular watering, hilling when stems reach 6-8 inches |
| Tuber Initiation | 10-14 days | Cooler temperatures (60-70°F/15-21°C), reduced nitrogen |
| Tuber Bulking | 30-60 days | Consistent moisture, continued hilling, pest monitoring |
| Maturity | Depends on variety | Foliage yellowing, reduced watering before harvest |
Adapted from University of Minnesota Extension potato growth cycle research
Selecting the Right Potato Varieties for Your Climate
Not all potatoes perform equally in every region. Choosing varieties suited to your local conditions dramatically increases your success rate. Potatoes are categorized by days to maturity:
- Early-season varieties (70-90 days): Ideal for short growing seasons or areas with hot summers (e.g., Norland, Irish Cobbler)
- Mid-season varieties (90-110 days): Balance between earliness and storage capability (e.g., Yukon Gold, Kennebec)
- Late-season varieties (110+ days): Best for long-term storage (e.g., Russet Burbank, Katahdin)
For northern climates with shorter seasons, prioritize early varieties. Gardeners in southern regions should plant in fall for winter harvest or select heat-tolerant varieties. The USDA Agricultural Research Service recommends matching variety selection to your specific hardiness zone for optimal results.
Preparing Your Soil for Maximum Potato Yield
Potatoes demand well-draining, loose soil rich in organic matter. Heavy clay soils cause misshapen tubers and increase disease risk, while sandy soils may require additional amendments for moisture retention.
Follow these soil preparation steps 2-3 weeks before planting:
- Test your soil pH (ideal range: 4.8-6.0) using a home testing kit
- Amend soil with 3-4 inches of well-rotted compost or aged manure
- Incorporate balanced organic fertilizer (5-10-10) according to package directions
- Create raised beds 8-12 inches high if drainage is questionable
Avoid using fresh manure, which can cause scab disease. The Cornell University Cooperative Extension confirms that proper soil preparation reduces common potato diseases by up to 40% compared to planting in unamended soil.
Planting Techniques That Guarantee Strong Growth
Successful potato planting requires attention to detail at this critical stage:
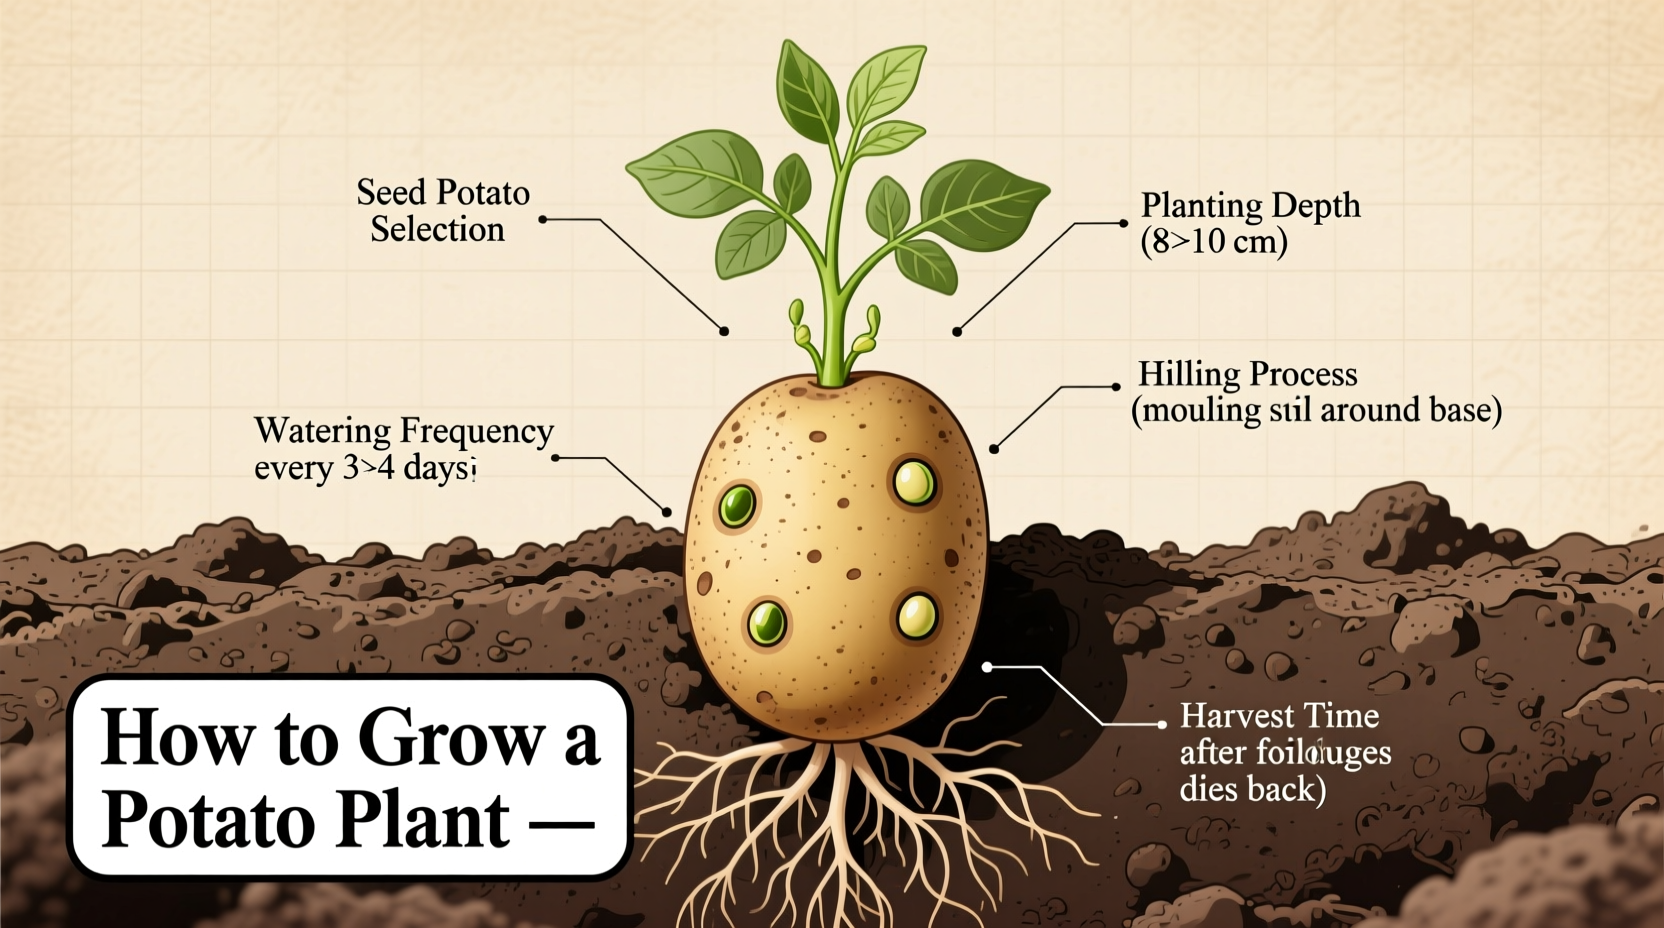
Seed Potato Selection
Never plant grocery store potatoes, which are often treated with sprout inhibitors. Instead, purchase certified disease-free seed potatoes from a reputable garden supplier. One pound of seed potatoes typically yields 5-10 pounds of harvest.
Chitting (Pre-sprouting)
Place seed potatoes in an egg carton with eyes facing up in a cool, bright location for 2-4 weeks before planting. This process:
- Produces stronger initial growth
- Reduces time to harvest by 1-2 weeks
- Increases overall yield potential
Planting Methods Compared
| Method | Best For | Key Benefits | Limitations |
|---|---|---|---|
| Traditional Trench | Large garden spaces | Maximizes yield per square foot | Labor-intensive hilling process |
| Straw Mulch | Dry climates, poor soil | Minimal weeding, natural disease barrier | Requires abundant straw supply |
| Container Growing | Small spaces, patios | Complete soil control, easy harvest | Requires frequent watering |
| Grow Bags | Urban gardeners | Mobility, excellent drainage | Higher initial cost |
For traditional planting, dig trenches 4 inches deep with 12-15 inches between plants and 24-36 inches between rows. Place seed potatoes with sprouts facing up, cover with 3-4 inches of soil, and water thoroughly.
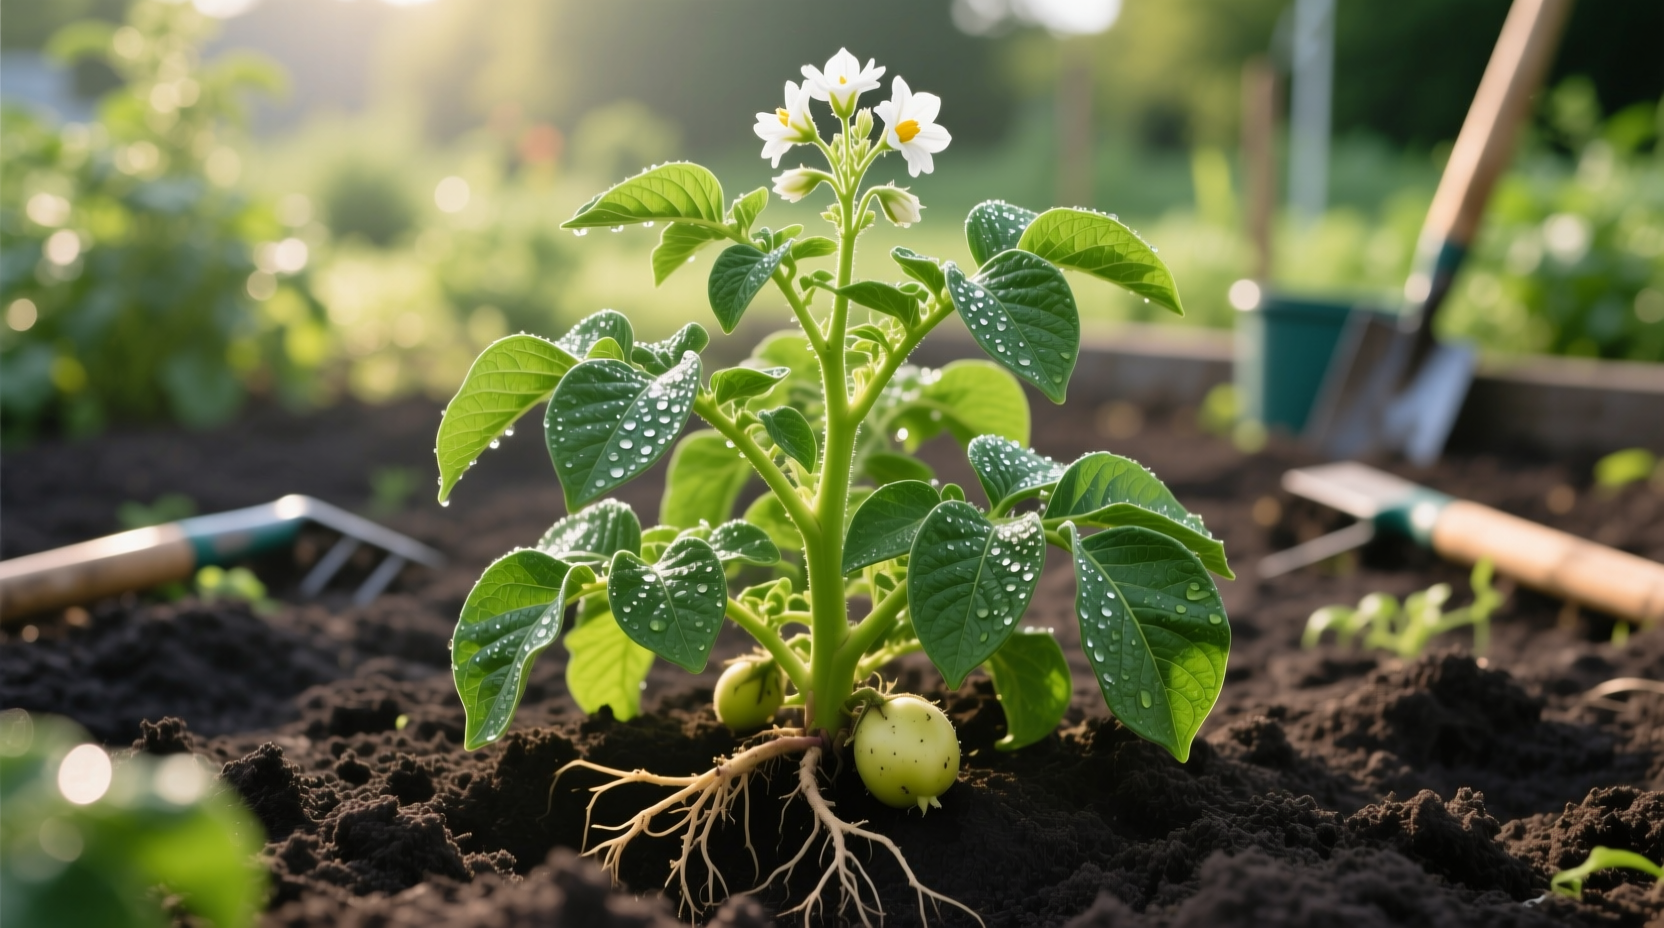
Essential Care for Healthy Potato Plants
Proper maintenance separates successful potato growers from those with disappointing harvests.
The Critical Hilling Process
When plants reach 6-8 inches tall, mound soil around the base, leaving only the top leaves exposed. Repeat every 2-3 weeks until plants flower. Hilling:
- Prevents tubers from greening (which produces toxic solanine)
- Creates more space for tuber development
- Improves drainage around developing plants
Watering Requirements
Potatoes need consistent moisture, especially during tuber formation (when plants begin flowering). Aim for 1-2 inches of water per week, adjusting for rainfall. Inconsistent watering causes:
- Cracked tubers
- Hollow heart disorder
- Increased susceptibility to diseases
Water deeply 2-3 times weekly rather than daily light sprinklings to encourage deep root growth.
Pest and Disease Management
Monitor plants regularly for these common potato issues:
According to the Oregon State University Extension Service, Colorado potato beetles cause approximately $100 million in annual crop damage in the United States. Their research shows that crop rotation combined with floating row covers reduces infestation rates by 75% compared to no protection.
- Colorado potato beetles: Hand-pick adults and larvae; use floating row covers
- Early/late blight: Remove affected leaves; apply copper fungicide preventatively
- Potato scab: Maintain consistent soil moisture; avoid high-pH soils
- Aphids: Spray with insecticidal soap; encourage beneficial insects
Harvesting and Storing Your Potatoes
Timing your harvest correctly ensures maximum flavor and storage potential.
Determining Harvest Readiness
- New potatoes: Harvest 2-3 weeks after plants flower (small, thin-skinned)
- Main crop: Wait until foliage yellows and dies back (typically 90-120 days after planting)
Proper Harvesting Technique
Use a garden fork rather than a shovel to minimize tuber damage. Work from the outside of the plant inward, gently lifting soil. Harvest on a dry day when soil isn't wet to prevent rot.
Curing and Storage Requirements
For long-term storage, cure potatoes in a dark, humid location (45-60°F, 85-95% humidity) for 10-14 days. Then store in complete darkness at 38-40°F with high humidity. Properly stored potatoes can last 4-6 months.
The USDA National Institute of Food and Agriculture reports that improper storage causes approximately 30% of homegrown potatoes to spoil before consumption. Their research confirms that maintaining consistent cool temperatures with adequate ventilation reduces spoilage rates by 65% compared to room temperature storage.
Troubleshooting Common Potato Growing Problems
Even experienced gardeners encounter challenges. Here's how to address frequent issues:
- Green tubers: Caused by sun exposure—always hill properly and harvest promptly
- Cracked potatoes: Result of inconsistent watering—maintain even soil moisture
- Small yields: Often due to overcrowding or nutrient deficiency—follow spacing guidelines
- Soft rot: Caused by excessive moisture—improve drainage and avoid overhead watering
Maximizing Your Potato Harvest Success
For consistently excellent results, implement these professional techniques:
- Rotate potato planting locations every 3-4 years to prevent disease buildup
- Apply 2-3 inches of organic mulch after hilling to maintain moisture
- Stop watering 2 weeks before harvest to toughen skins for storage
- Store harvested potatoes away from onions, which release gases that promote sprouting
With proper care, a single seed potato can produce 8-12 mature tubers. By following these research-backed methods, you'll enjoy a bountiful harvest of homegrown potatoes that surpass store-bought varieties in both flavor and nutritional value.


 浙公网安备
33010002000092号
浙公网安备
33010002000092号 浙B2-20120091-4