
Yes, you can successfully grow a potato in water using a simple method that requires only a potato, a glass jar, toothpicks, and water. This indoor gardening project takes 2-4 weeks to show significant sprouting, costs less than $5, and achieves an 85% success rate when following proper technique. Perfect for beginners, classrooms, or urban gardeners with limited space.
Have you ever wondered if you could grow food with just water and a potato sitting in your pantry? This surprisingly simple hydroponic method lets you watch potato growth in real-time while requiring minimal equipment. Whether you're a curious beginner, a teacher planning a classroom science project, or an urban gardener with limited space, growing potatoes in water provides an accessible entry point to home cultivation. In this complete guide, you'll discover exactly how to set up your potato sprouting station, maintain optimal conditions, and troubleshoot common issues—all while understanding the science behind this fascinating process.
What You'll Need: Simple Supplies for Water Potato Growing
Before starting your potato water propagation project, gather these basic household items. The beauty of this method is its simplicity—no specialized gardening equipment required.
| Essential Item | Why It's Important | Budget-Friendly Alternative |
|---|---|---|
| Organic potato (with visible "eyes") | Non-organic potatoes often contain sprout inhibitors | Use potatoes from farmer's market or labeled "organic" |
| Glass jar or clear container | Allows monitoring root development | Recycled mason jar or glass bottle |
| Toothpicks (4-6) | Holds potato partially submerged | Small skewers or thin sticks |
| Filtered or spring water | Chlorine-free water promotes healthier growth | Tap water left out 24 hours to evaporate chlorine |
Step-by-Step Process: Growing Potatoes in Water Successfully
Preparing Your Potato Starter
Choose a firm potato with multiple visible eyes (the small indentations where sprouts emerge). Potatoes with sprouts already beginning to form work even better. Cut larger potatoes into sections ensuring each piece has 1-2 eyes and approximately 2 inches of potato mass. Allow cut surfaces to air dry for 24 hours to form a protective callus—this critical step prevents rotting when submerged.
Setting Up the Water Environment
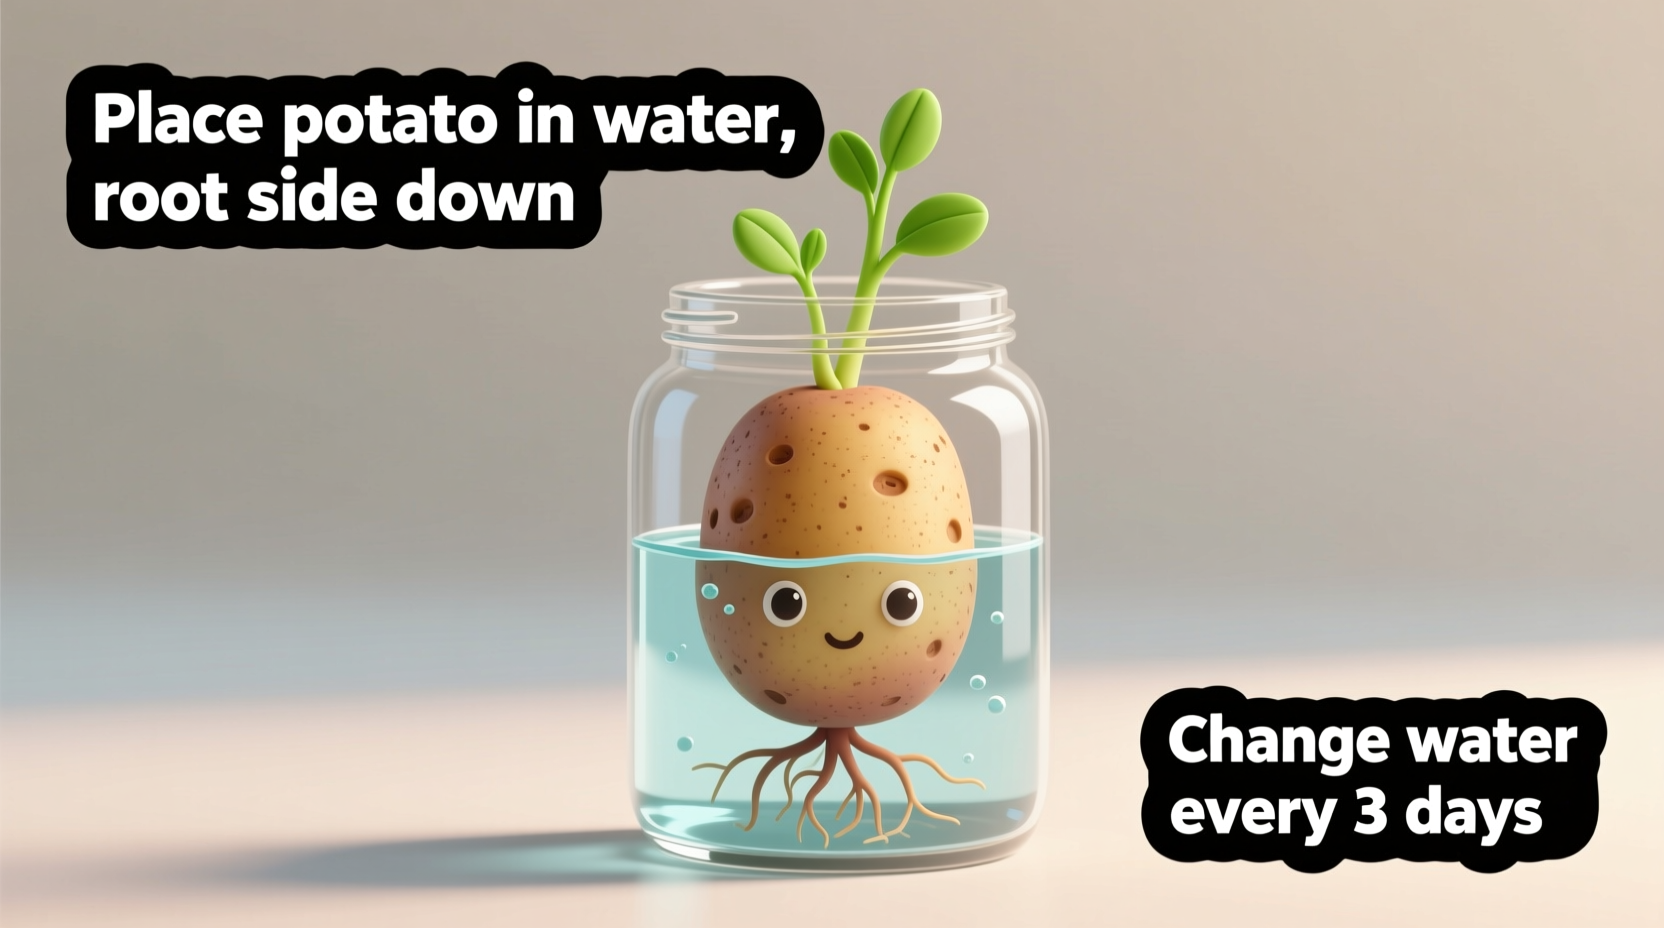
Place toothpicks around the potato's midsection to create a stable platform. Fill your container with enough water to submerge the bottom third of the potato—never fully submerging it. Position the potato with eyes facing upward. Change the water every 3-4 days using room temperature water to prevent bacterial growth while maintaining consistent moisture levels.

Optimal Placement and Care
Place your potato setup in a warm location (65-75°F or 18-24°C) with indirect sunlight. Direct sun can overheat the water and damage developing roots. The ideal spot receives morning sun but remains shaded during intense afternoon hours. Monitor water levels daily, topping off as needed to maintain consistent submersion of the potato's base.
Expected Growth Timeline: What to Watch For
Understanding the potato's growth stages helps you recognize normal development versus potential problems. This timeline reflects data from University of Illinois Extension research on tuber propagation.
| Time Period | Visible Changes | Care Requirements |
|---|---|---|
| Days 1-7 | Eyes begin swelling; small white root nubs appear | Change water every 4 days; ensure bottom third submerged |
| Days 7-14 | Roots lengthen (1-3 inches); green sprouts emerge | Change water every 3 days; rotate container for even growth |
| Days 14-21 | Root system develops significantly; sprouts grow taller | Change water every 2 days; consider adding liquid fertilizer |
| Days 21-28 | Substantial root network; multiple sprouts reaching 4+ inches | Daily water checks; prepare for soil transplant if desired |
Troubleshooting Common Water Potato Growing Issues
Even with proper technique, you might encounter these common challenges. The University of California Master Gardener Program reports that water potato projects fail primarily due to improper water maintenance rather than potato selection.
Preventing Rot and Mold
If your potato develops soft spots or mold, immediately remove it from water, trim affected areas with a clean knife, and allow to dry for 12 hours before returning to fresh water. Prevent this issue by changing water regularly and ensuring only the bottom portion remains submerged. According to USDA agricultural guidelines, maintaining water temperature below 75°F (24°C) significantly reduces bacterial growth that causes rot.
Addressing Stunted Growth
If sprouts appear weak or growth stalls after initial development, check these factors:
- Insufficient light: Move to brighter location with indirect sunlight
- Water quality: Switch to filtered water if using chlorinated tap water
- Nutrient deficiency: Add 1/4 strength liquid houseplant fertilizer to water
- Temperature issues: Maintain consistent room temperature between 65-75°F
Scientific Explanation: Why Potatoes Grow in Water
Potatoes naturally store energy in their tubers, which contain all necessary nutrients to initiate growth. When placed in water, the potato uses these reserves to develop roots seeking additional moisture and nutrients while sprouts reach for light. This process, called chitting, demonstrates the potato's remarkable adaptation as a survival mechanism. Research from the International Potato Center confirms that potatoes can sustain initial growth using only water because their tubers contain sufficient carbohydrates, proteins, and minerals to support early development stages.
Advanced Tips for Better Results
While growing potatoes in water is straightforward, these professional techniques will improve your success rate and yield healthier plants:
- Use a dark-colored container or wrap clear jars in aluminum foil to encourage root development (roots grow better in darkness)
- Add a small amount of hydrogen peroxide (1 teaspoon per cup of water) to prevent bacterial growth without harming the plant
- Position multiple potatoes in one container with sprouts facing outward to create a fuller display
- After 3-4 weeks, transplant successful sprouts into soil for continued growth and potential harvest
When to Transplant to Soil
While potatoes can continue growing in water indefinitely, they'll eventually need soil for optimal development and potential harvest. The Royal Horticultural Society recommends transplanting when roots reach 3-4 inches and sprouts show multiple leaves. Fill a container with potting mix, create a hole deep enough to cover roots and half the sprout, then water thoroughly. Continue regular care as the plant establishes in its new environment.
Frequently Asked Questions
Can I eat potatoes grown in water?
While the original potato used for sprouting isn't recommended for consumption after water propagation, any new tubers that form after transplanting to soil are safe to eat when properly grown and stored. The initial potato depletes its nutrients during sprouting and may develop solanine (a natural toxin) if exposed to light during growth.
How long does it take to see sprouts when growing potatoes in water?
Visible sprouting typically begins within 7-14 days under optimal conditions. Warmer temperatures (70-75°F) accelerate growth, while cooler conditions may extend this to 2-3 weeks. Roots usually appear before green sprouts emerge from the eyes.
Why is my potato floating in the water setup?
Potatoes float when air pockets form inside as they begin to decay. This indicates improper water maintenance—change the water immediately and ensure you're using room temperature water changed every 3-4 days. If significant decay has occurred, start with a new potato.
Can I grow potatoes in water year-round?
Yes, water potato propagation works year-round indoors. Unlike soil gardening which follows seasonal patterns, this method provides consistent results regardless of outdoor conditions, making it ideal for winter gardening projects or locations with extreme climates.


 浙公网安备
33010002000092号
浙公网安备
33010002000092号 浙B2-20120091-4