
Have you ever wondered what to do with that sprouting potato at the back of your pantry? Instead of tossing it, you can transform it into a thriving potato plant with minimal effort. Growing potatoes from potatoes—technically called "seed potatoes"—is one of the most accessible gardening projects for beginners. This guide reveals the exact steps to successfully cultivate your own potatoes, whether you have a sprawling backyard or just a container on your balcony.
What You Need Before You Start
Before diving into planting, gather these essential items. You'll need certified disease-free seed potatoes (not grocery store potatoes), a well-draining soil mix with pH 5.0-6.0, gardening gloves, a trowel, and optionally, containers or raised beds if space is limited. The University of Minnesota Extension confirms that using certified seed potatoes reduces disease risk by 75% compared to supermarket potatoes.
| Material | Why It Matters | Pro Tip |
|---|---|---|
| Certified seed potatoes | Guaranteed disease-free and bred for planting | Avoid grocery store potatoes treated with sprout inhibitors |
| Loose, well-draining soil | Prevents tuber rot and encourages root development | Mix garden soil with compost (30%) and sand (20%) |
| Container (if needed) | Enables potato growing in small spaces | Use 15-gallon fabric pots with drainage holes |
Selecting the Right Potato Varieties
Not all potatoes grow equally well in every climate. Early varieties like 'Yukon Gold' mature in 70-90 days and work well in cooler climates, while late-season types such as 'Kennebec' need 110-130 days and thrive in warmer regions. According to the Oregon State University Extension, matching your potato variety to your local frost dates increases success rates by 40%. Consider your growing season length and local climate when selecting seed potatoes.
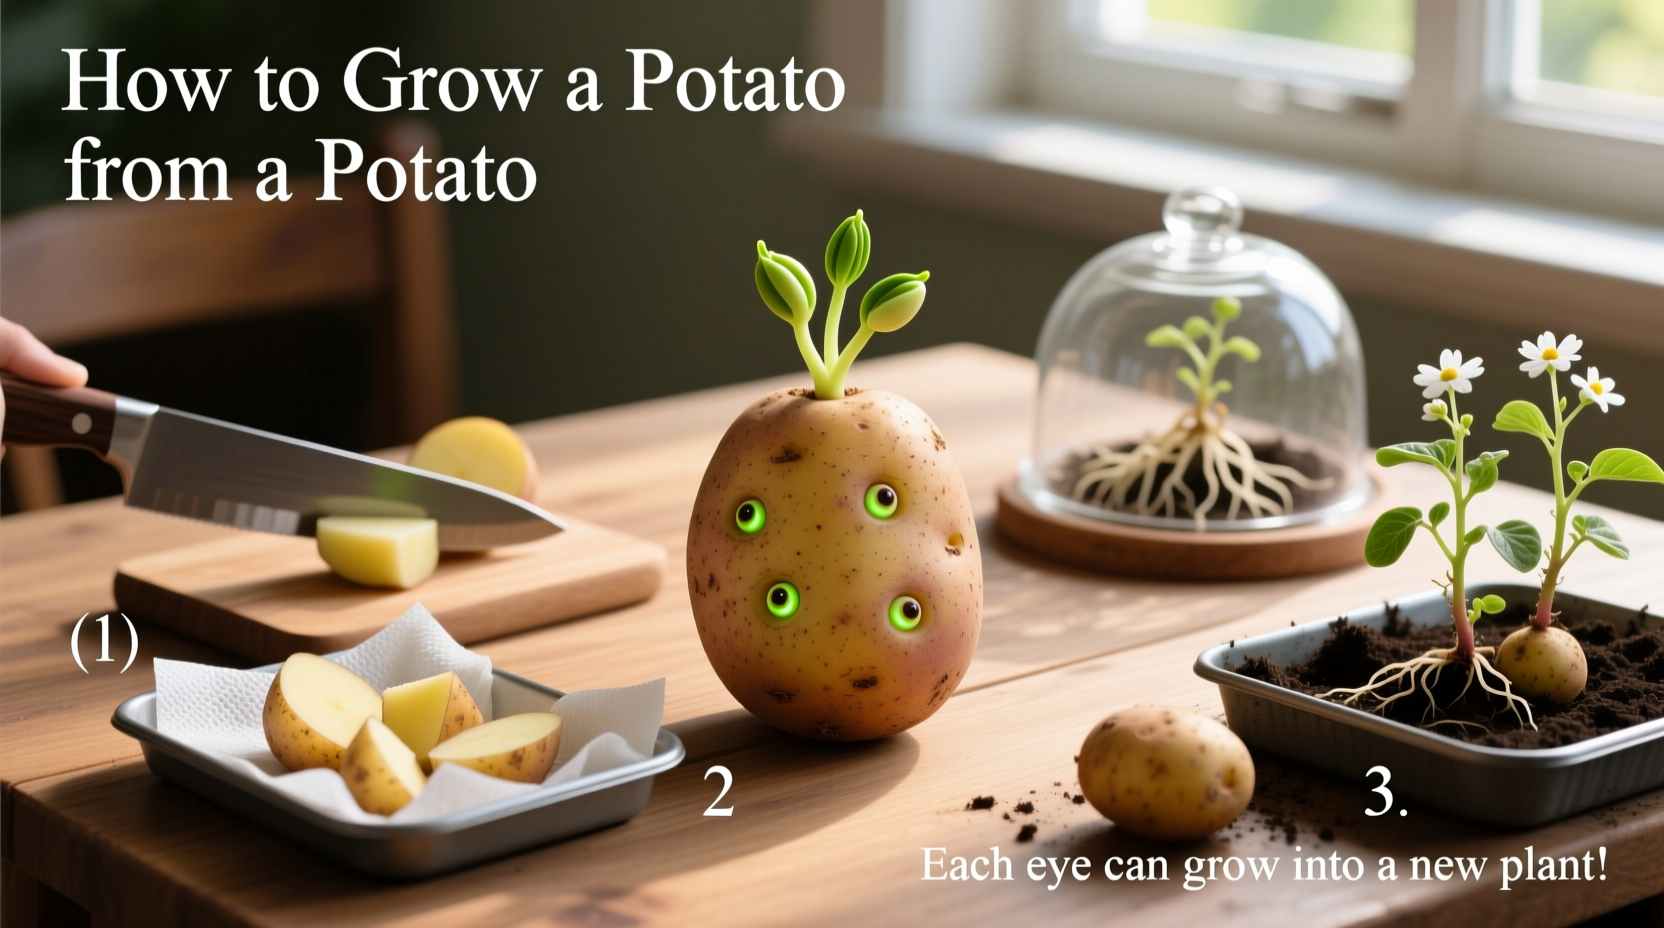
Preparing Your Potato Seeds
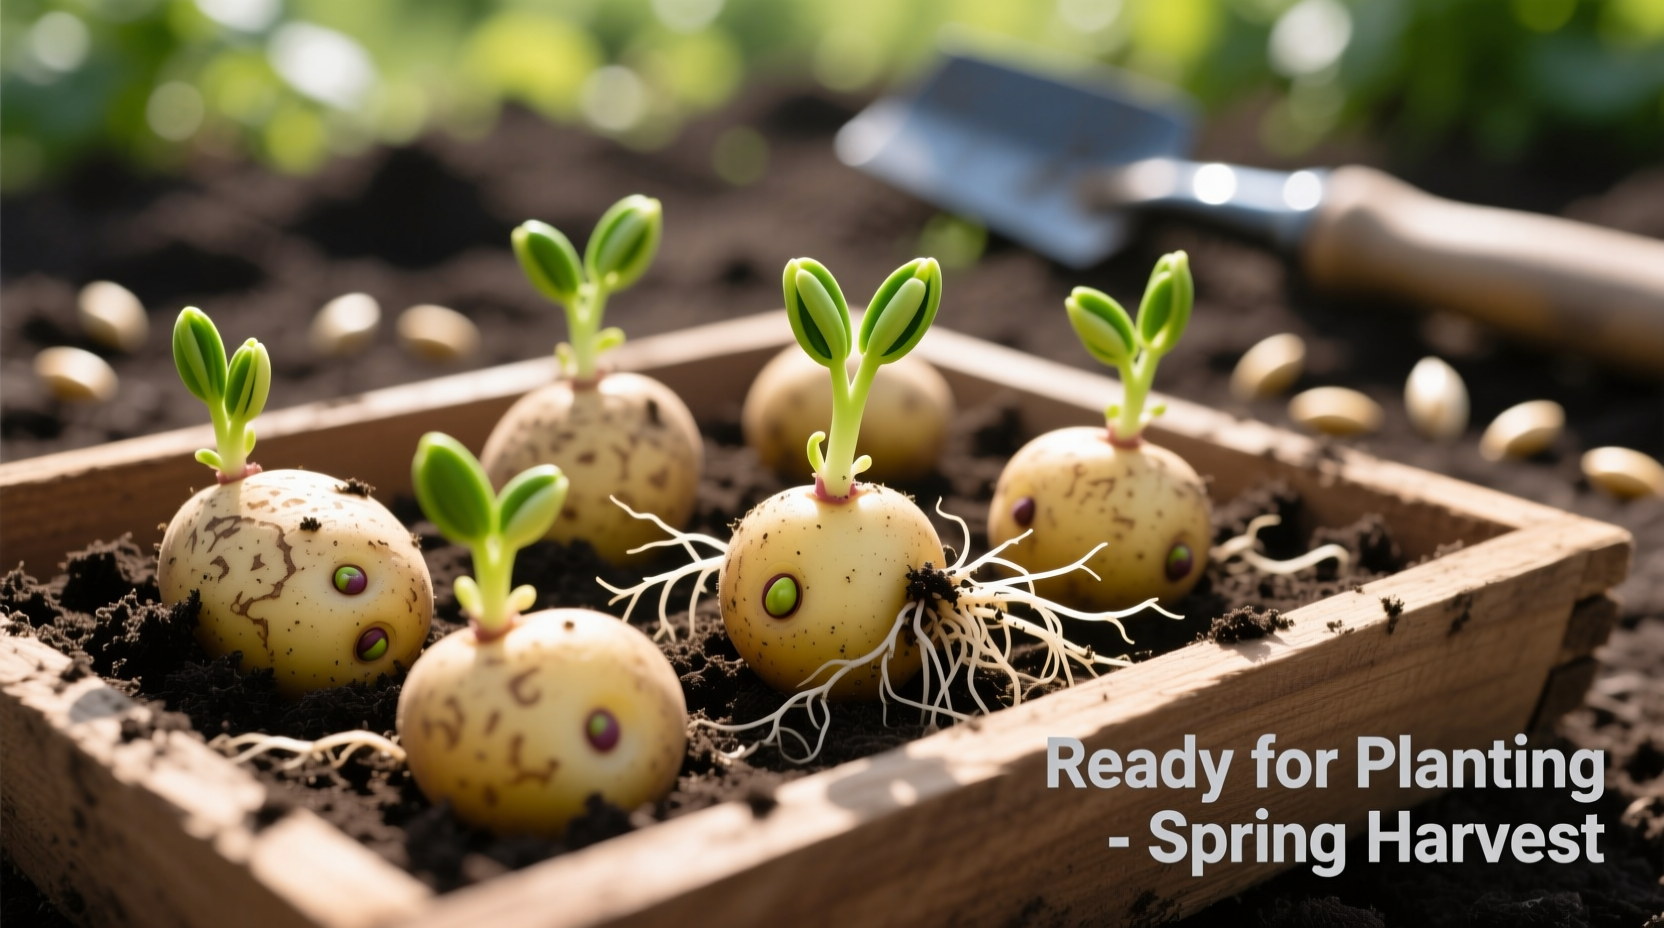
Chitting (pre-sprouting) gives your potatoes a crucial head start. Place whole seed potatoes in an egg carton with eyes facing up in a cool, bright location for 2-4 weeks until sprouts reach 0.5-1 inch. When cutting larger potatoes into pieces, ensure each section has 1-2 healthy eyes and weighs at least 1.5-2 ounces. The Penn State Extension recommends letting cut pieces cure for 24-48 hours in a humid environment to form protective calluses that prevent rot after planting.
Planting Your Potatoes Correctly
Timing is critical for successful potato growth. Plant when soil temperature reaches 45-50°F (7-10°C) at 4-inch depth—typically 2-4 weeks before your last frost date. Dig trenches 3-4 inches deep, place seed pieces 12 inches apart with eyes facing up, and cover with 3 inches of soil. For container growing, fill pots halfway with soil mix, add potatoes, then continue hilling as plants grow. The University of Wisconsin Extension notes that planting too deep delays emergence, while planting too shallow exposes developing tubers to sunlight, causing greening.
Caring for Growing Potato Plants
Consistent moisture is essential—potatoes need 1-2 inches of water weekly, especially during tuber formation (when flowers appear). Water deeply 2-3 times weekly rather than daily light sprinkles. Hilling (mounding soil around stems) should begin when plants reach 6-8 inches tall, covering all but the top leaves to protect developing tubers from sunlight. Repeat hilling every 2-3 weeks until plants flower. Research from Oregon State University shows proper hilling increases yields by 25% by creating more space for tuber development.
Harvesting Your Homegrown Potatoes
Timing your harvest correctly determines flavor and storage potential. For 'new potatoes' with delicate skins, harvest 2-3 weeks after plants flower. For mature storage potatoes, wait until foliage yellows and dies back completely (typically 90-120 days after planting). Carefully dig with a fork, starting 8 inches from the stem to avoid piercing tubers. Allow harvested potatoes to cure in a cool, dark, humid location for 2 weeks before storing. The University of Minnesota Extension confirms that proper curing doubles storage life by thickening skins.
Avoiding Common Potato Growing Mistakes
Even experienced gardeners make these preventable errors. Planting grocery store potatoes often fails because they're treated with sprout inhibitors. Overwatering after planting causes rot, while inconsistent watering later leads to knobby or cracked tubers. Skipping hilling exposes potatoes to sunlight, turning them green and toxic. The Penn State Extension reports that rotating potato crops annually reduces disease incidence by 60%—never plant potatoes in the same spot two years running.
| Growth Stage | Timeline | Critical Actions |
|---|---|---|
| Sprouting (Chitting) | 2-4 weeks before planting | Store in bright, cool location; monitor sprout development |
| Planting | 2-4 weeks before last frost | Soil temp 45-50°F; plant 3-4" deep; 12" spacing |
| Early Growth | 2-6 weeks after planting | First hilling when 6-8" tall; consistent moisture |
| Tuber Formation | 6-10 weeks after planting | Weekly deep watering; second hilling; watch for pests |
| Maturity | 90-120 days after planting | Harvest after foliage dies; cure before storage |


 浙公网安备
33010002000092号
浙公网安备
33010002000092号 浙B2-20120091-4